Standing Up for Friendship | A Sweet Old Friends Easel Card
Hi Crafty Friends
What’s happening this month
- New Join Experience
- Two New Kits Available
- New Product of the Month
- Last Chance Product List Updated
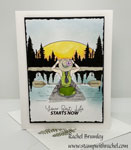
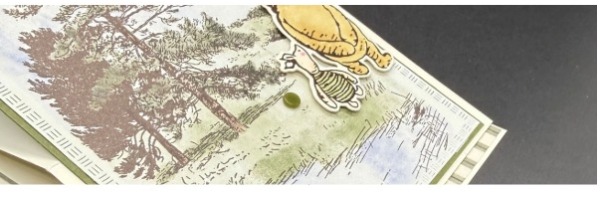
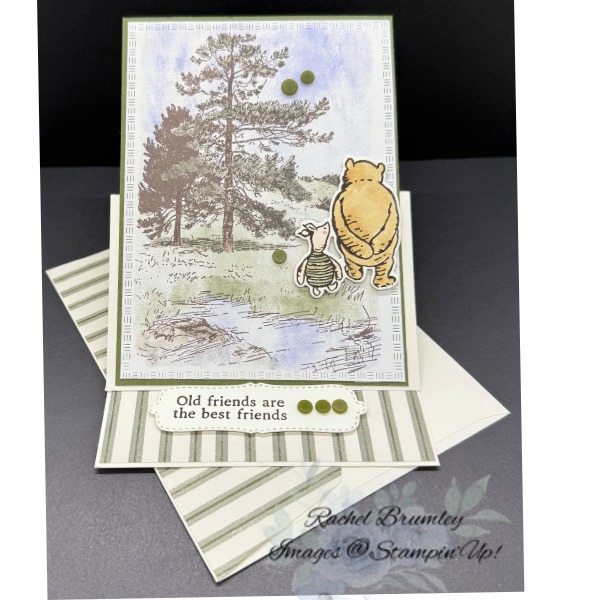
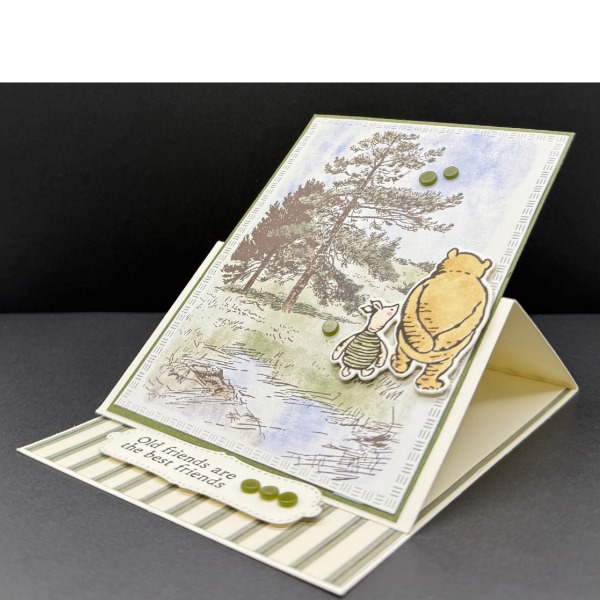
Some cards are just too pretty to lay flat, and this Sweet Old Friends Easel Card is definitely one of them! I love how the easel style lets the whole scene take center stage — Pooh and Piglet gazing out at that gorgeous landscape just makes my heart happy. Whether you’re making this for a best friend, a family member, or anyone who deserves a little extra love, this one is sure to bring a smile! 🌿
Card Measurements:
- Base Card: Very Vanilla Thick Cardstock 11″ x 4 1/4″
- Layer #1: Mossy Meadow Cardstock 5 3/8″ x 4 1/8″
- Layer #2: Silly Bear Designer Series Paper panel
- Scraps: Very Vanilla Thick Cardstock for image
- Inside of Card: Silly Bear DSP (striped pattern) 5 3/8″ x 4 1/8″
- Layer #1: Very Vanilla Cardstock 4″ x 4″
- Envelope Flap: Silly Bear DSP (striped pattern) 6″ x 2 1/4″

- Score the Card Base: Place your cardstock on your Paper Trimmer with the 11 side at the top. Score at 2 3/4″ and 5 1/2″
- Fold the Base: Fold the card in half at the 5 1/2″ mark (valley fold). Then, fold the score line inthe opposite direction (mountain fold) to create an “M” or “Z” shape. Burnish all folds with the Bone Folder.
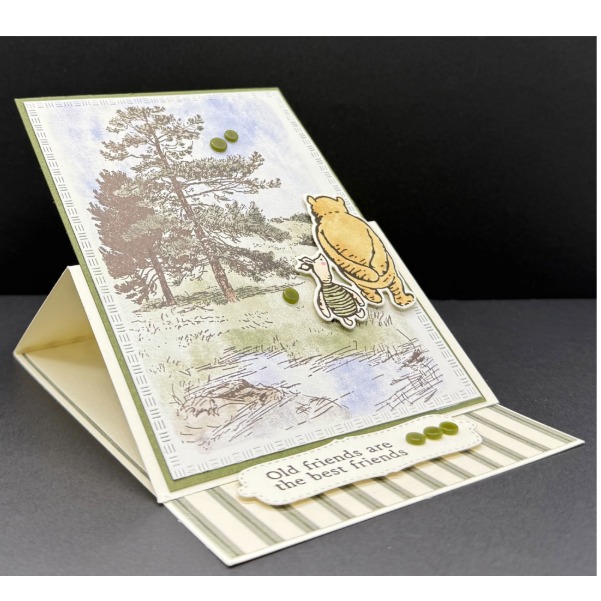
- Create the Easel Front: Apply adhesive only to the bottom half (the 2 3/4″0 of the front of your folded card base. Attach the 5 1/4″ x 4 1/8″ piece of cardstock directly to this area. Do not put glue on the top half, as this will act as your easel.
- Decorate the Front: Adhere your second DSP piece to the front panel you just attached. Add your stamped images, die cuts or embellishments.
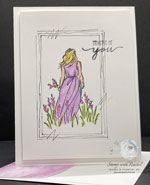
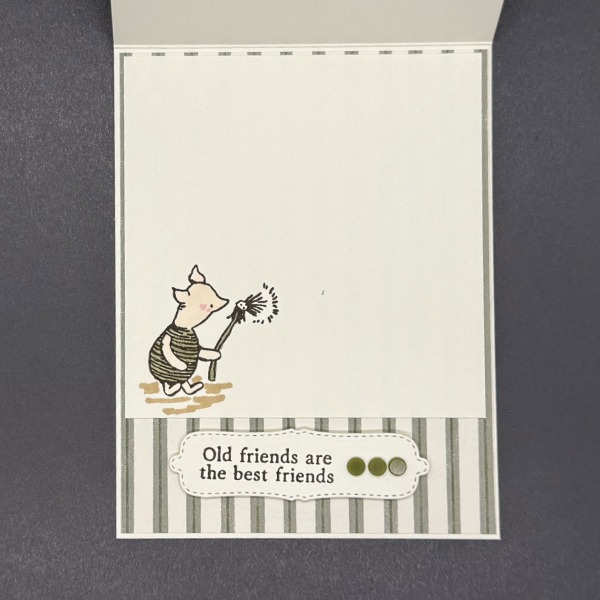
- Finish the inside of the Card: Add the striped pattern DSP to the inside of the card. Add. the Very Vanilla Cardstock to the top part of the card. Stamp the image with Early Espresso Ink and color in using Petal Pink for the skin and Mossy Meadow Stampin’ Blends for the shirt
- Crease the Stopper: On the inside of your card, stamp and die cut a sentiment or use a punched shape. Adhere it to the inside bottom of the panel using Stampin’ Dimensionals. Note the raised dimension of this piece is what catches the top front panel to keep the card standing.
- Envelope Flap: Attached the striped pattern DSP to the envelope flap and trim to fit.

An easel card is a fun and elegant twist on a traditional card — it stands up on its own like a little piece of art, so the recipient can display it long after the occasion has passed! 🌿

I’d love to know what you think of this card! Drop a comment below and tell me.
If you’d like to get your hands on any of the products I used today, just click the links in the shop below. And if you’re not already a part of my Stampin’ Addicts Facebook community, come join us! We share cards, tips, and so much inspiration every single week. I’d love to see you there!
Thanks so much for stopping by today! I hope this card sparked some inspiration for your next crafting session. Be sure to browse through my Card Gallery for even more ideas—there’s always something new to try with your Stampin’ Up! supplies!
I truly appreciate you being part of my crafting community. Whether you need to stock up on supplies or just want to chat about your next project, I’m always here to help. Feel free to reach out anytime by phone or email—I love connecting with fellow crafters!
Happy stamping, and I’ll see you in the craft room soon!


Supplies
Note: Not able to add the following until it’s available to customers
- Sweet Old Friends
- Sweet Words & Labels
- Silly Bear Designer Series Paper