Stacked with Cheer: A Woodland Wishes Holiday Card
Hi Crafty Friends
The Woodland Wishes Stamp Set brings so much playful woodland cheer to my holiday card making! Pairing the bear, deer, fox, and bird images with seasonal sentiments gives me all kinds of creative Christmas card possibilities. The tree of animals is my favorite to stamp because it makes such a whimsical focal point on a card. For extra fun, I love coloring the line-art animals to coordinate with my projects.
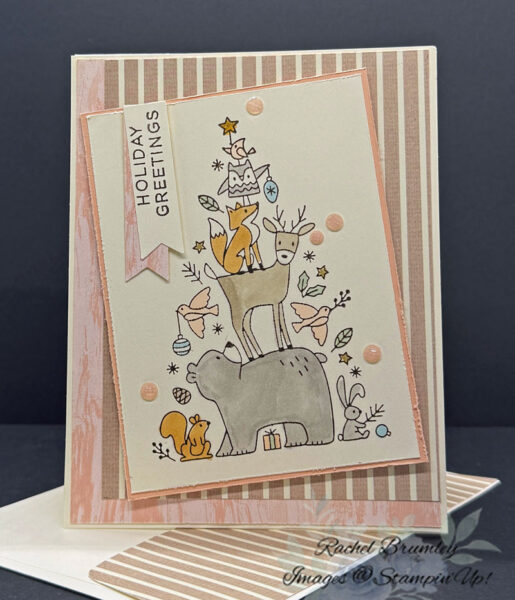
Card Measurements:
- Very Vanilla Thick Cardstock: Base card 11″ x 4 1/4″
- Very Vanilla Cardstock:
- Front Panel: 4 3/8″ x 3 1/4″
- Scrap for Sentiment
- Interior: 5 1/4″ x 4″
- Petal Pink Cardstock: 4 1/2″ x 3 3/8″
- Brush with Beauty Designer Series Paper. (DSP)
- 1st Layer (Swirls Pattern): 5 3/8″ x 4 1/8″
- 2nd Layer (Striped Pattern): 5″ x 3 3/4″
- Scrap for sentiment
- Strip for Interior: 4″ x 1/2″
- Envelope Flap: 6″ x 2 1/4″
What I Did to Make This Card
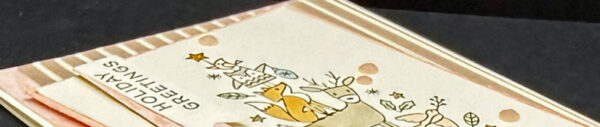
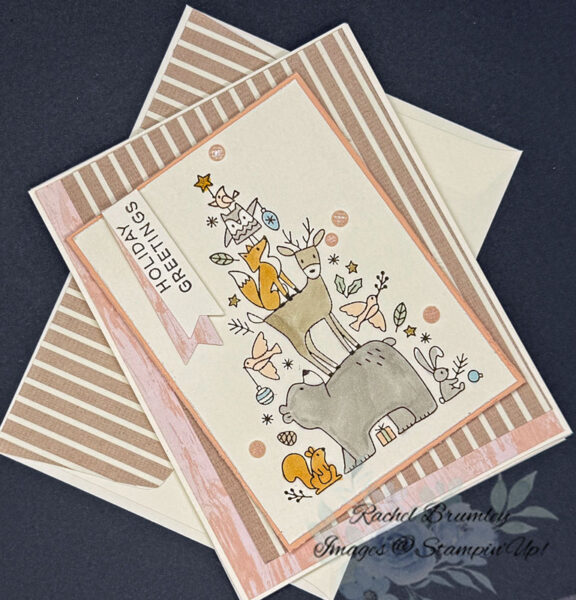
To start, the base card got folded in half with a Bone Folder for a nice sharp crease. Layer #1 (DSP) went onto the base card first, followed by Layer #2 on the front of the card (see pic for placement).
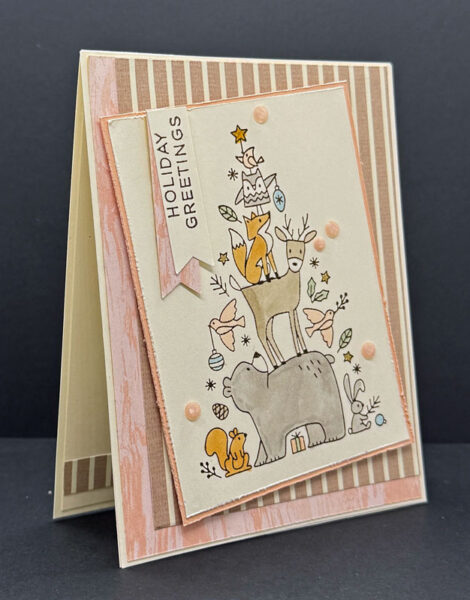
Next came the fun part! The large image was stamped in Early Espresso onto Very Vanilla Cardstock for the front panel, and then I colored in the animals with these Stampin’ Blends: Gray Granite, Crumb Cake, Golden Glow, Petal Pink, Balmy Blue, Soft Sea Foam and Daffodil Delight. Once the coloring was done, I distressed the edges of both the front panel and the Petal Pink Cardstock. Those two layers were adhered together and popped onto the front of the card with Stampin’ Dimensionals (see pic for placement).
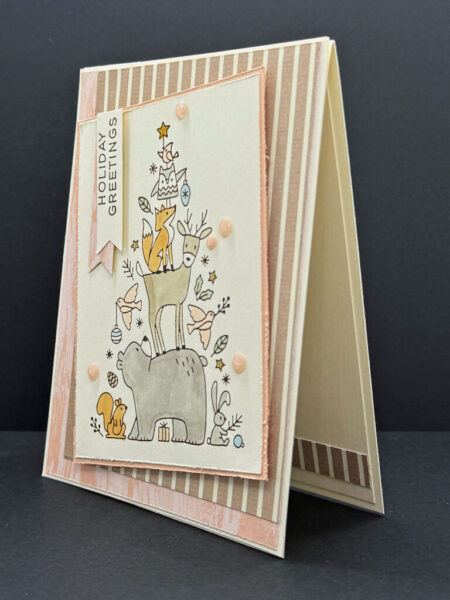
For the sentiment, I stamped it in Early Espresso Ink onto Very Vanilla Cardstock. Both banners were punched with the Three Banner Punch and attached with a Stampin’ Dimensionals (see pic for placement). I scattered Dots from the Charming Shimmer Faceted Dots randomly around the front of the card.
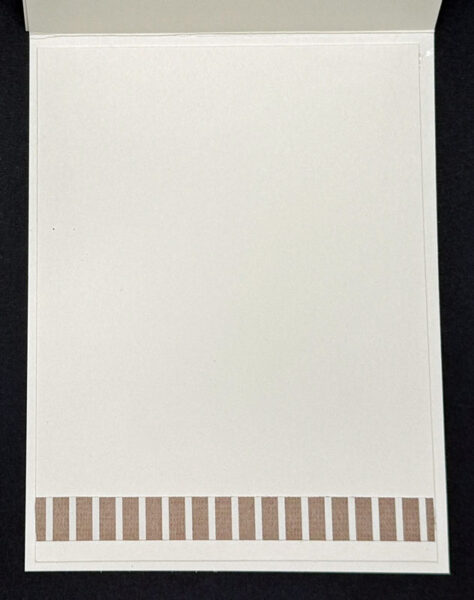
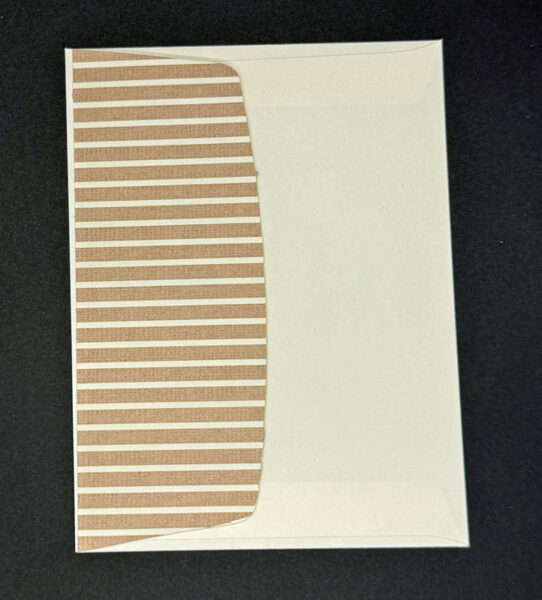
The inside got a little love too! A strip of the striped DSP was added to Layer #1 and attached the interior, and the envelope flap got the same DSP, trimmed to size.
Thanks so much for stopping by today! I hope this card gave you a little spark of inspiration for your next crafting session. Be sure to browse through my Card Gallery for even more ideas — there’s always something new to try with your Stampin’ Up! supplies!
I truly appreciate you being part of my crafting community. Whether you’re stocking up on supplies or just want to chat about your next project, I’m always here to help. Feel free to reach out anytime by phone or email — I love connecting with fellow crafters!
Happy stamping, and I’ll see you in the craft room soon!

Supplies