Pretty in Purple — A Simply Beautiful Farewell

Hi Crafty Friends
I turn around and they’re retiring this beautiful bundle! I have to say, that one stings a little — it’s such a gorgeous set. If you’ve been on the fence about grabbing it, now is definitely the time because once it’s gone, it’s gone for good! Make sure you snag it before it disappears from the catalog.
Now here’s a little bit of good news mixed in with the bad — while the Simply Beautiful Stamp Set is gone, the Simply Beautiful Dies are still around until they sell out! So if you already have the stamp set, or you grab it before it’s gone, you’ll still be able to get those beautiful coordinating dies. 🙌
And even more good news? They are keeping the Lovely and Beautiful Designer Series Paper! So at least we still have that stunning paper to work with and create some gorgeous projects. Dog gone it though — I sure wish the whole bundle was sticking around too! 😄

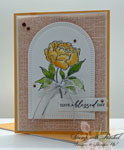
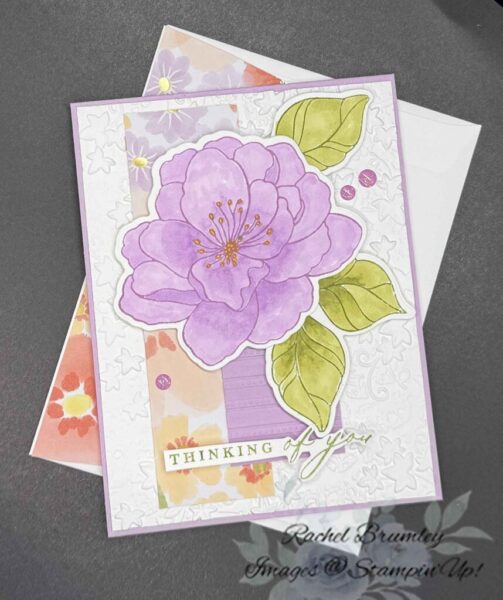
- I started with my card base in Fresh Freesia Cardstock cut to 11″ x 4 1/4″ and cut my white cardstock layer to 5 3/8″ x 4 1/8″, then ran it through my embossing machine with the Stone & Vine embossing folder to give it that gorgeous textured background.
- Next, I cut one strip to 5″ x 1 1/2″ from the Lovely and Beautiful Designer Series Paper and one strip from Fresh Freesia Cardstock to 4″ x 1 1/2″ that was embossed with the Lovely Stripes Embossing Folder and layered them side by side toward the left-center of my embossed white panel.

- I stamped the large bloom from the Simply Beautiful Stamp Set on white cardstock and colored it in with the Fresh Freesia Stampin’ Blends. I also stamped and colored the leaves separately with Old Olive Stampin’ Blends.
- Once my coloring was done, I used the Simply Beautiful Dies to cut out the flower and the leaves
- I adhered the leaves first, then used Stampin’ Dimensionals to pop the flower up so it would have that beautiful dimension — overlapping the DSP strips and spilling onto the embossed background.
- For the sentiment, I stamped “THINKING of you” from the Simply Beautiful Stamp Set on Basic White cardstock, and tucked them at the bottom of the card.
- Finally, I finished everything off with a few sparkly rhinestones from the Sparkle Dot Essentials scattered around for a little extra sparkle and fun! 💜
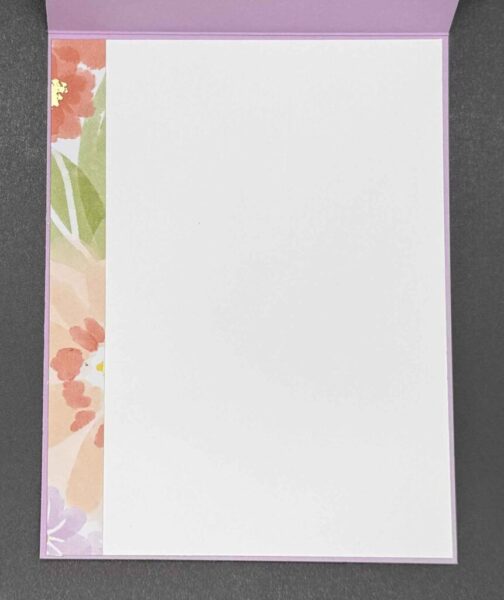

- I added a small strip of the same Designer Series Paper from the front of the card to the inside and the envelope flap for a coordinated, finished look!
I’d love to know what you think of this card! Drop a comment below and tell me.
If you’d like to get your hands on any of the products I used today, just click the links in the shop below. And if you’re not already a part of my Stampin’ Addicts Facebook community, come join us! We share cards, tips, and so much inspiration every single week. I’d love to see you there!
Thanks so much for stopping by today! I hope this card sparked some inspiration for your next crafting session. Be sure to browse through my Card Gallery for even more ideas—there’s always something new to try with your Stampin’ Up! supplies!
I truly appreciate you being part of my crafting community. Whether you need to stock up on supplies or just want to chat about your next project, I’m always here to help. Feel free to reach out anytime by phone or email—I love connecting with fellow crafters!
Happy stamping, and I’ll see you in the craft room soon!