Painted Pumpkins Fun Fold Thanksgiving Card Tutorial
Hi Crafty Friends!
We might finally catch a break in the weather this week — and Tuesday is the first day of fall, so the timing couldn’t be better! With temps possibly dipping into the 80s, I’m beyond ready to say goodbye to the heat. In fact, I got so excited I went ahead and made a fall card, hoping it’ll help autumn arrive a little sooner!
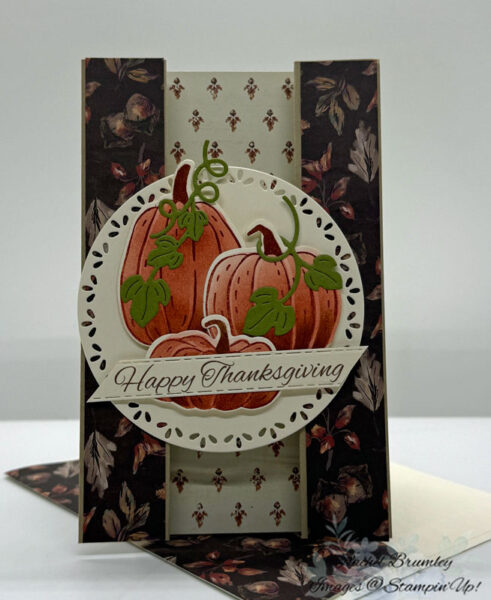
I love the Painted Pumpkins Stamp Set for how it’s filled with seasonal images, leafy details, and greetings that bring big cozy energy to every project. It’s made for two-step stamping, so I get all kinds of layering possibilities, and my pumpkins turn out textured, vibrant, and totally custom. I like to think of it as pumpkin spice in stamp form, ready to add a warm seasonal touch to my crafting.
For today’s post, I also used the Painted Pumpkins Decorative Masks to create my own pumpkin patch, no carving required. With four layering masks (plus a fifth for background magic), I can blend inks for custom, personality-filled pumpkins every time.
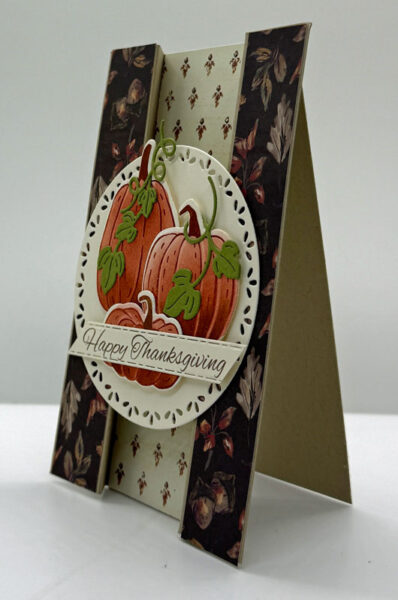
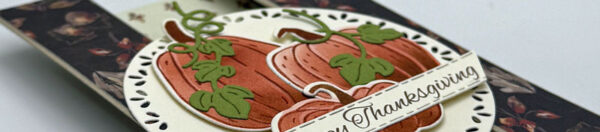
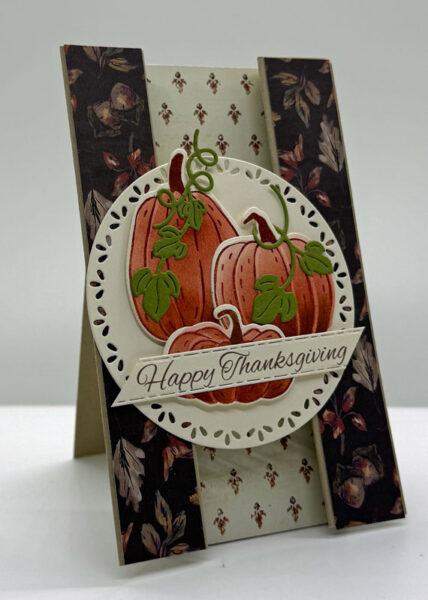
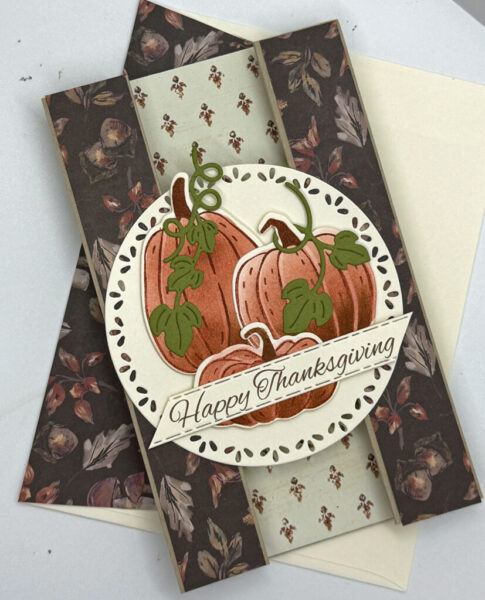
This fun fold card is one of my favorite fall projects this season! I used the Painted Pumpkins Stamp Set to create a trio of layered, textured pumpkins in warm autumn tones, paired with curling vines and leaves for extra dimension. The Autumn Opulence Designer Series Paper brings rich, moody florals and leaf patterns to the background, adding depth without competing with the pumpkin focal image. A scalloped die-cut frame and a simple “Happy Thanksgiving” banner tie it all together for a card that feels cozy, elegant, and perfectly seasonal.
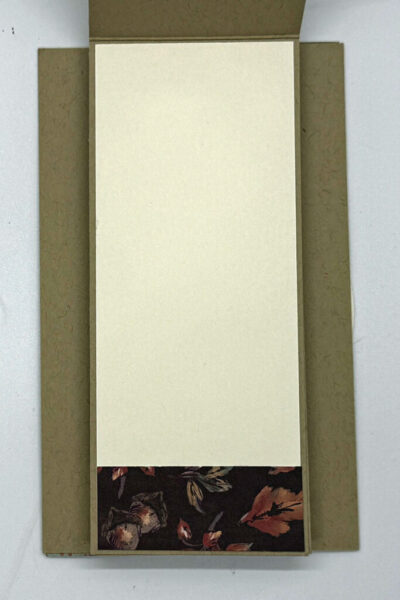
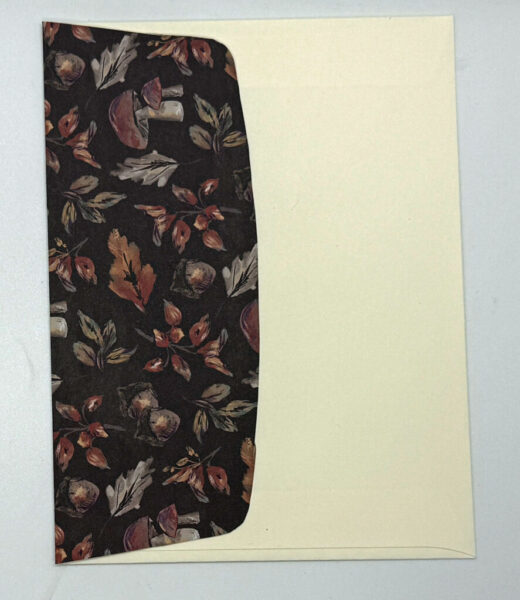
This is the back of the card where you would sign it. I added a bit of the same DSP to the back and the envelope flap for a finished polished look.
I recorded a short video showing how it opens up. Only the left side of the focal circle is glued to the panel — the right side is left free. Deb didn’t glue down her left side either, since she opens hers up to reveal a sentiment tucked inside. I left mine blank instead.
The card measurements and supply list are at the end of this pos.
Thanks so much for stopping by today! I hope this card gave you a little spark of inspiration for your next crafting session. Be sure to browse through my Card Gallery for even more ideas — there’s always something new to try with your Stampin’ Up! supplies!
I truly appreciate you being part of my crafting community. Whether you’re stocking up on supplies or just want to chat about your next project, I’m always here to help. Feel free to reach out anytime by phone or email — I love connecting with fellow crafters!
Happy stamping, and I’ll see you in the craft room soon!
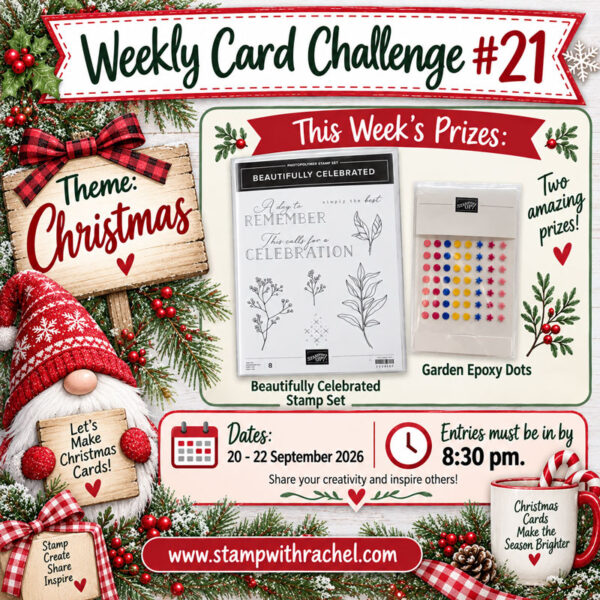
Christmas is on my mind, and I couldn’t be more excited to share Weekly Card Challenge #21 with you! This week’s theme is all about capturing that magical holiday spirit, and I can’t wait to see the beautiful, festive cards you create. Two amazing prizes are up for grabs this time around — the gorgeous Beautifully Celebrated Stamp Set and a pack of sparkly Garden Epoxy Dots, both perfect for adding a little extra shine to your Christmas projects. Entries are open now through Tuesday, with everything due in by 8:30 pm, so there’s still plenty of time to grab your favorite Christmas supplies and get stamping! I’d love for you to join in, share your creativity, and maybe even inspire someone else’s holiday card lineup along the way. 🎄✨.
To enter the challenge please visit my facebook group, Stampin’ Addicts.
Card Measurements:
- Crumb Cake:
- Card base: 5 1/2″ x 5 1/4″
- Stand for the back of the card: 11″ x 2 1/4″
- Autumn Opulence DSP:
- Side front panels: (2 pieces) 5 1/2″ x 7/8″
- Strip for bottom of back panel: 2 1/8″ x 1″
- Autumn Opulence DSP (different pattern): 5 1/2″ x 2 1/8″
- Very Vanilla:
- Circle: 3 1/2″ x 3 1/2″
- Sentiment: 3 1/2″ x 1/2″
- Back panel for signature: 5 3/8″ x 2 1/8″

Supplies