A Brushed with Beauty: An Arched Window Thank You Fun Fold Card
Hi Craft Friends
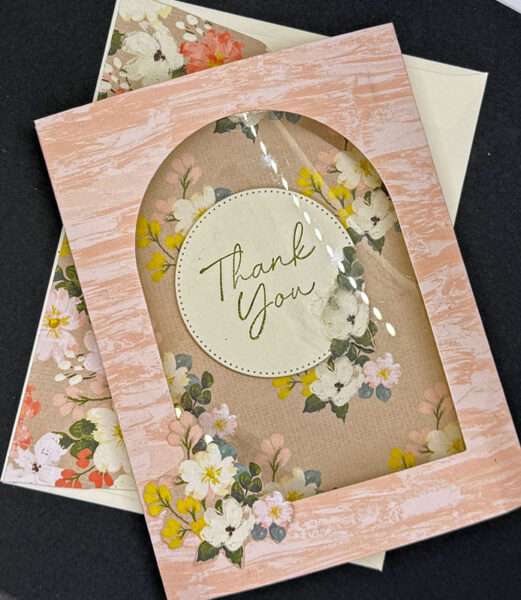
I am so excited to share this one with you today, because there’s just something about an arched window card that instantly feels a little more special. 💕
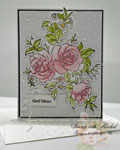
I started with a base of Very Vanilla Cardstock, cutting it to 8 1/2″ x 5 1/2″ and folding it in half with a Bone Folder for a nice, sharp crease. The soft, marbled Petal Pink background is honestly one of my favorite looks this whole catalog — it has that hand-painted, watercolor feel that pairs beautifully with almost any occasion.
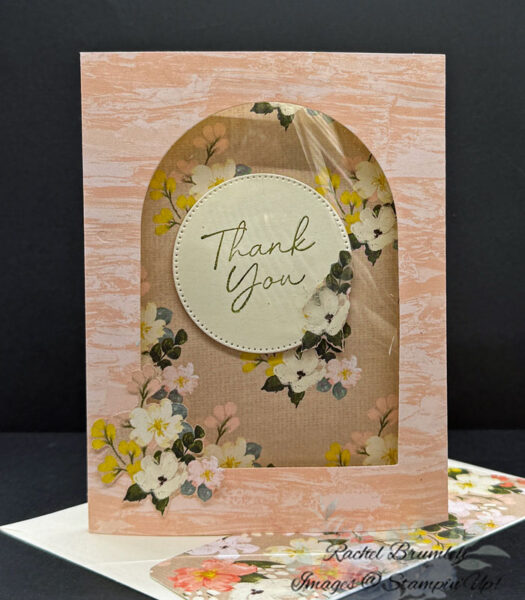
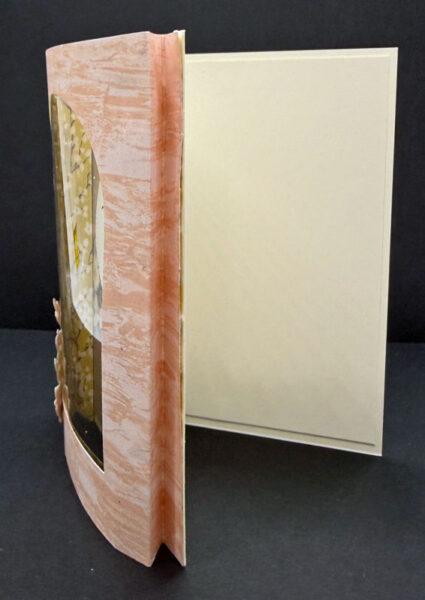
From there, the arched Window was die cut right onto the Brushed With Beauty Designer Series Paper (DSP). The DSP was cut to 6 1/4″ x 5 1/2″, then scored at 1″ on each side. Flipping it over, another score was added at 1/2″ on each side, and the panel folded with the 1″ sections toward the middle and the 1/2″ sections toward the edge, forming a “z” fold.
A layer of Window Sheet, cut to 5″ x 4″, was attached to the back of the arched window to give it that lovely peek-through effect. Next came a 5″ x 4″ layer of the Brushed with Beauty DSP, added to the front of the base card. The “Thank You” sentiment was stamped on Very Vanilla Cardstock with Mossy Meadow Ink, then die cut with a circle die from the Stylish Shapes Dies.
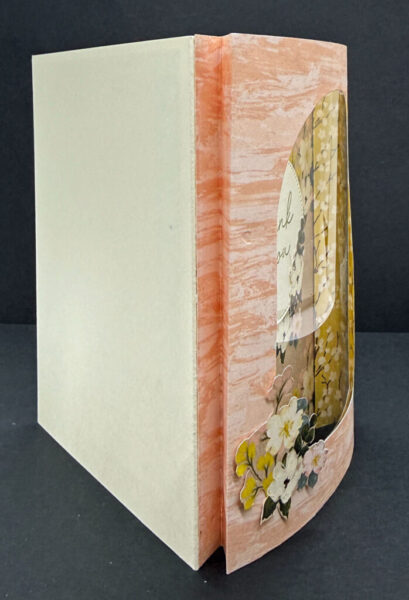
Behind the window, more of that same dreamy floral Brushed with Beauty DSP was layered in, letting the blossoms peek through in soft pinks, buttery yellows, and touches of sage green. A scalloped circle finished things off, popped right over the window so it feels like the perfect little focal point nestled among the flowers.
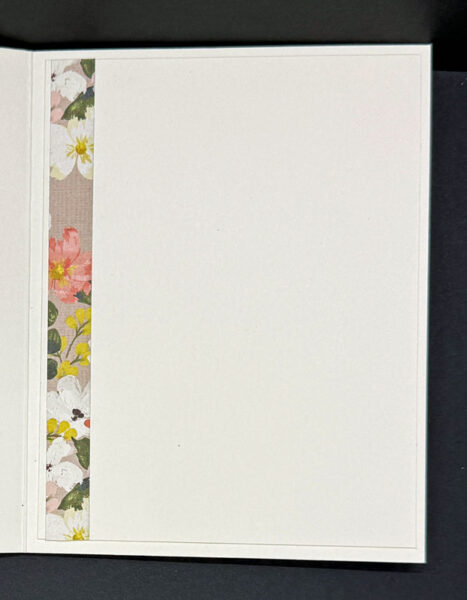
For the inside, Very Vanilla Cardstock was cut to 5 1/4″ x 4 1/4″ and added as the base, with a strip of the DSP attached along the left side for a little extra charm.
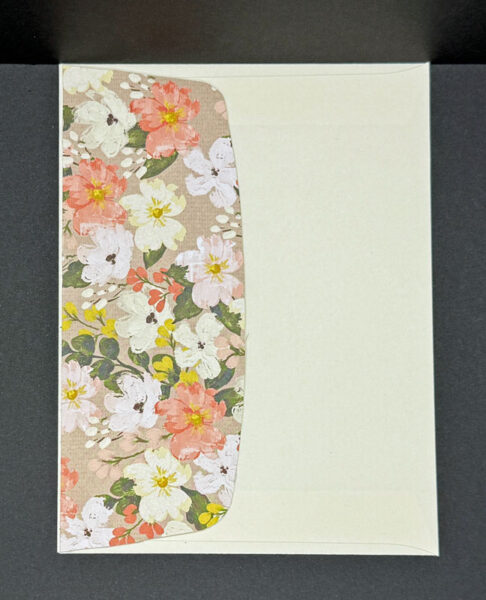
And because you all know I can never leave a plain envelope alone, the floral theme made its way onto the envelope flap too! It’s such a small touch, but it makes opening the mail feel like a tiny celebration, and every part of a card — even the parts your recipient sees for just a second — deserves a little love.
This one came together so quickly, and it is proof that sometimes the simplest techniques (a window, a sentiment, and gorgeous designer paper) make the biggest impact
I would love to hear from you! Would you keep this arched window design simple like I did, or dress it up with extra layers and embellishments? Drop your answer in the comments below — I read and reply to every single one, and I just might feature your idea in a future post! 💬
If you’d like to get your hands on any of the products I used today, just click the links in the shop below. And if you’re not already a part of my Stampin’ Addicts Facebook community, come join us! We share cards, tips, and so much inspiration every single week. I’d love to see you there!
Thanks so much for stopping by today! I hope this card sparked some inspiration for your next crafting session. Be sure to browse through my Card Gallery for even more ideas—there’s always something new to try with your Stampin’ Up! supplies!
I truly appreciate you being part of my crafting community. Whether you need to stock up on supplies or just want to chat about your next project, I’m always here to help. Feel free to reach out anytime by phone or email—I love connecting with fellow crafters!
Happy stamping, and I’ll see you in the craft room soon!

Supplies
I don’t get around to crafting much these days but I love seeing all your works of art! Beautiful card as is, simplicity and elegance.
We hope you’re doing well.
Xoxo Angie &Tom
Thank you Angie. Miss you guys and think of you – hope I get to see you during one of my California trips! Love you, Aunt Rachel