Good Morning Crafters!
June is a busy month at Stampin’ Up!

- June Paper Pumpkin – Welcome Inn
- Designer Series Paper Sale
- Now is the perfect time to sign up as a demonstrator

The Fresh as a Daisy Designer Series Paper and the Cheerful Daisies Bundle are both favorites of mine. And the new in-colors are growing on me. I am really liking Moody Mauve, Wild Wheat and Pebbled Path the more I use them. I fell in love with Boho Blue from the 1st and hope that it eventually becomes a core color. What is your favorite new ink color?
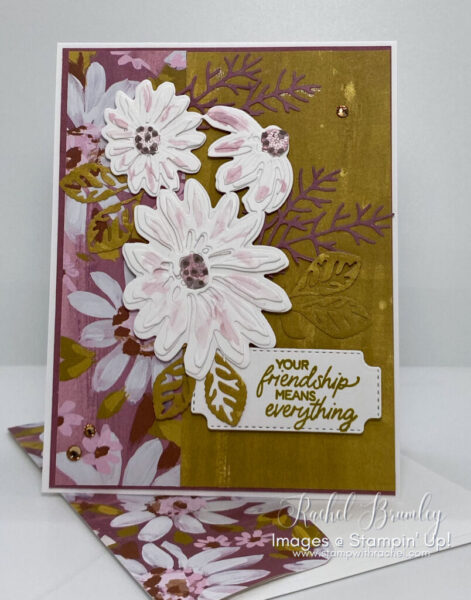
Cut out a garden of happy daisies in seconds with the Cheerful Daisies Dies. The flowers, stems, and leaves are all separate so you can create a single stemmed flower or fill a landscape with a bed of flowers and greenery. There’s also a label die so you can cut out a stamped sentiment and add it to your cards. These dies are the easiest way to make your crafting bloom!
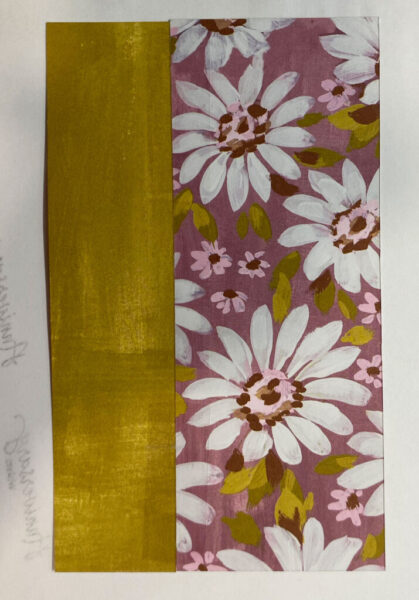
For the background, I used the Fresh as a Daisy Designer Series Paper featuring both sides of the pattern paper. To save as much as this gorgeous paper as I can, I don’t overlay them. I butt the two pieces together using scotch tape on the bottom side to secure the pieces.
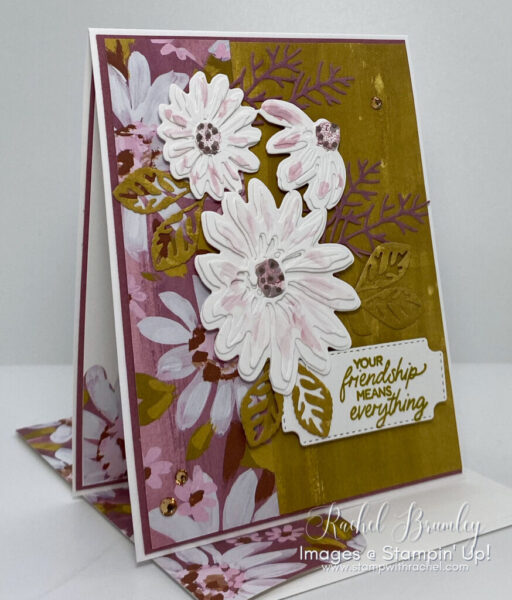
I cut the trio of daisies using the large die in the die set. I then cut the coordinating dies to add three layers to each daisy. After that, I lightly brushed the tops with Moody Mauve Ink and a Water Painter. Additionally, I colored the center of each daisy with Moody Mauve and added spots over this with the Pebbled Path Stampin’ Blends Marker.
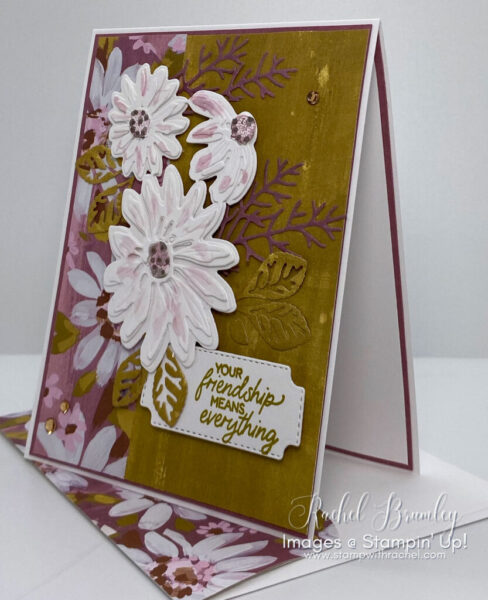
The leaves were die cut with the leaf die using Wild Wheat Cardstock and the sprigs were cut using the Moody Mauve Cardstock. The sentiment was stamped with Wild Wheat Ink on Basic White Cardstock and cut with the sentiment die in the Cheerful Daisies Dies.
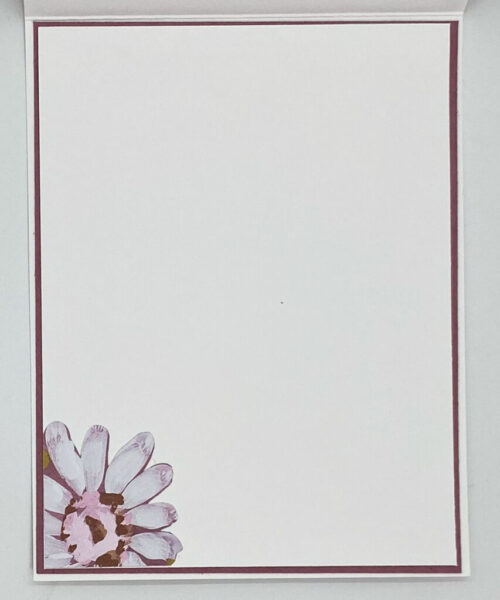
This is the inside of the card. I used an extra layer (Moody Mauve Cardstock) to balance the weight of the front of the card because of the layering of the daisies. The daisy on the inside was fussy cut from the DSP and attached with the Multi-purpose liquid Glue.
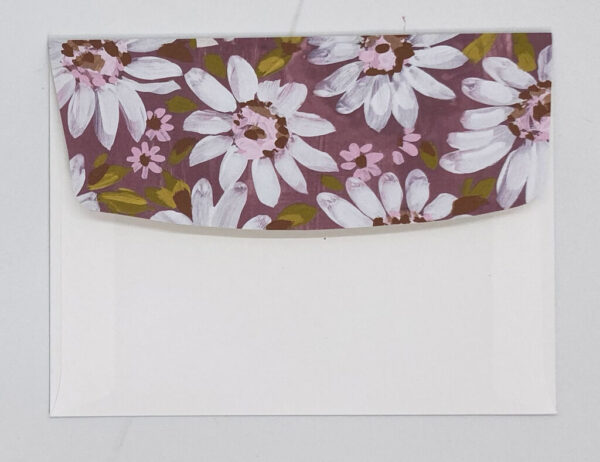
The envelope flap was embellished with the same DSP as the front.
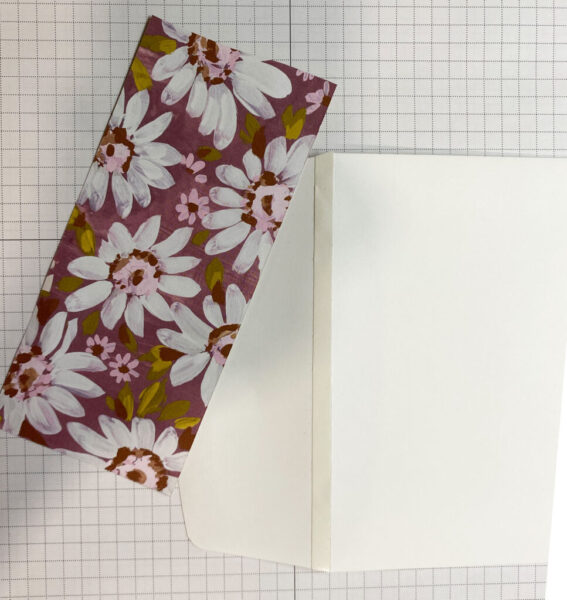
When I have several layers on the card, I know that the DSP may become separated from the flap so I always use the Tear and Tape Adhesive because it is stronger. I then add the Multi-purpose Liquid Glue to the rest of the flap.
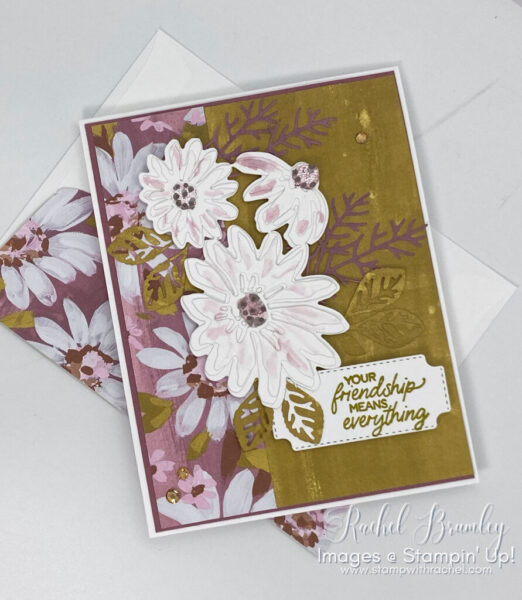
Thanks again for stopping by and spending a bit of your time with me. I hope you enjoyed learning about how this card came together. Hopefully you were even inspired just a bit. If you enjoyed my project for today, please be sure to visit my Card Gallery for lots of ideas and inspiration. Have a great day!

If you need any items to make the above project and/or stampin’ supplies, I’d be very happy to be your demonstrator. Just click on this link for instant access to my store.
Or you can drop me an e-mail if you have any questions or would like for me to place the order for you.
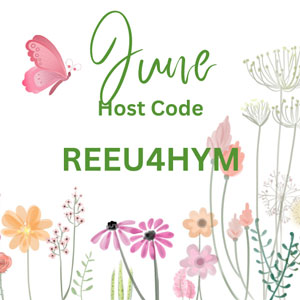
The June Host Code gift is any set of Stampin’ Blends from the current catalog.


