Snowy Pines and Golden Windows: A Holiday Card from Our Home to Yours

Hi crafty friends!
Good afternoon, friends! Hello Fall, it’s finally here! Can you tell how much I love the Everyday Arches Dies? They’ve made an appearance on each of the last four cards I’ve created.
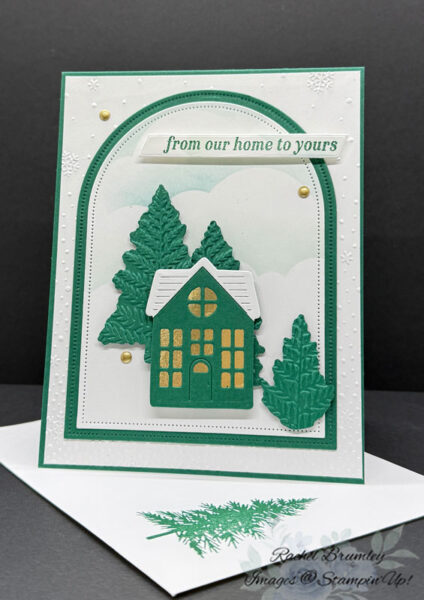
The Welcome Noel Dies make building my little Christmas village a breeze! These open dies cut out the stamped deer, evergreen trees, and houses quickly and cleanly, so all that’s left is the fun part: arranging merry Yuletide scenes on my card fronts. Add a favorite holiday sentiment, and just like that, you’ve got a card that feels traditional and full of Christmas cheer
Card Measurements
- Shaded Spruce Cardstock:
- Base Card: 11″ x 4 1/4″
- Arch panel: 5″ x 3 3/4″ (before die cutting)
- Scraps for trees and house
- Basic White Cardstock:
- Layer #1: 5 3/8″ x 4 1/8″
- Interior: 5 3/8″ x 4 1/8″
- Arch panel: 5″ x 3 3/4″ (before die cutting)
- Sentiment: 3″ x 1/2″
- Scrap for roof
- Gold Foil Sheet:
- 1 3/4″ x 1 1/4″ for lights behind house
What I Did to Make This Card
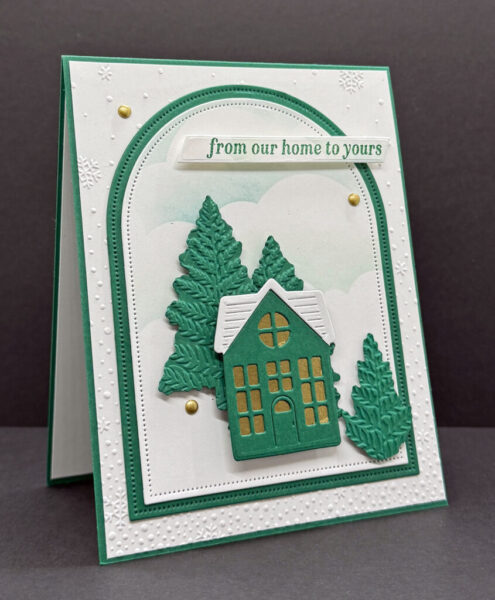
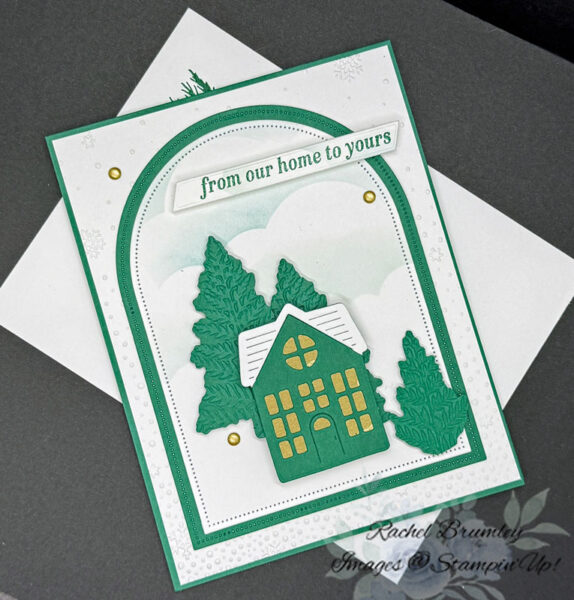
To start, I folded the base card in half, running a Bone Folder along the fold for a nice sharp crease. Next, Layer #1 went through my Snowflake Sky 3D Embossing Folder before being attached to the base card. Then I cut both the Shaded Spruce Cardstock and the Basic White Cardstock arch panels using the coordinating dies from the Everyday Arches Dies.
For a soft wintry sky, I grabbed a Blended Sponge and some Balmy Blue Ink and sponged clouds across the upper half of the white arch. That piece was then adhered to the Shaded Spruce arch, and the whole thing was attached to the front of the card.
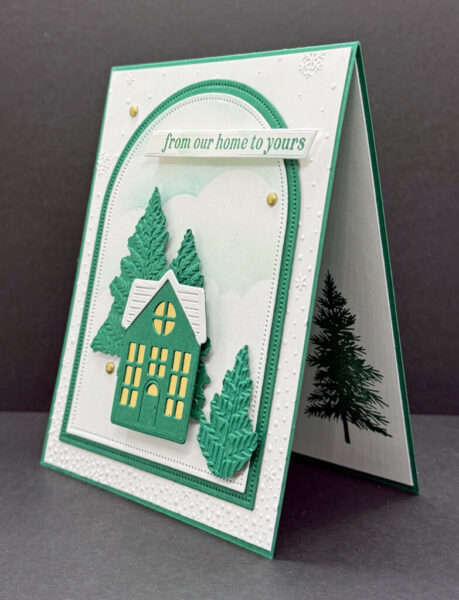
The trees were die cut with the coordinating Welcome Home Dies, and for extra texture, I ran them through the Fern 3D Embossing Folder. These were popped onto the front panel with Stampin’ Dimensionals (check out the photo for placement). The house was die cut from Shaded Spruce Cardstock using the Welcome Home Dies as well, and I tucked Gold Foil behind the windows so they look like they’re glowing from the inside. Stampin’ Dimensionals attached the house to the front panel too. A few Gold Adhesive Backed Dots added the finishing sparkle.
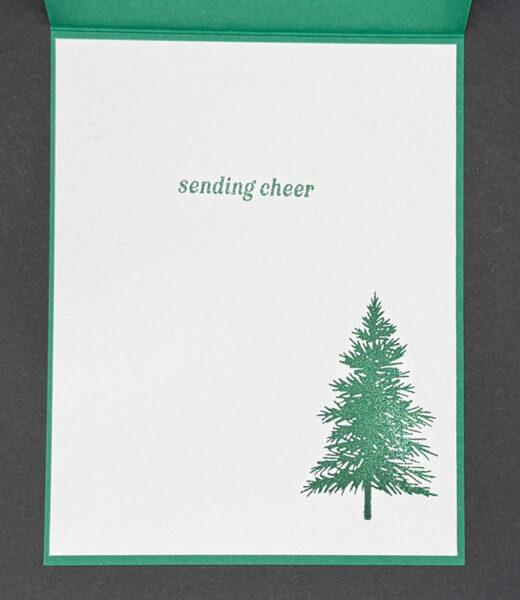
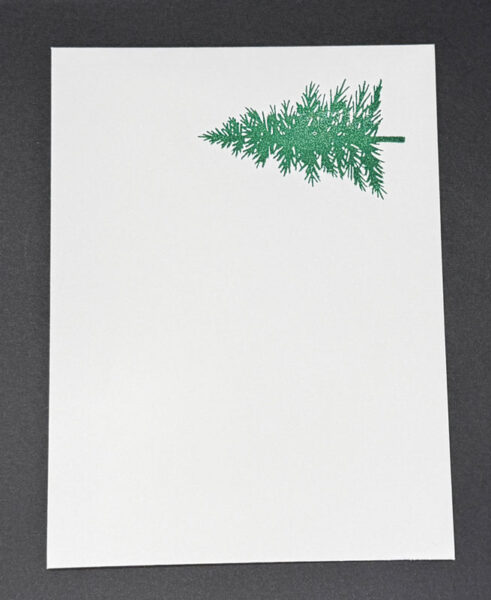
Inside, I glued the second piece of Basic White Cardstock in place. To tie everything together, I stamped the tree from the Welcome Home Stamp Set in Shaded Spruce on the interior and on the front of the Basic White Envelope.
Thanks so much for stopping by today! I hope this card gave you a little spark of inspiration for your next crafting session. Be sure to browse through my Card Gallery for even more ideas — there’s always something new to try with your Stampin’ Up! supplies!
I truly appreciate you being part of my crafting community. Whether you’re stocking up on supplies or just want to chat about your next project, I’m always here to help. Feel free to reach out anytime by phone or email — I love connecting with fellow crafters!
Happy stamping, and I’ll see you in the craft room soon!