From Our Home to Yours: A Cozy Christmas Village Card

Hello my Crafty Friends!
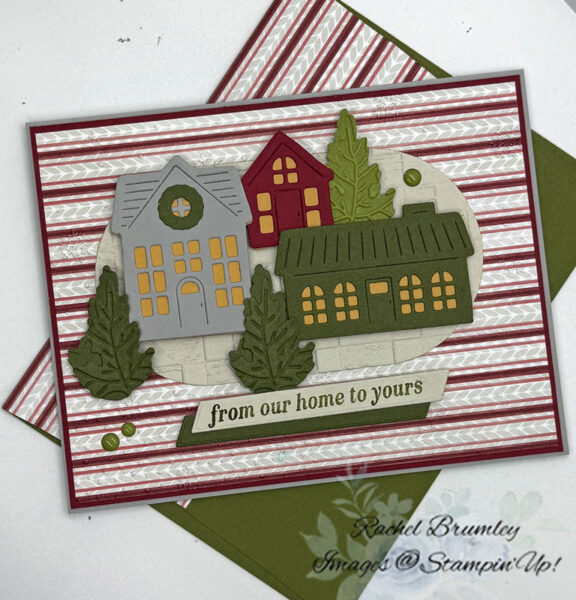
The Welcome Noel Bundle has quickly become a holiday favorite of mine, and pairing it with the A Little Christmas Designer Series Paper gave this card such a cozy, glowing-windows feel. Those little houses just make my heart happy!
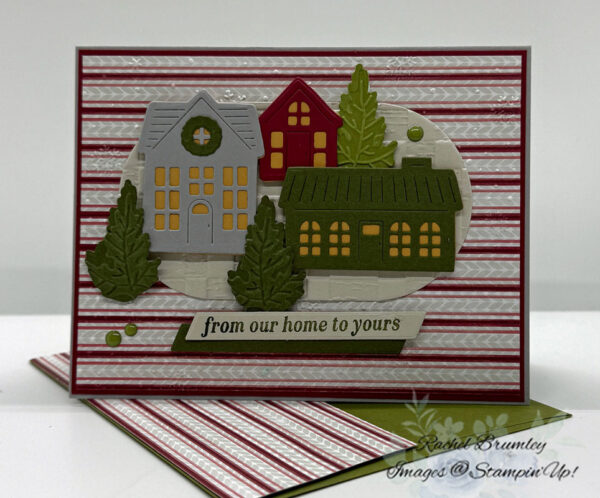
Card Measurements:
- Base Card: Smoky Slate – 8 1/2″ x 5 1/2″
- Layer #1: Cherry Cobbler – 5 3/8″ x 4 1/8″
- Layer #2: A Little Christmas DSP – 5 1/4″ x 4″
- Label Die Cut: Basic Beige – 4 1/4″ x 2 1/4″ (before cutting)
- Smoky Slate House – 2 1/4″ x 2″
- Cherry Cobbler House – 1 1/4″ x 1 1/4″
- Mossy Meadow House – 2 1/2″ x 1 1/4″
- Trees: Scraps of Mossy Meadow for two trees and Old Olive for one tree
- Sentiment: Basic Beige and Mossy Meadow – 3 1/2″ x 1/2″
- Interior: Basic Beige, plus a scrap of Basic Beige for the small tree
- Envelope Flap: A Little Christmas DSP – 6″ x 2 1/4″
Card Instructions:
Start by scoring the Smoky Slate base card at 5 1/2″ on the long side and folding it in half to create a top-folding card. The Cherry Cobbler layer goes on next, followed by the A Little Christmas DSP layer centered on top. That rich Cherry Cobbler frame really makes those stripes pop!
For the focal point, die cut the oval label from Basic Beige, then run it through the Rustic Check 3D Embossing Folder. The texture gives such a sweet cottage-wall look behind the houses. Adhere the oval to the card front, positioning it slightly above center to leave room for the sentiment below.
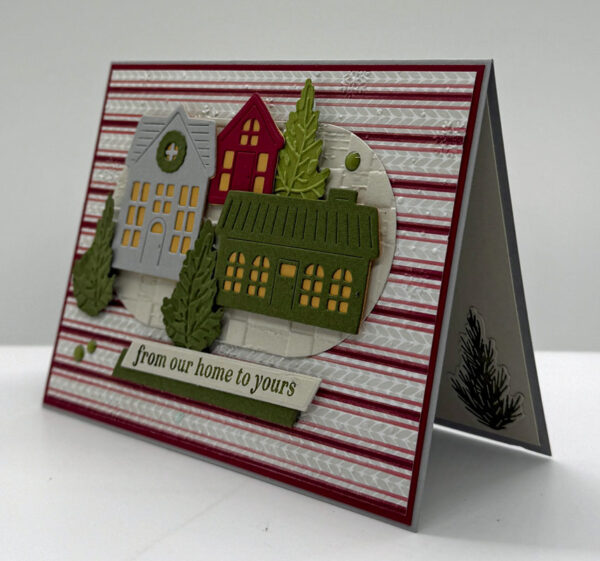
Now for the fun part: the houses! Using the Welcome Noel Dies, cut the large house from Smoky Slate, the small house from Cherry Cobbler, and the long house from Mossy Meadow. All those little windows glow so beautifully once they’re layered with Golden GlowCardstock. Next, die cut two trees from Mossy Meadow scraps and one from Old Olive. Arrange the houses across the oval, tucking the Cherry Cobbler house behind the others and letting a tree peek out from between them. Add the remaining trees along the front edges. Popping a few pieces up on Stampin’ Dimensionals adds wonderful dimension.
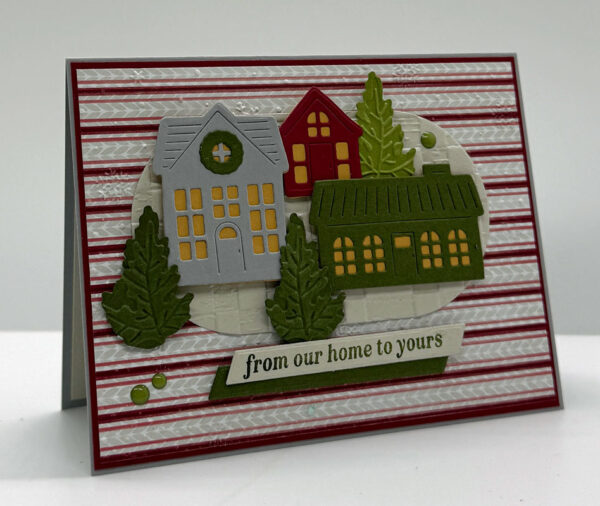
Stamp the sentiment in Mossy Meadow Ink from the Noel Tidings Bundle onto the Basic Beige strip, then layer it over the Mossy Meadow banner and adhere it just below the oval. A few Moody Palette Glossy Dots sprinkled around the card front add the perfect finishing sparkle.
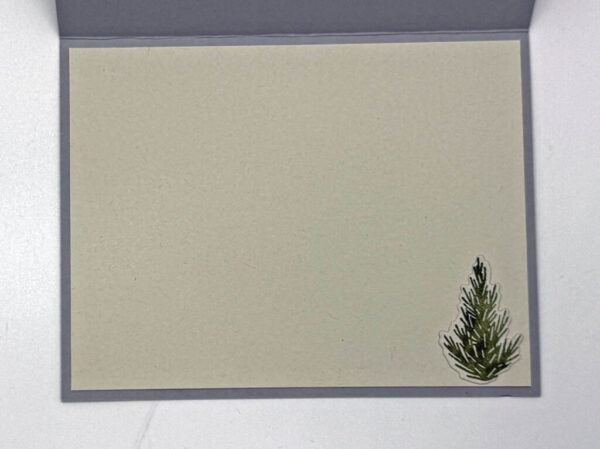
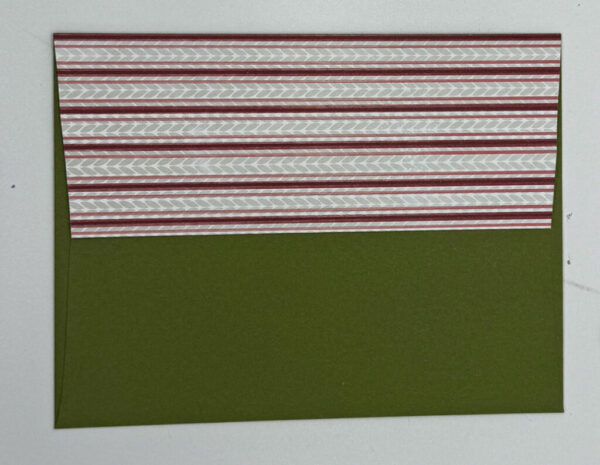
Inside, add the Basic Beige layer and decorate it with the small tree cut from the Basic Beige scrap, keeping things simple so there’s plenty of room for a heartfelt note. Finally, dress up the envelope by adhering the A Little Christmas DSP strip along the flap. It’s such an easy way to make the whole set feel finished and festive!
Thanks so much for stopping by today! I hope this card gave you a little spark of inspiration for your next crafting session. Be sure to browse through my Card Gallery for even more ideas — there’s always something new to try with your Stampin’ Up! supplies!
I truly appreciate you being part of my crafting community. Whether you’re stocking up on supplies or just want to chat about your next project, I’m always here to help. Feel free to reach out anytime by phone or email — I love connecting with fellow crafters!
Happy stamping, and I’ll see you in the craft room soon!