DIY: Leaping into the Season with A Little Christmas Designer Series Paper

Hi Crafty Friends
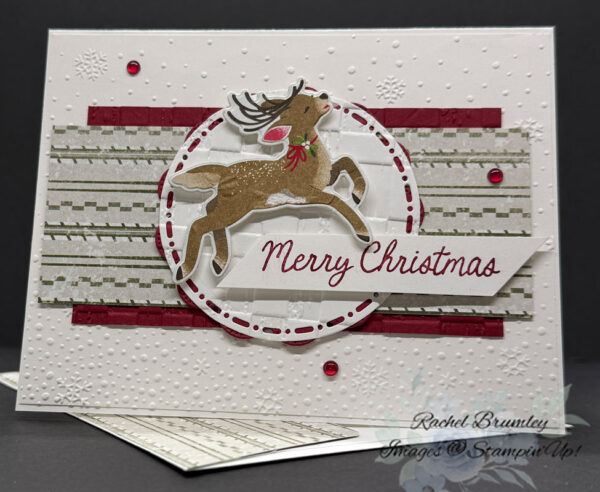
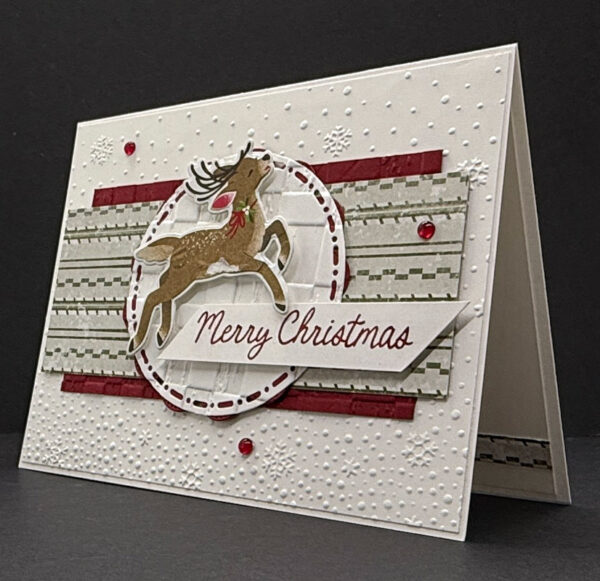
Look what turned up while I was digging through a stack of papers on my desk: this sweet little leaping deer! 🦌 I honestly can’t remember if it’s from last year or the year before, but it was way too cute to stay hidden, so it became the star of today’s card.
To go with it, I picked the A Little Christmas Designer Series Paper (DSP). This collection is full of cozy, storybook charm, with adorable mice decorating, baking, and caroling their way through the holiday season. 🐭🎄 These cheerful, festive papers bring so much detail and heartfelt character to handmade projects, and they’re a joy to work with!
Card Measurements:
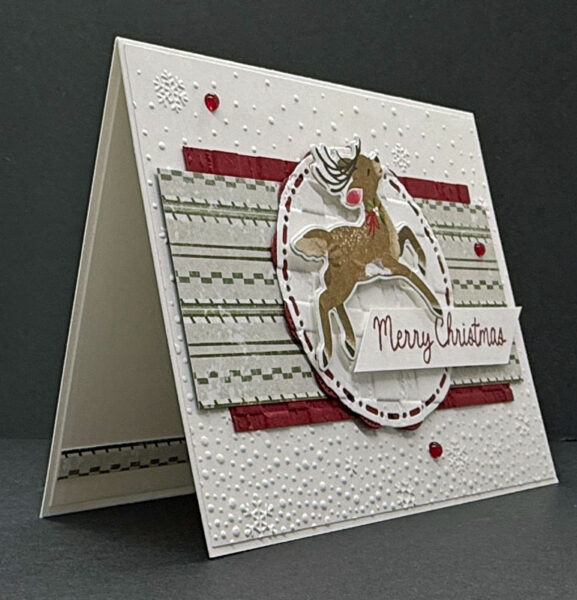
Start with a Basic White Thick Cardstock base cut to 8 1/2″ x 5 1/2″. For the front, Layer #1 is Basic White Cardstock at 5 3/8″ x 4 1/8″, Layer #2 is Cherry Cobbler Cardstock at 4 3/8″ x 2 3/8″, and Layer #3 is the A Little Christmas DSP at 5″ x 2″. Layer #4 is Cherry Cobbler Cardstock at 3 1/4″ x 3 1/4″, Layer #5 is Basic White Cardstock at 3″ x 3″, and the sentiment is Basic White Cardstock at 3 1/2″ x 5/8″. Inside the card you’ll need Basic White Cardstock at 5 1/4″ x 4″ and a DSP strip at 5 1/4″ x 1/4″, and the envelope flap uses a piece of DSP at 6″ x 2 1/4″.
Tools:
Layer #1 gets its snowy texture from the Snowflake Sky 3D Embossing Folder, and the Rustic Checkboard 3D Embossing Folder adds dimension to Layers #3 and #5. Layer #5 is cut with the Spotlight on Nature Dies and Layer #4 with the Scallop Blooms Dies. The sentiment comes from the Christmas Mice Stamp Set, and the Cherry Cobbler & Pearl Adhesive-Backed Series adds a little sparkle to the front of the card.
Instructions:
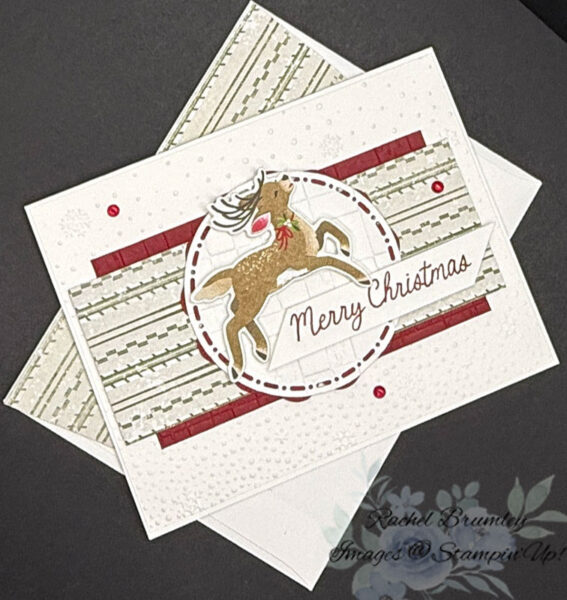
Take the Basic White Thick Cardstock, cut it to 8 1/2″ x 5 1/2″, and fold it in half, using a Bone Folder for a nice, crisp crease. Emboss Layer #1 with the Snowflake Sky EF and attach it to the card base. Next, cut the Cherry Cobbler Cardstock and adhere it to the front of the card, then add the 5″ x 2″ piece of DSP on top (see the photo for placement). Die cut Layer #4 with the coordinating die from the Scallop Blooms Dies and attach it to the card front. Die cut Layer #5 with the coordinating die from the Spotlight on Nature Dies, emboss it with the Rustic Checkboard EF, and glue it to the front of the card. Pop that cute little deer on top with Stampin’ Dimensionals , then stamp “Merry Christmas” in Cherry Cobbler Ink on the Basic White Cardstock to finish the front.
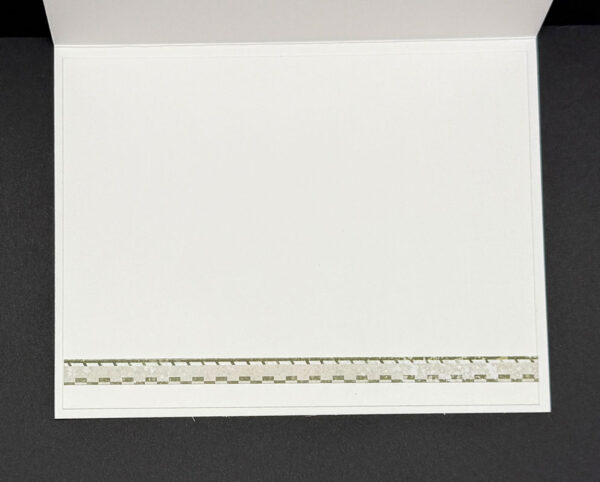
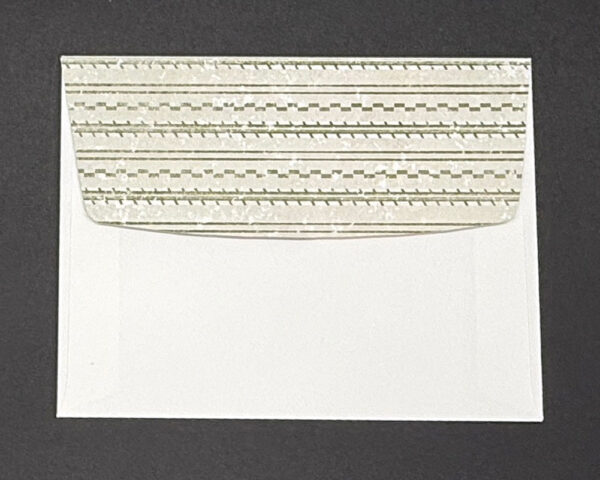
To wrap things up, cut the Basic White Cardstock for the inside, adhere it, and add the thin strip of DSP along the bottom. Last, adhere the DSP to the envelope flap and trim it to size for a sweet, coordinated finish!
Thanks so much for stopping by today! I hope this card gave you a little spark of inspiration for your next crafting session. Be sure to browse through my Card Gallery for even more ideas — there’s always something new to try with your Stampin’ Up! supplies!
I truly appreciate you being part of my crafting community. Whether you’re stocking up on supplies or just want to chat about your next project, I’m always here to help. Feel free to reach out anytime by phone or email — I love connecting with fellow crafters!
Happy stamping, and I’ll see you in the craft room soon!