Crafting Warmth: Designing a Winter Card with the Enchanting Winter Meadow Suite Collection

Hello my Stampin’ Friends!
Not only have we turned a page in our monthly calendars, but we (at least where I live) are in full autumn mode. My heat kicked on yesterday and I had to wear sweats! Yes, while I am at home, I live in sweats all winter long.🥶🥶🥶

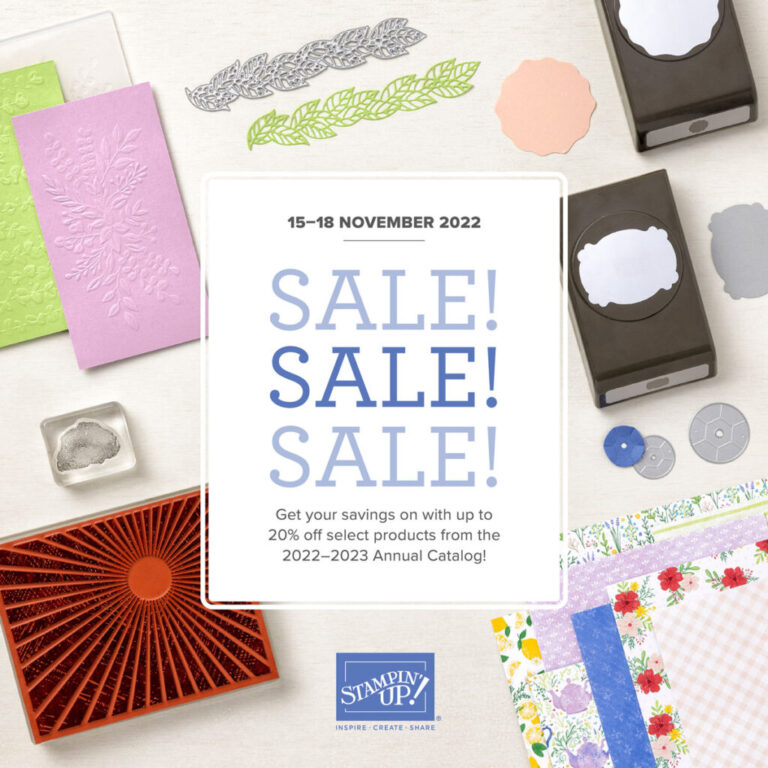
In this blog post, we’ll guide you through the creative process of making a winter card that’s perfect for sending warm wishes to your loved ones during the holiday season. Whether you’re an experienced cardmaker or just getting started with this delightful hobby, the Winter Meadow Suite Collection is sure to inspire you.

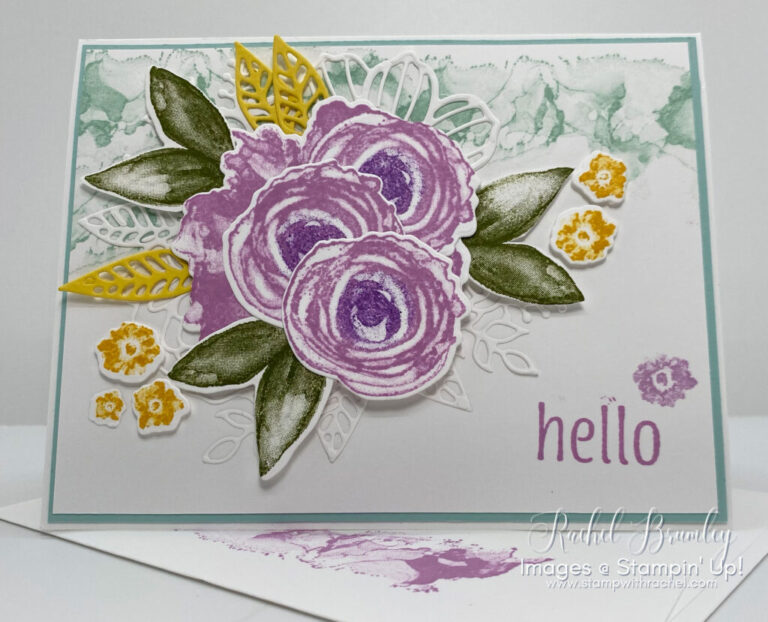
The base card is Shaded Spruce Cardstock, the next layer is one of the sheets from the Winter Meadow Designer Series Paper (DSP) which is part of the collection. The top layer is Vellum Cardstock that was embossed with the Exposed Brick 3D Embossing Folder to give it a frosty look and to tone down the pattern paper.
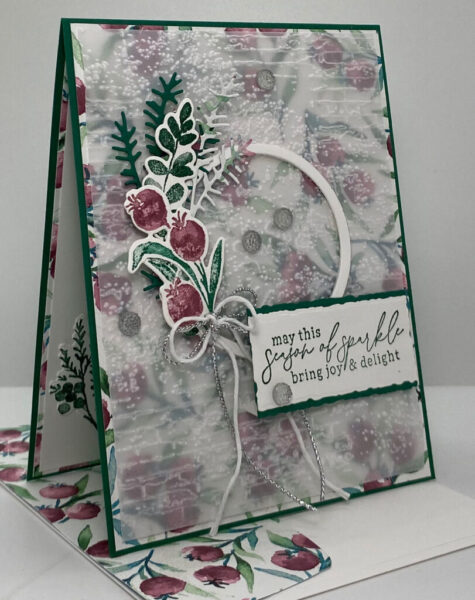
The leaves were stamped with Shaded Spruce and then cut with the coordinating die from the collection. One of the sprigs (Shaded Spruce cardstock) was cut from the coordinating die from the collection – the other one die cut using the pattern paper. The image which has the leaves and pods (I think that’s what is called) was colored in with the Shaded Spruce and Moody Mauve Stampin’ Write Markers and then cut with the coordinating die.

The ring was created using two dies from the retired Layering Circle Dies. The sentiment was stamped with Shaded Spruce Ink and cut with the smallest rectangle from the Deckled Rectangle Dies. I used White Bakers Twine from the Baker’s Twine Essential Pack and the silver trim from the Simply Elegant Trim. The jewels are from the Winter Meadow Colleciton.

For the inside of the card, I used the pattern paper for the 1st layer and Basic White Cardstock for the top layer. The spring was stamped with Shaded Spruce and cut with the coordinating die. I used the same pattern paper for the envelope flap.

Thank you for taking the time to visit my blog today. Your support and comments mean a lot to me. I hope you found today’s project inspiring and enjoyed exploring the crafty world with me. Please be sure to visit my Card Gallery for lots of ideas and inspiration. Happy crafting and I look forward to sharing more creative ideas with you in the future!

If you need any items to make the above project and/or stampin’ supplies, I’d be very happy to be your demonstrator. Just click on this link for instant access to my store.
Or you can drop me an e-mail if you have any questions or would like for me to place the order for you.
The free gift for October is anything from the catalog or online exclusive for $10 or less.
Use this month’s host code when you order $35 or greater and receive that month’s free gift from me! If your order is over $150, please do not use this code. Not using my host code (if your order is over $150) entitles you to free Stampin’ rewards and you’ll still get the monthly free gift.
Note: Make sure that you can see my name on the final checkout page listed as your Demonstrator when you order so that you know that you’re ordering with me.
To see what you can get for $10 or less, click here.

Supplies Used