Caroling Mice & Christmas Cheer with the A Little Christmas Suite Collection

Can we talk about how adorable these caroling mice are? The A Little Christmas Suite Collection has me completely smitten! It comes with coordinating craft paper, stamps, dies, epoxy shapes, and twine, so building sweet little scenes with Christmas mice, gifts, wreaths, and seasonal touches is a breeze. It’s perfect for cards, gift tags, and scrapbook pages, and every project ends up with that cozy, storybook feel. Just grab your ink, cardstock, and adhesive, and you’re ready to go!
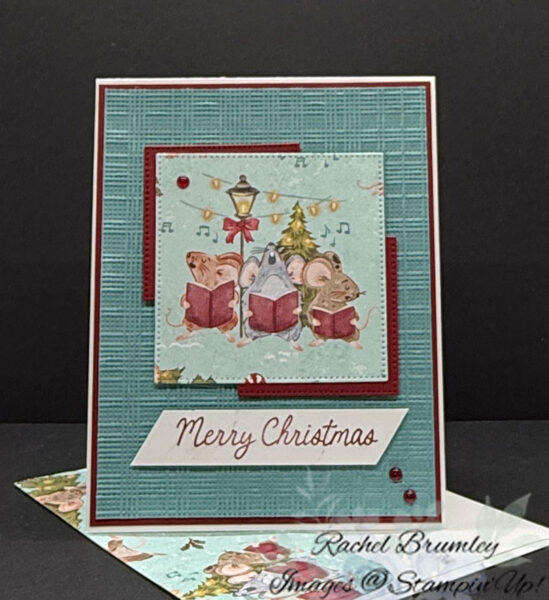
Card Measurements:
- Basic White Cardstock:
- Card base: 11″ x 1 1/4″
- Sentiment: 4″ x 3/4″
- Interior: 4″ x 5 1/4″
- Cherry Cobbler Cardstock
- Layer #1: 5 3/8″ x 4 1/8″
- Layer #1: 5 1/4″ x 4″ for interior
- 2″ x 2″ (before die cutting)
- Lost Lagoon Cardstock
- Layer #3: 5 1/4″ x 4″
- A Little Christmas Designer Series Paper
- Front Panel: 3″ x 3″ before die cutting
- Scrap (small mouse) for interior
- Envelope Flap: 6″ x 2 1/4″
How I made this card:
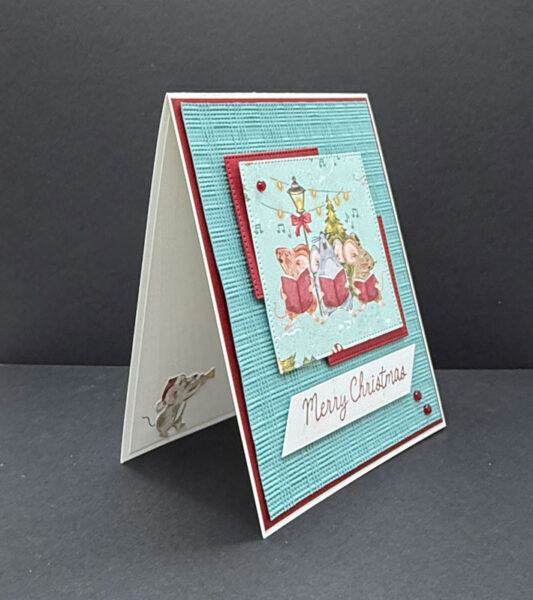
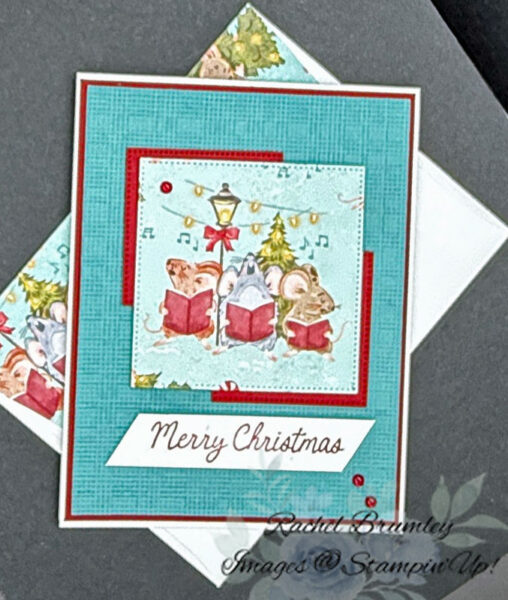
To start, I folded the card base in half and ran a Bone Folder over it for a nice, sharp crease. Layer #1 went onto the card base with Multipurpose Liquid Glue. Next, I embossed Layer #3 (Lost Lagoon) with the Softly Woven 3D Embossing Folder. That texture is so pretty! Then I adhered it to the base.
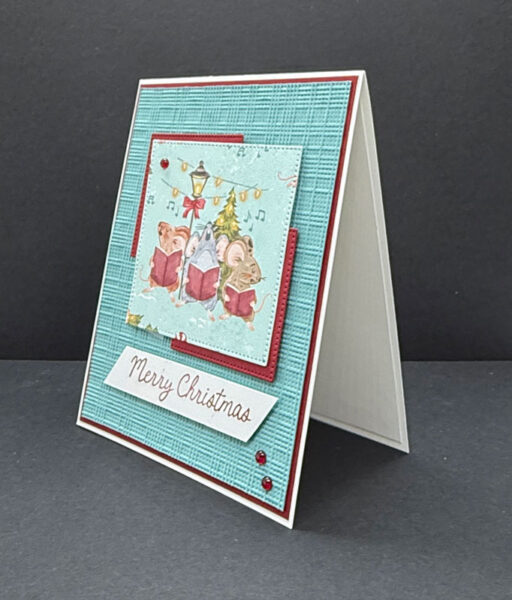
Now for the fun part! I cut the 2 small pieces with the squares die (3rd from largest) and set them aside. Then I cut the 3 singing mice from the A Little Christmas DSP using the 2nd from largest die in the Stylish Shapes Dies. All 3 pieces went onto the card front with Stampin’ Dimensionals (check the pic for placement). The sentiment is stamped in Cherry Cobbler Ink on a strip of Basic White Cardstock, trimmed with the Detail Scissors and popped up with more Stampin’ Dimensionals. To finish, I tucked 3 berries from the Cherry Cobbler & Pearl Adhesive-Back Berries randomly around the front for a little extra interest.
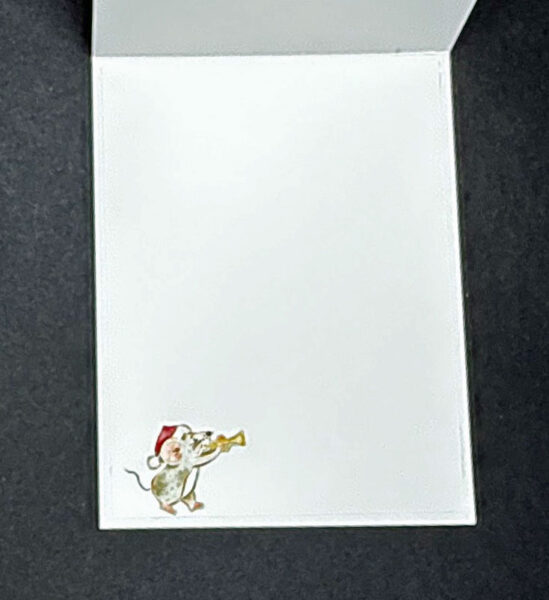
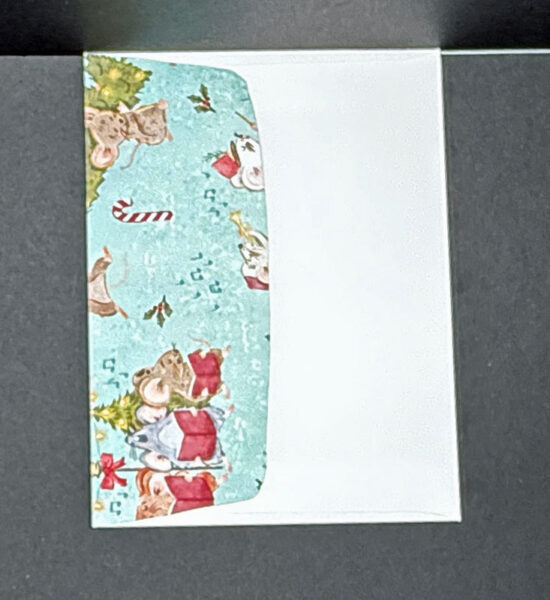
Inside, a Layer #1 piece of cardstock lines the card, and a fussy-cut little mouse sits in the lower left corner, attached with glue. I covered the envelope flap with the same DSP too, which gives the whole set a polished, finished look.
Thanks so much for stopping by today! I hope this card gave you a little spark of inspiration for your next crafting session. Be sure to browse through my Card Gallery for even more ideas — there’s always something new to try with your Stampin’ Up! supplies!
I truly appreciate you being part of my crafting community. Whether you’re stocking up on supplies or just want to chat about your next project, I’m always here to help. Feel free to reach out anytime by phone or email — I love connecting with fellow crafters!
Happy stamping, and I’ll see you in the craft room soon!


Supplies