Framed in Violets Sneak Peek!
Hi Crafty Friends
Several things happening in the month of June – stay tuned for details
- June Kits Collection (available 2 June)
- June Product of the Month
- Paper Pumpkin Subscription for Bikes & Blooms
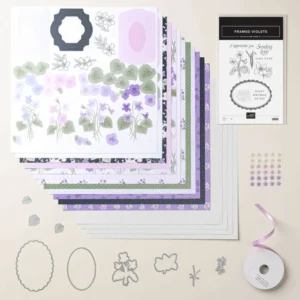
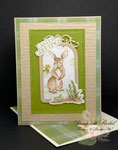
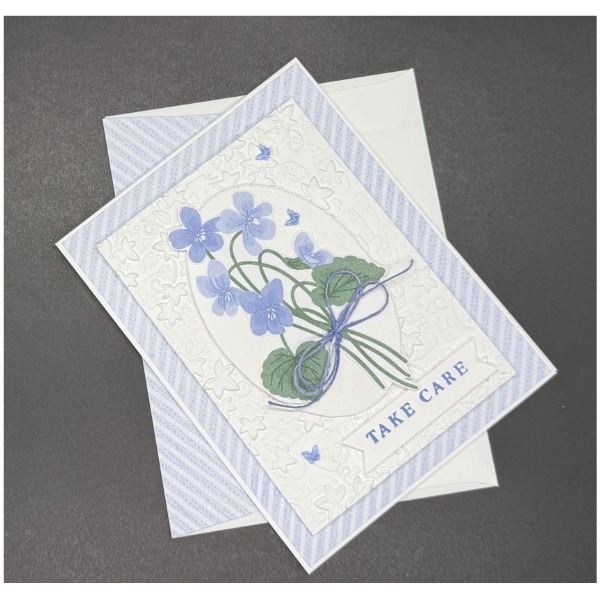
Today I’m sharing a card I made from the Framed Violets Dream Suite Collection — part of the Online Exclusives lineup, available in July! Everything you need to create frame-worthy florals is right here: coordinating paper, stamps, and dies, plus striped glitter paper for a touch of shimmer. Finish with soft floral embellishments and satin ribbon for projects that feel personal and polished. Just add ink, cardstock, and adhesive!
Card Measurements:
- Base card: Basic White Thick Cardstock (11″ x 4 1/4″). Fold in half to create 5 1/2″ x 4″ card.
- Layer #1: Violet Dreams Designer Series Paper (DSP) (5 3/8″ x 4 1/8″)
- Layer #2: Basic White Cardstock (4 3/4″ x 3 1/2″)
- Layer #3: Oval – cut out from Violet Dreams DSP
- Layer #4: Floral Spray – cut out from Violet Dreams DSP
- Sentiment: Basic White Cardstock (2 1/2″ x 1/2″)
- Inside Card:
- Layer #5: Basic White Cardstock (5 1/4″ x 4″)
- Strip: Violet Dreams DSP (5 1/4″ x 1/4″)
- Envelope Flap: Violet Dreams DSP (6″ x 2 1/4″

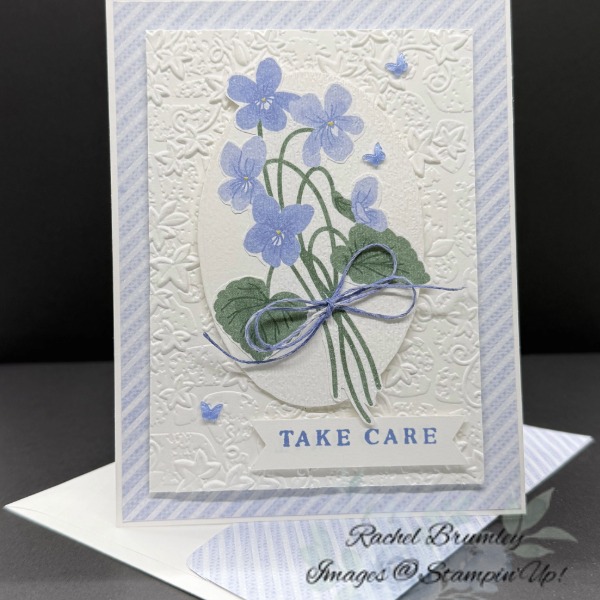
To start, I cut a piece of the Violet Dreams DSP and adhered it as the bottom layer. Then I cut a piece of Whisper White cardstock, ran it through my embossing machine using the Stone & Vines 3D Embossing Folder and layered it on top of the DSP with Stampin’ Dimensionals.
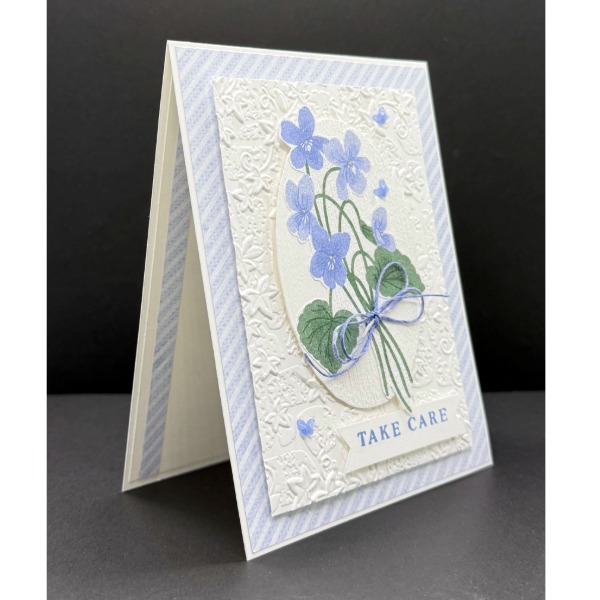
Next, I die cut an oval using the Framed Violets Dies for my focal panel. I took the floral spray cut out from the DSP and added it to the Oval and embossed it with the Subtle 3D embossing Folder. I then tied a piece of White Baker’s Twine (colored with the Hydrangea Hue Stampin’ Blends) around the bouquet stems and finished it with a small bow. I adhered the oval over the embossed layer using Stampin’ Dimensionals for added dimension.
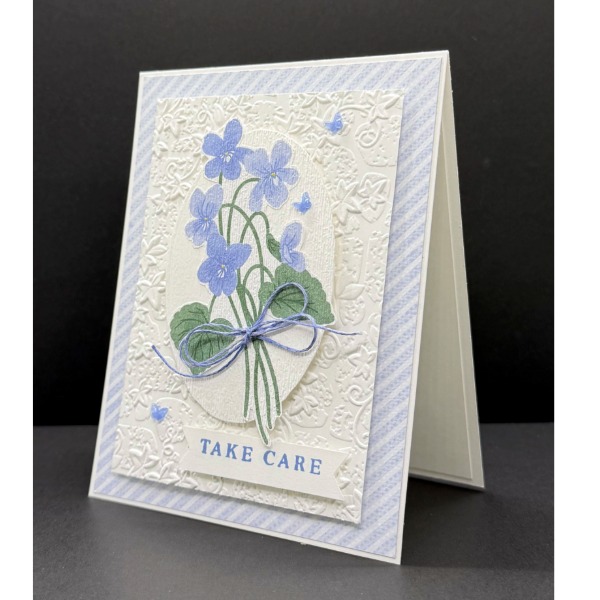
To finish the card, I stamped my sentiment onto a strip of Basic White cardstock, punched it out with the Three Banners Punch, and adhered it below the oval with Stampin’ Dimensionals. I then scattered the small butterfly embellishments around the card front for a delicate finishing touch!
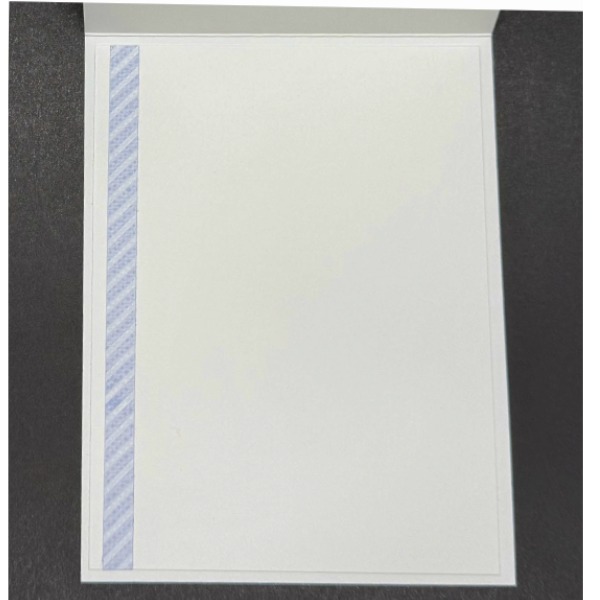
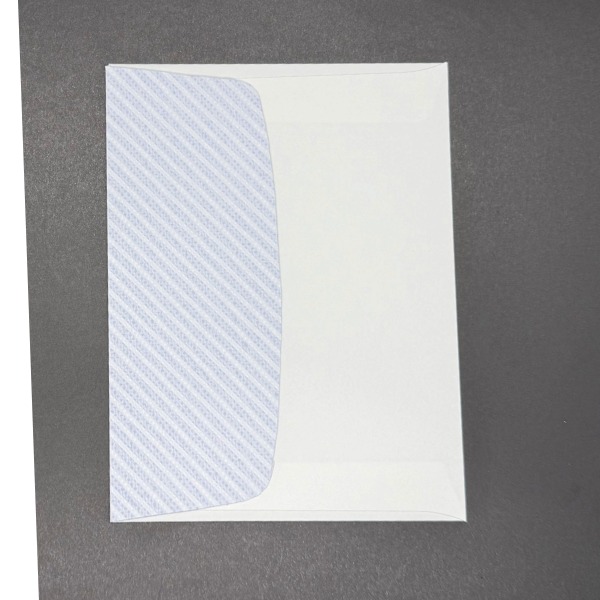
I added Layer #5 to the card, then added the strip of DSP. For the envelope flap, I used the same DSP for a more cohesive look.
I’d love to know what you think of this card! Drop a comment below and tell me.
If you’d like to get your hands on any of the products I used today, just click the links in the shop below. And if you’re not already a part of my Stampin’ Addicts Facebook community, come join us! We share cards, tips, and so much inspiration every single week. I’d love to see you there!
Thanks so much for stopping by today! I hope this card sparked some inspiration for your next crafting session. Be sure to browse through my Card Gallery for even more ideas—there’s always something new to try with your Stampin’ Up! supplies!
I truly appreciate you being part of my crafting community. Whether you need to stock up on supplies or just want to chat about your next project, I’m always here to help. Feel free to reach out anytime by phone or email—I love connecting with fellow crafters!
Happy stamping, and I’ll see you in the craft room soon!


Supplies