
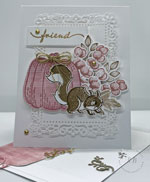
Soft & Sweet: A Thinking of You Card with the Petals of Beauty Bundle

Hi Crafty Friends!
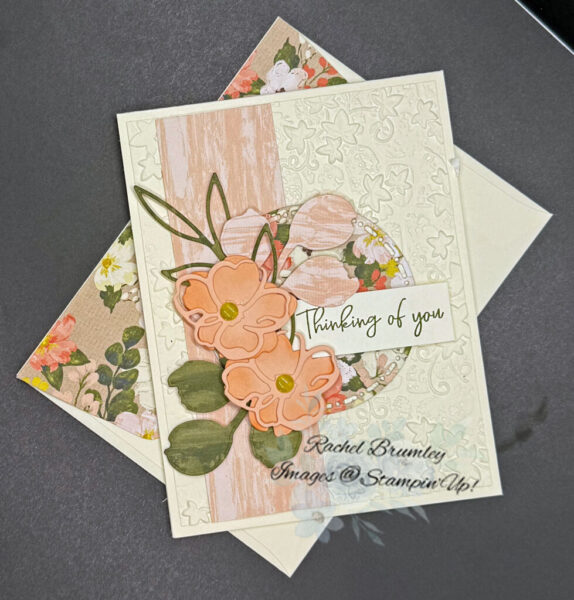
I just love the Petals of Beauty Bundle for creating stunning floral projects! It combines coordinating stamps and dies so you can build layered, dimensional blooms full of realistic detail and texture — ideal for cards, scrapbook layouts, and more. As a Two-Step Stampin’ set, it lets you layer two or more images together to create one gorgeous finished image with all the depth, dimension, and color your heart desires!

Card Measurements:
- Very Vanilla Cardstock: 1 piece 11″ x 4 1/4″, 2 pieces 5 1/4″ x 4″, and 1 piece 2 1/4″ x 3/4″
- Petal Pink Cardstock: 1 piece 3″ x 3″
- Brush with Beauty Designer Series Paper (DSP):
- Floral image 1 piece 3″ x 3″, 1 piece 5 1/4″ x 1/2″, and 6″ x 2 1/4″.
- Watercolor Wash Petal Pink: 1 piece 3″ x 3″, 1 piece 2 1/2″ x 2 1/2″ and 1 piece 5 1/4″ x 2″
- Watercolor Wash Mossy Meadow: 1 piece 2 1/2″ x 2 1/2″ and 1 piece 4″ x 2″
Card Instructions:
To begin, I folded the 11″ x 4¼” cardstock in half and used my Bone Folder for a sharper crease. Next, I embossed a piece of Very Vanilla Cardstock, cut to 5¼” x 4″, with the Stone & Vine 3D Embossing Folder and attached it to the base card. I then attached the Watercolor Wash Petal Pink DSP to the left side of the card (see card photo for placement).
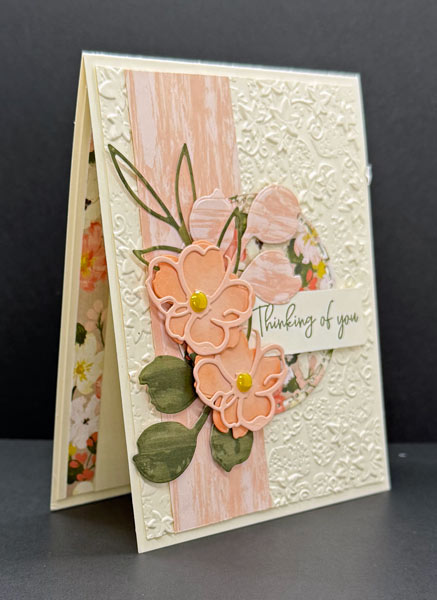
I die cut the floral DSP with the Spotlight on Nature Circle Dies and attached it to the front with Multipurpose Liquid Glue. The Mossy Meadow leaves were cut using the coordinating dies from the Petals of Beauty Dies, and the Petal Pink leaves were die cut with the coordinating dies as well.
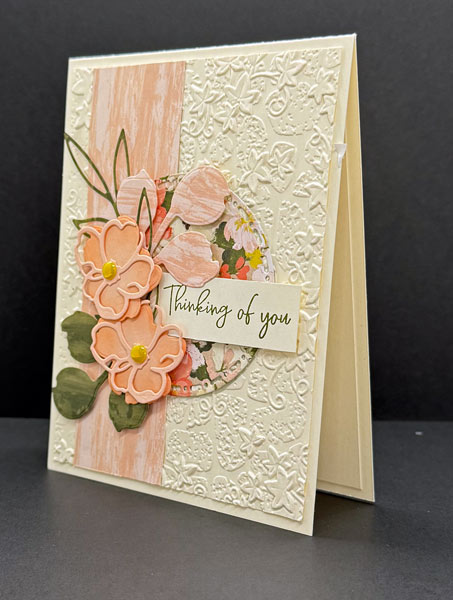
The Petal Pink Cardstock was cut using the small floral dies from the Petals of Beauty Dies, and the edges were lightly sponged with Petal Pink Ink using our Blending Brushes. I also used the detail dies for the two small floral die cuts. All of the floral and leaf die cuts were attached using Stampin’ Dimensionals, with the exception of the large leaf, which was attached with Multipurpose Liquid Glue. I assembled everything in the following order: (1) Large Leaf, (2) Floral Die Cuts, and (3) Mossy Meadow and Petal Pink Leaves.
The sentiment was stamped on Very Vanilla Cardstock with Mossy Meadow Ink, trimmed, and attached to the front with Stampin’ Dimensionals. To finish, I added two pearls to the centers of both floral die cuts.
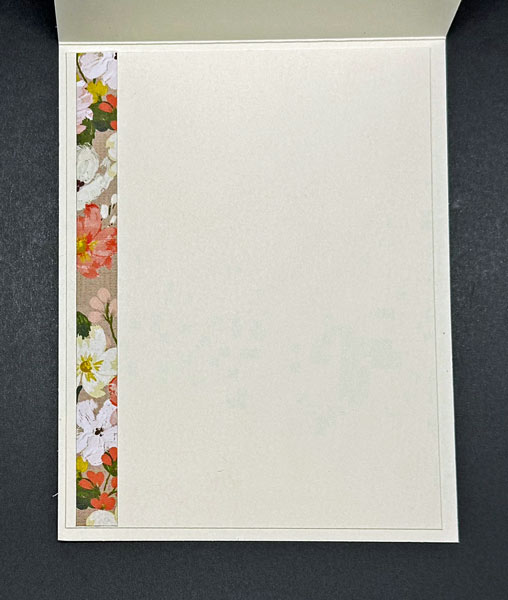
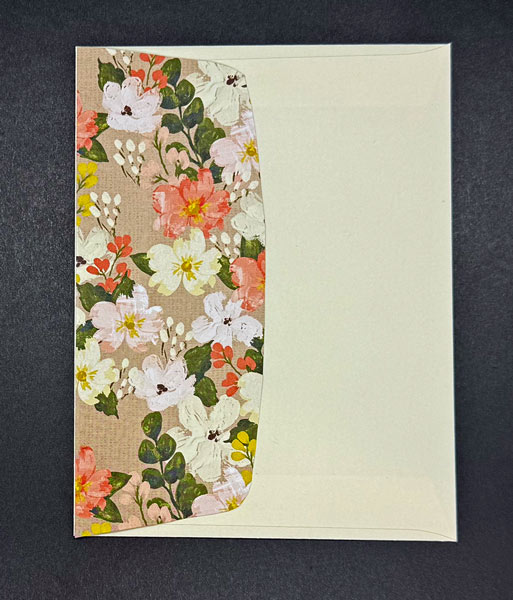
For the inside of the card, I adhered a layer of Very Vanilla Cardstock and added a thin strip of the floral DSP. For the envelope flap, I attached a piece of the floral DSP and trimmed it to size.
Thanks so much for stopping by today! I hope this card sparked some inspiration for your next crafting session. Be sure to browse through my Card Gallery for even more ideas—there’s always something new to try with your Stampin’ Up! supplies!
I truly appreciate you being part of my crafting community. Whether you need to stock up on supplies or just want to chat about your next project, I’m always here to help. Feel free to reach out anytime by phone or email—I love connecting with fellow crafters!
Happy stamping, and I’ll see you in the craft room soon!


what stamp set was the thinking of you from ?
Jane – I’m sorry, I usually list the supplies but didn’t do it for this post. I can’t find where I got the greeting from. If I find it, I’ll let you know.
Thanks