- Free Personalized Bone Folder
- Become a Happy Shopper!
- March 2017 Host Code and Free Gift
- 2nd Release of 3 new Sale-a-bration Items
- 3rd release of new Sale-a-bration Items
- 2015-2017 In Colors are retiring
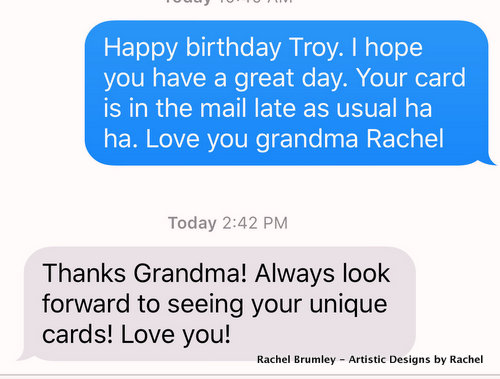
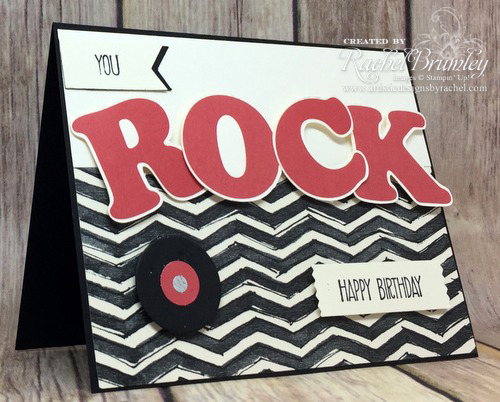
I love sending cards to my grandchildren because they seem to appreciate them so much. This is from Troy, my grandson, who is 20 years old and lives in California.
I try and make them as personal as I can (to fit their personality) and not your typical masculine card.
Card Measurements:
- Basic Black Card Stock (5 1/2″ x 8 1/2″) (base card)
- Very Vanilla Card Stock (2″ x 5 3/8″)
- Small scrap of Silver Foil Sheet
- Small scrap of Basic Black Card Stock (for record)
- Small Scrap of Real Red Card Stock (for label on record)
- Urban Underground Designer Series Paper (3 3/8″ x 5 3/8″)
- Very Vanilla Card Stock (2″ x 5 1/2″) (for letters)
- Small scrap of Very Vanilla Card Stock for greetings.
- Take Basic Black base card and score it at 4 1/4″ using the scoring blade on the Stampin’ Trimmer. Fold in half and use a Bone Folder for a sharp crease.
- Adhere Very Vanilla Card Stock and Urban Underground Oasis DSP using Liquid Multipurpose Glue.
- Using the retired My Digital Studio, print out the letters R o c k. I used my Scan N Cut to cut out the letters but you can use Paper Snips if you don’t have a cutting machine.
- Die Cut a small circle (for record) using the Layering Circle Framelits and scrap of Basic Black Card Stock
- Punch out the Real Red Card Stock for the label on the record using the 1/2″ circle punch.
- Using the Crop a Dil (retired) punch out a small dot from the scrap of Silver Foil.
- Adhere all 3 pieces together using the Liquid Multipurpose Glue
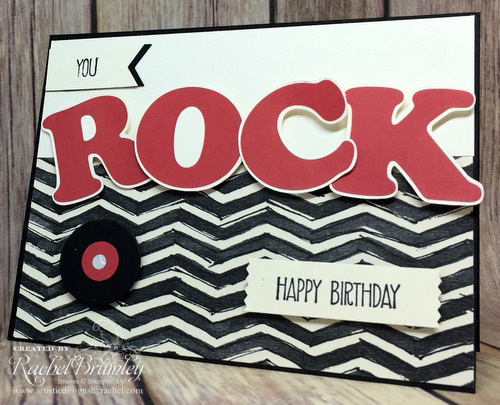
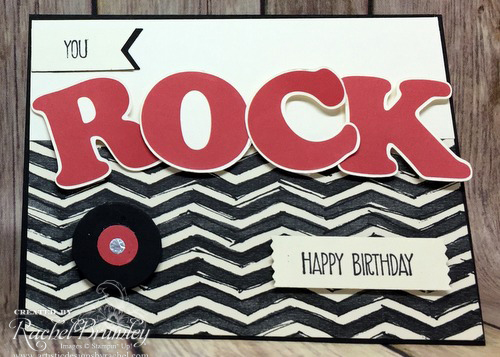
- Add to the front of the card (see picture for placement) using Stampin’ Dimensionals.
- Stamp the words “you” and “Happy Birthday” on the scrap of Very Vanilla Card Stock. The “Happy Birthday” is punched out using the retired Washi Label Punch. The “You” is cut out using the Stampin’ Trimmer and the ends with Paper Snips. The words are from the Sunshine Sayings Stamp Set.
- Adhere the letters to the front card using Stampin’ Dimensionals (see picture for placement).
- Adhere the greetings to the front of the card using Stampin’ Dimensionals (see picture for placement).
SHOP ONLINE: If you need any supplies, please click on the graphic in the sidebar (Shop Online) and it will take you right to my online store. And don’t forget to use the hostess code for a special gift from me (see sidebar).
QUESTIONS: If you have any questions, please leave me a comment or send me an e-mail.
NEED A CATALOG? I’d like to send you one if you don’t already have a demonstrator. Leave me a comment or send me an e-mail and request a catalog.
- Shop Online Anytime and Earn FREE STAMPS
- Sign Up for my Customer Newsletter (side bar – upper right)
- SHOP: Clearance Rack – Promotions – Paper Pumpkin
Product List
|
|
|||
|
|
|||
|
|
|||
|
|
|
|
|
|
|
|
|
|
|
|
|


What a fun card!!!
Congrats on the Avant Garden card recognition by Stampin’ Up!
Thanks Lisa!