I loved the Pansy Patch bundle as soon as I saw it in the new catalog! I bought the whole Pansy Petals Suite Collection so I could get the paper, embellishments, etc.
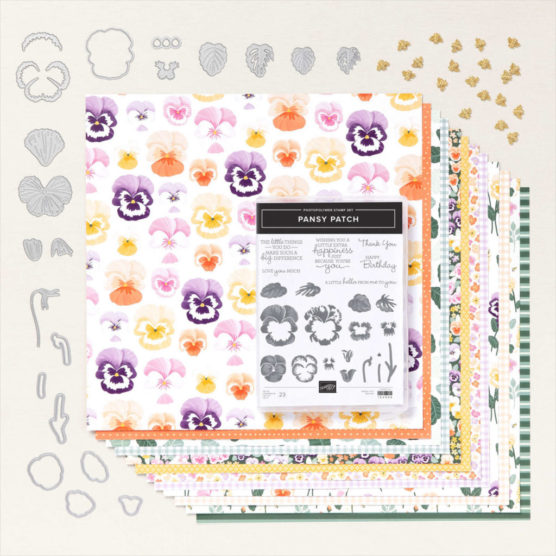
For today’s card, I’m using one of the printed images from the Pansy Petals Designer Series Paper. I cased the card created by Stampin’ Up! but change a couple of things to make it my own.
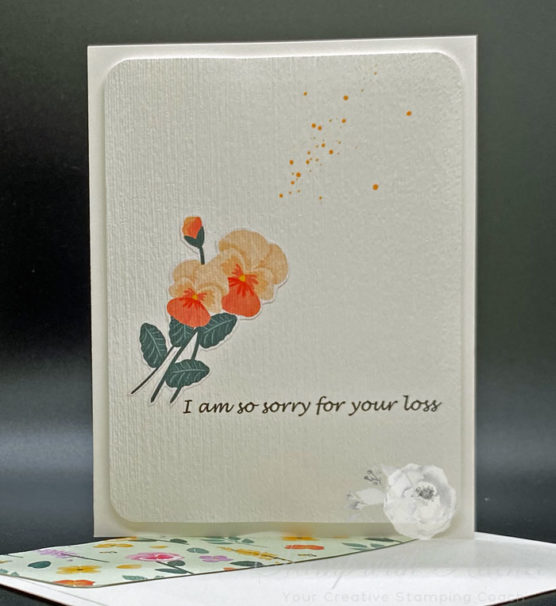
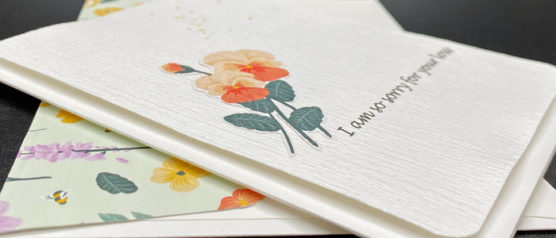
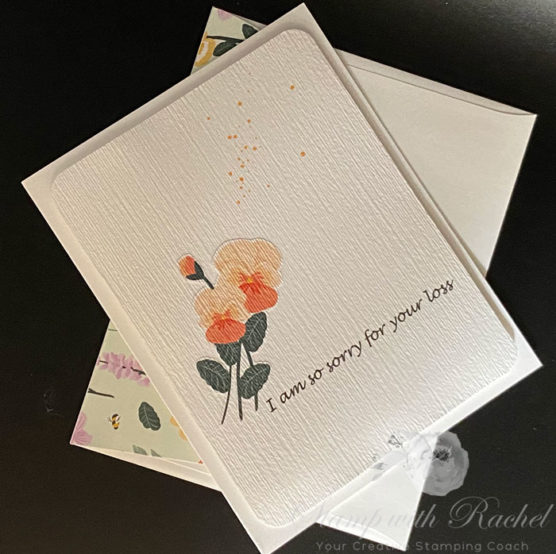
I fussy cut the flower image with our Paper Snips. I also typed the sentiment and then printed it on Basic White Thick Cardstock. After adhering the flower image to the front panel, I embossed the panel using the 3D Subtle Embossing Folder. I then lightly spritzed the front panel with the Color Spritzer Tool and the Pale Papaya Stampin’ Write Marker.
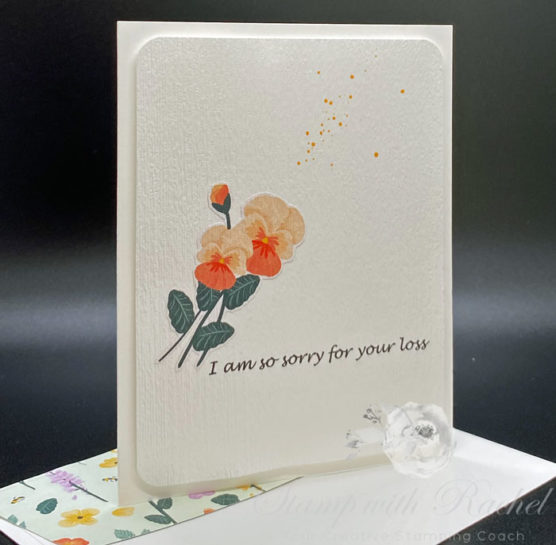
I also used some of the DSP for the envelope flap.
Thanks for stopping by today – have a great weekend!