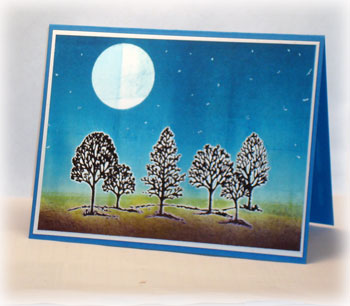
I had fun making this card but I could not have made it before Michelle 's class! Her blog is Freedom in Creating has a lot of awesome tutorials! She also has information on her upcoming classes in case you are interested.
Okay, this my first time to try and walk you through the procedure. If you have any questions about the procedures, type your comment into the chat box (left sidebar) and I'll right back to you.
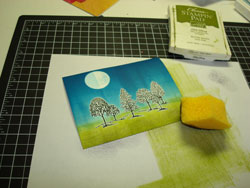
I took some pictures so that you could get an idea but I forgot to photograph some of the steps, but here goes:
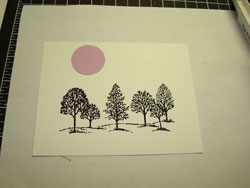
1. Stamp image with Black Craft Ink on Whisper White card stock. Add Clear Embossing Powder and use heat tool to emboss.
2. Add circle (I used the 1 1/4 circle punch) using a sticky note so that it will stick to the background.
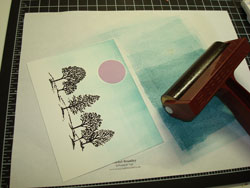
3. Ink up your brayer using Baja Breeze Two things I learned from Michelle was to ink up the brayer a lot and to start brayering on your paper before brayering on the card stock. Do not press down on the brayer while you are going over the card stock, just glide it over the paper. I brayered about five times then removed the sticky note and brayered once over the moon so that it was not too bright.
4. Ink up your brayer with Pacific Point and brayered about five time. The last 4 times, I did not go all the way to the grass line.
5. Ink up your brayer with Old Olive and brayered about five times.
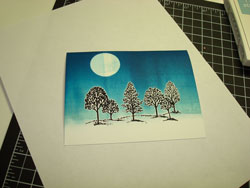
6. Sponge Basic Black all the way across the bottom using a circular motion.
7. Dot the background with a white gel pens (starry night!).
So how did I do???
Recipe:
- Stamp Set: Lovely as a Tree
- Paper: Pacific Point, Whisper White
- Ink: Pacific Point, Baja Breeze, Old Olive, Basic Black, Craft Black
- Accessories: 1 1/4 Circle Punch, White Gel Pen, Clear Embossing Powder, Heat Tool
Thanks for visiting and see you tomorrow!



Nice job thank you for sharing