


Hello Craft Friends!
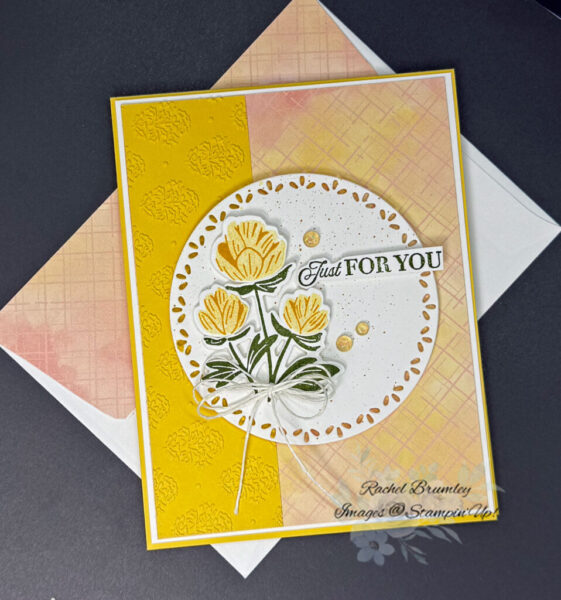
I’m so excited to share this gorgeous card I made using the Pretty Florals Bundle! I love how the golden yellow flowers paired with the soft peachy background create such a warm, autumn feel. The left side features embossed yellow cardstock that adds beautiful texture, while the right side has this lovely crosshatch patterned paper. I showcased the Pretty Florals images on a white circle, die cutting the flowers and leaves for dimension, then finished it with a simple white bow and a few sparkly yellow sequins. The “Just FOR YOU” sentiment makes it perfect for brightening someone’s day during this beautiful fall season!
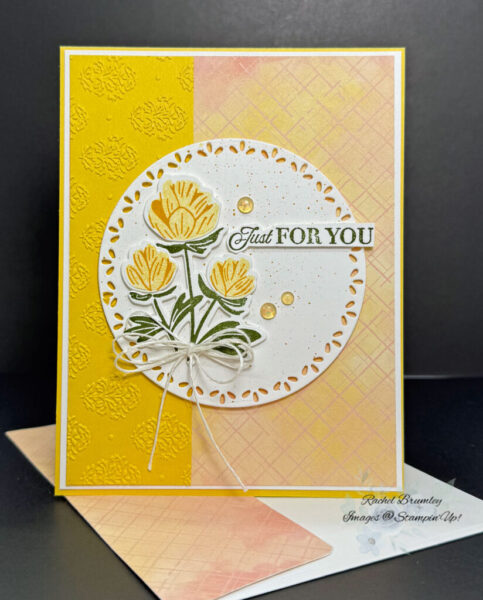
To begin, I cut Daffodil Delight cardstock to 11″ x 4 1/4″ and folded it in half using a bone folder for a sharp crease. Next, I layered Basic White cardstock (5 3/8″ x 4 1/4″) onto the base card, followed by patterned paper from the retired Hello Irresistible 6″ x 6″ Designer Series Paper(DSP). For the left strip, I cut Daffodil Delight cardstock (4″ x 1 1/2″) and embossed it with the Damask Designs Embossing Folder.
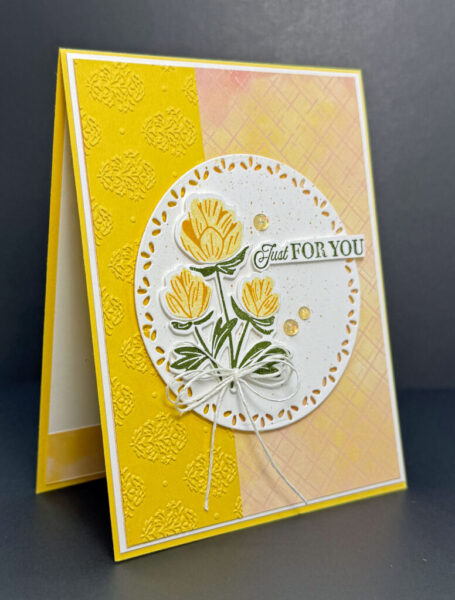
I die cut a circle from Basic White Thick cardstock (3 1/2″ x 3 1/2″) and splattered it with Daffodil Delight ink before attaching it to the base card with Stampin’ Dimensionals. For the flowers, I stamped the lined images with Daffodil Delight ink on Basic White Thick cardstock, then stamped the solid images after stamping off once for a softer tone. I stamped the stems and leaves with Mossy Meadow ink, then die cut everything using the coordinating Pretty Florals dies. After attaching the flowers to their stems with liquid glue, I positioned them on the left side of the circle.

I stamped the sentiment with Mossy Meadow ink on Basic White Thick cardstock and fussy cut it before adhering it to the right side of the circle. Using Basic Essentials Baker’s Twine, I created a triple bow, then finished the card with opal rounds from the Opal Rounds Assortment.
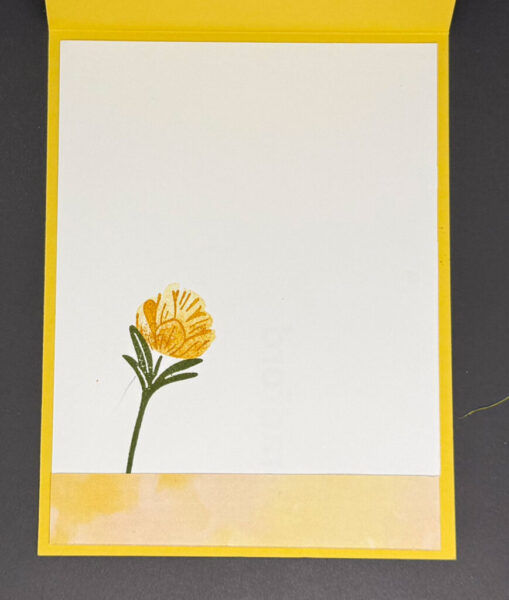
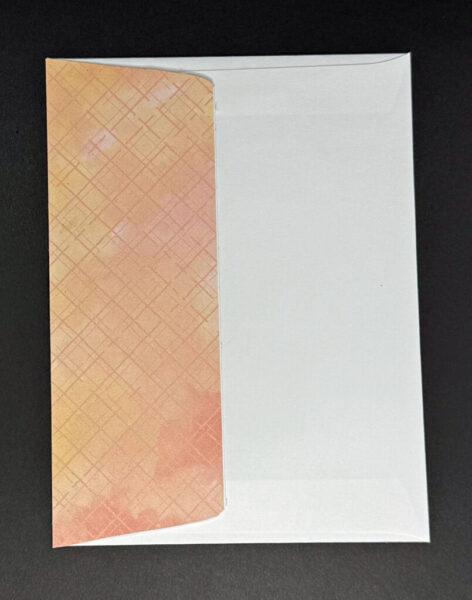
For the card interior, I added a strip of matching DSP (4″ x 3/4″) and stamped a single floral image with leaves using the same technique as the front. On the envelope, I adhered a coordinating strip of DSP (6″ x 2 1/2″) to the flap.
Thank you for visiting my blog! I hope today’s card design inspires your own Stampin’ Up! projects. Don’t forget to check out my Card Gallery for more ideas using your favorite Stampin’ Up! products. Your support means the world to me. If you need supplies or have any questions, I’m here to help as your Stampin’ Up! demonstrator—just give me a call or send me an email.
Happy stamping, and let’s keep crafting together!


Supplies
