


Hello Crafty Friends!
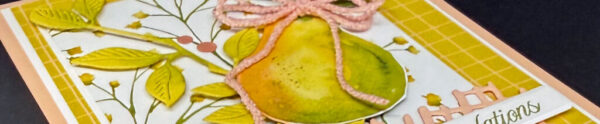
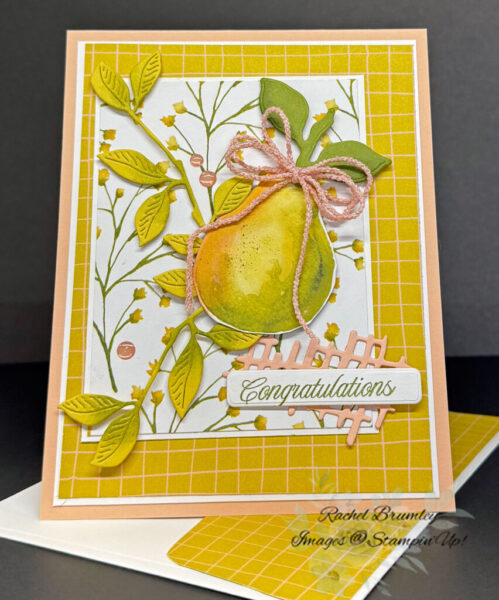
I absolutely love how this congratulations card turned out – it’s from the Perfectly Pairs Collection! The watercolored pear is the star of the show, nestled among those delicate leafy branches on a cheerful yellow plaid background. That soft coral twine tied around the pear adds such a sweet touch, and the way everything pops against the peachy base just makes me smile.
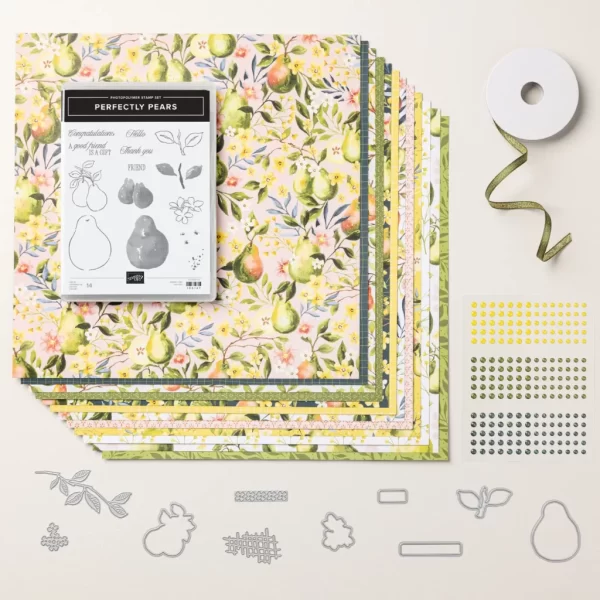
This collection is on the Last Chance List and is in low inventory.

I’m excited to share that our Last Chance list has been updated! These are some of my favorite paper crafting products that won’t be around much longer. We add new items every other month, but here’s the thing – once they’re gone, they’re gone for good! The discounts vary depending on the product, and since supplies are limited, I always tell my crafting friends to grab what they love before it disappears from the catalog.
I just purchased several items that are now on the list! Oh well.
How I Made This Perfectly Pairs Pear Congratulations Card
I started by cutting my Petal Pink cardstock to 11″ x 4 1/4″ and folding it at 4-1/4″ for my card base. Then I cut a piece of Basic White Cardstock and layered with the grid pattern from the Painterly Pears Designer Series Paper (DSP).
For my focal panel, I cut another piece of the Paintery Pears DSP (5 1/8″ x 3 1/2″) and layered it with Basic White Cardstock with a 1/8″ border.
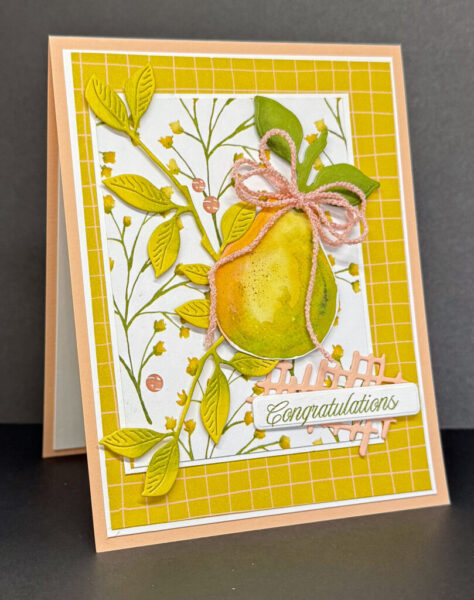
I die cut the large pear from the same DSP using the coordinating die from the Perfectly Pears dies. I also die cut the leaves (2 ea) from Darling Duck Cardstock and sponged areas of the leaves with Old Olive Ink and a Sponge Dauber. They were attached to the front of the card with Stampin’ Dimensionals.
For my sentiment, I stamped “Congratulations” on Basic White and used the label die from the Perfectly Pears Dies, then backed it with Petal Pink grid die from the same dies for that perfect pop of color.
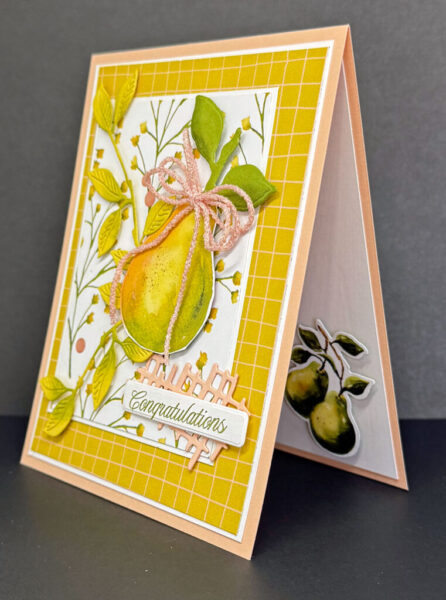
When I assembled everything, I layered the plaid background onto my card base, then added the focal panel with foam dimensionals for extra depth. I positioned my watercolored pear and leaves just where I wanted them, then wrapped that sweet Petal Pink baker’s twine around the pear and tied it in a bow. The finishing touch was adding my sentiment label, the dots from the Low Profile Dots and voilà – one beautiful congratulations card!
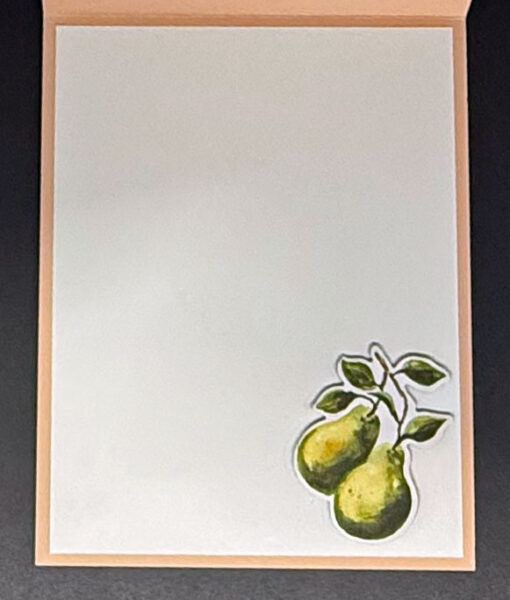
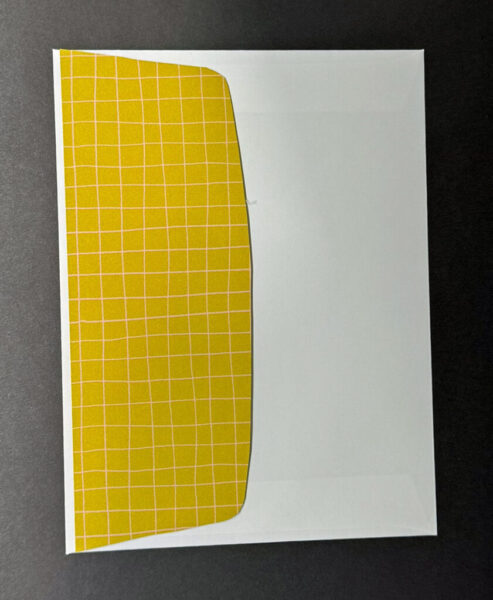
For the inside of the card, I die cut two small pears from the Painterly Pears DSP and attached them to the lower right corner of the Layer #1 Basic White cardstock. For the envelope flap, I adhered the same pattern as used on the front of the card for a more cohesive look

Thank you for visiting my blog! I hope today’s card design inspires your own Stampin’ Up! projects. Don’t forget to check out my Card Gallery for more ideas using your favorite Stampin’ Up! products. Your support means the world to me. If you need supplies or have any questions, I’m here to help as your Stampin’ Up! demonstrator—just give me a call or send me an email.
Happy stamping, and let’s keep crafting together!


Supplies
