


Hi Crafty Friends!
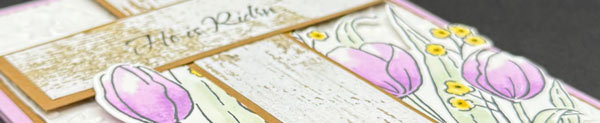
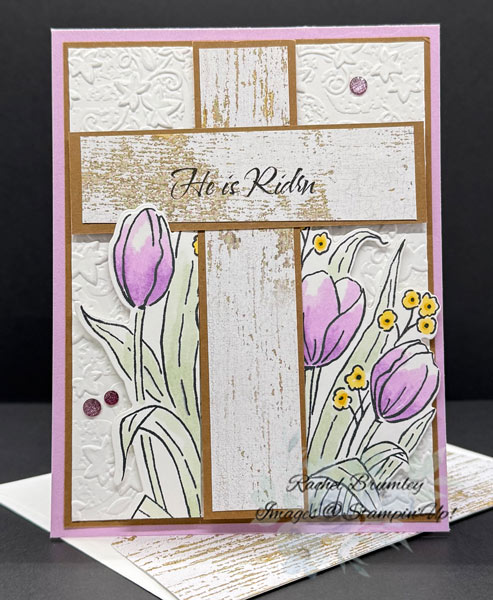
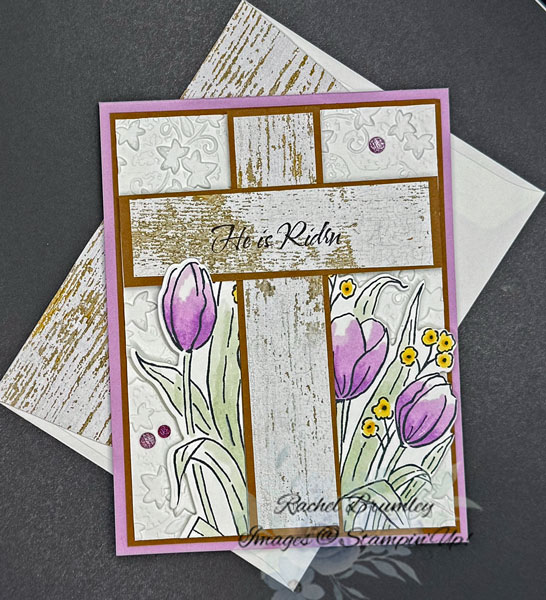
Easter is the perfect time to create a card that’s both beautiful and meaningful, and this He is Risen card does just that! Featuring the Mixed Florals stamp set, this design combines delicate purple tulips with a rustic wood-grain cross for a card that truly captures the spirit of the season. I hope it inspires you to create one of your own!
Please note: The Mixed Florals Stamp Set is currently on the Last Chance list, so don’t wait too long! This gorgeous stamp set is perfect for creating beautiful spring cards and so much more. Once it’s gone, it’s gone — so be sure to grab yours before it sells out!
Card Measurements:
- Fresh Freesia Cardstock (11″ x 4¼”)
- Pecan Pie Cardstock: two at (5¼” x 4″), one at (5¼” x 1⅛”), and one at (3⅜” x 3⅞”)
- Basic White Cardstock: two at (5⅛” x 3⅜”) and one at (4″ x 4″)
- Country Woods Designer Series Paper: one at (5″ x 1″), one at (3⅝” x 1″), and one at (3⅞” x ⅜”)
Card Instructions:
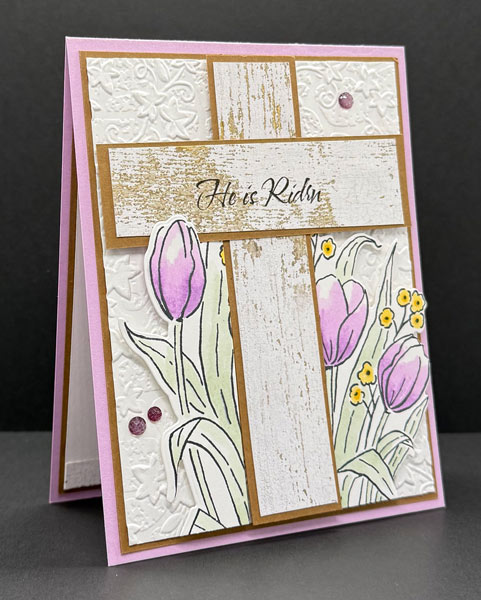
Begin by scoring the Fresh Freesia Cardstock at 5½” to create your card base. Attach the Pecan Pie Cardstock as Layer #1, then emboss the Basic White Cardstock with the new Stone & Vine 3D Embossing Folder and adhere it to the base. Layer the Country Woods DSP onto the Pecan Pie pieces to create the cross, then attach it to the card base using Stampin’ Dimensionals (see card photo for placement). One more thing I forgot to mention — the sentiment was computer generated and printed directly onto the DSP before cutting.
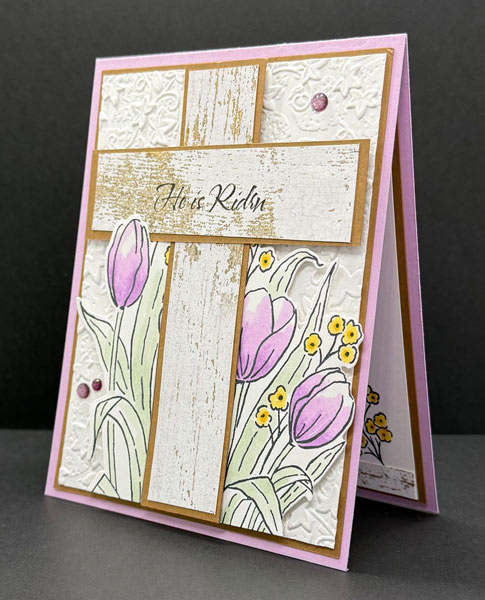
For the large floral image, stamp it in Tuxedo Black and color the tulips with Fresh Freesia, the small flowers with Daffodil Delight, and the leaves with Soft Sea Foam Stampin’ Blends. Cut the image in half horizontally at the bottom, then vertically down the middle using your Paper Trimmer. Attach both pieces to the front of the card with Stampin’ Dimensionals. Note that you may need to trim a little from the bottom as the image is too long, and trim the cut sides slightly to fit the card base.
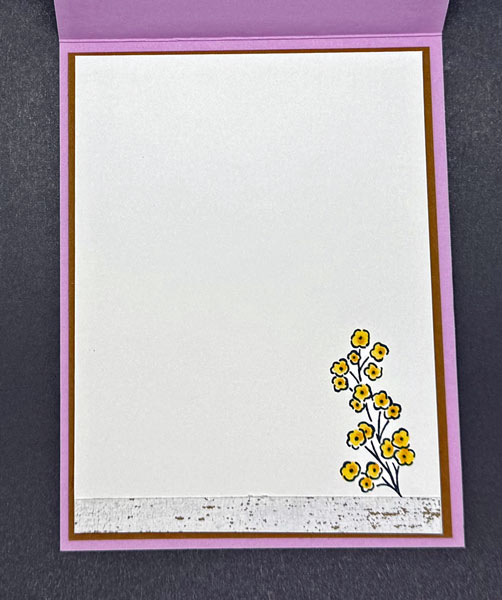
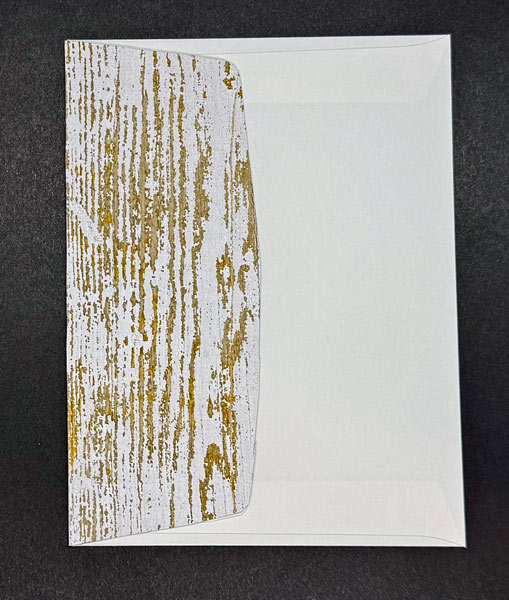
For the card interior, stamp the small flowers in Tuxedo Black onto the Basic White Cardstock and color them with Daffodil Delight Stampin’ Blends. Add a small strip of DSP along the bottom of the cardstock, then adhere it to the card base. For a cohesive finishing touch, use a strip of the DSP on the envelope flap as well.
Thanks so much for stopping by today! I hope this card sparked some inspiration for your next crafting session. Be sure to browse through my Card Gallery for even more ideas—there’s always something new to try with your Stampin’ Up! supplies!
I truly appreciate you being part of my crafting community. Whether you need to stock up on supplies or just want to chat about your next project, I’m always here to help. Feel free to reach out anytime by phone or email—I love connecting with fellow crafters!
Happy stamping, and I’ll see you in the craft room soon!


Supplies
