


Good Afternoon Crafters!
Today’s card is a simple, yet elegant card using the Hand-Penned Petals Stamp Set. I cased it from one I found on Pinterest (I think). The name of the creator is not legibile so I can’t give her credit. But I fell in love with this card when I first saw it and decided to copy it.
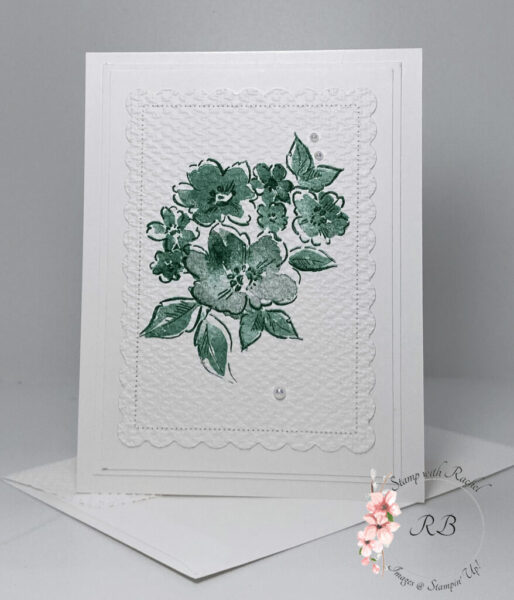
I first stamped the line image in Shaded spruce Ink on Basic White Cardstock. I then followed with the solid stamps but stamping off first to create a lighter shade.
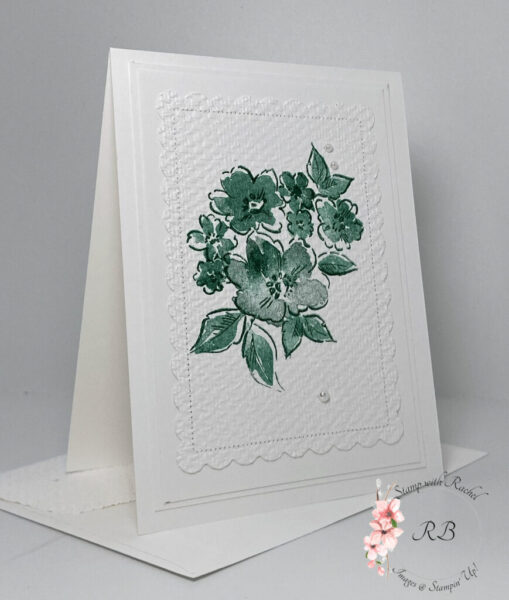
After die cutting the front panel with one of the dies from Scalloped Contours Dies, I embossed it with the Tasteful Texture 3D Embossing Folder.

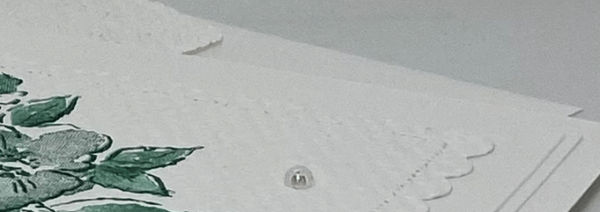
I then attached two more layers of Basic White Cardstock with our Multipurpose Liquid Glue. I finally glued it to the base card of Basic White Thick Cardstock. I added Iridescent Pearls for a more elegant look and embossed the flap of the envelope with the same 3D EF as the front panel.

Thanks for stopping by today!


i like the color AND the elegant look!
Thanks Kathy – glad you liked it.
Pingback: 2023’s Card Hall of Fame: My Favorites Revealed! | Stamp with Rachel