What’s happening at Stamp with Rachel

With its images of trees, hills, grasses, & deer you can create a natural setting on your handmade cards. The Grassy Grove Stamp Set is going to be a popular one for those hard to make masculine cards – I know it’s going to be one of my go-to stamp sets.
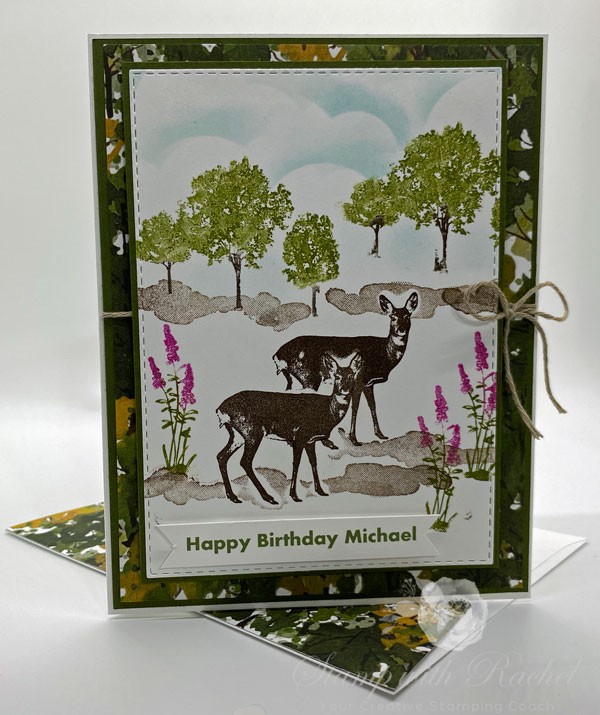
Coloring this card:
- Basic White Cardstock
- Ink up the trees with Old Olive and the trunk with Early Espresso Stampin’ Write Markers. Ink and stamp two times to form the background tree line.
- Add ground image from Wildlife Wonder using Soft Suede Ink.
- Stamp the deer with Early Espresso Ink on a post-it note and fussy cut with our Paper Snips. Ink up deer with same ink and stamp on card front panel. Attach mask to deer image and stamp deer again to the upper right.
- Ink up ground image and stamp at the foot of the deer.
- Flowers are colored in using Magenta Madness for the flowers and Old Olive Stampin’ Write Markers for the stems and leaves.
- Add clouds using a cloud template with Balmy Blue Ink and a Sponge Dauber.
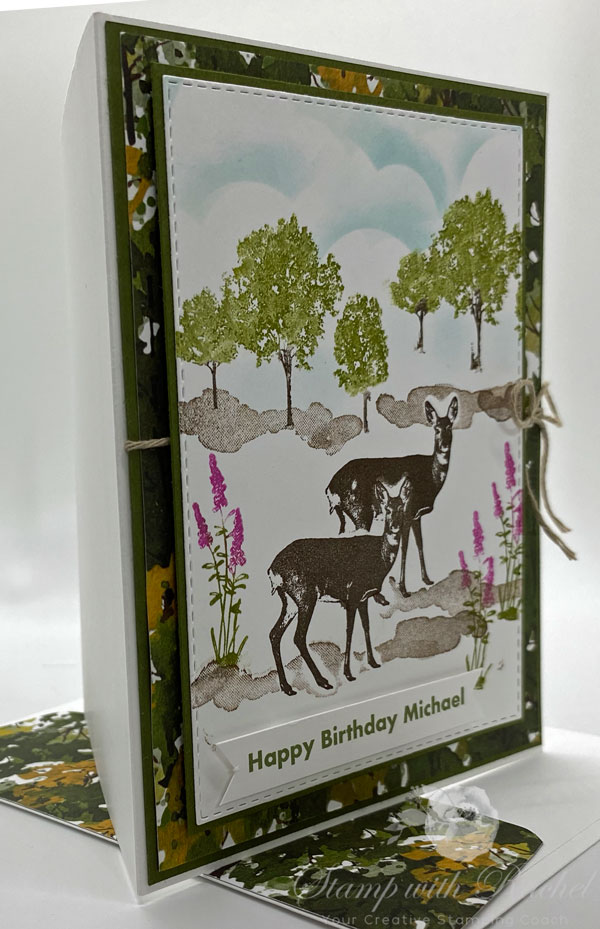
Putting the card together:
- Fold in half Basic White Thick Cardstock (8 1/2″ x 5 1/2″) using the Bone Folder for a sharper crease
- Adhere Mossy Meadow Cardstock (5 3/8″ x 4 1/8″) to Beauty of the Earth Designer Series Paper (5 1/4″ x 4″) and then tie twine around the two layers and adhere to base card.
- Die Cut the front panel of Basic White Cardstock (5″ x 3 1/4″) with our Stitched Rectangle Dies.
- Attach to Mossy Meadow Cardstock (4 7/8″ x 3 1/2″.
- Using Stampin’ Dimensionals add front panel to the base card.
- Add sentiment (I computer generated the birthday wishes because I wanted to personalize the card)
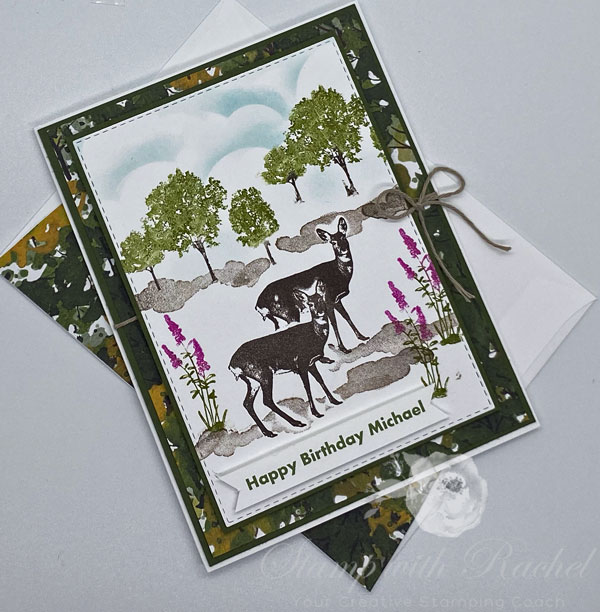
Thanks for stopping by – have a wonderful weekend!

If you need any supplies to make this card or supplies in general, I’d love to be your demonstrator. Just click on the SHOP ONLINE to go directly to my online store.

If your order is less than $150, please use the above host code. If your order is $150 or more, do not use the host code so that you can get your own Stampin’ Rewards.
Supplies:

