


Hello Crafty Friends!
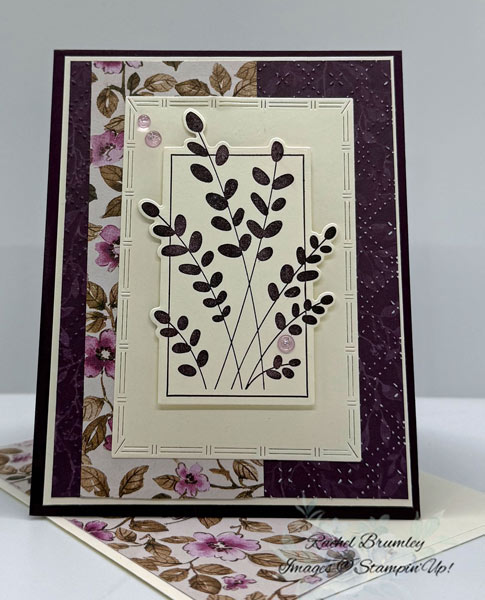
I’m so excited to share this elegant card with you today! When I saw the beautiful botanical branches in the Friendly Foliage Bundle, I knew I wanted to create something sophisticated yet approachable.What I love most about this card is how versatile it is – it would be perfect for a thank you note, thinking of you card, or even a sympathy card. Plus, this design comes together more easily than it looks, making it perfect for both beginners and experienced card makers.
Let me walk you through how I created this card:
Card Measurements:
- Base Card: Blackberry Bliss Cardstock (CS) (11″ x 4 1/4″)
- Layer #1: Very Vanilla CS (5 1/4″ x 4″)
- Layer #2: Floral Charm Designer Series Paper (DSP) (5 1/8″ x 3 7/8″)
- Strip: Floral Charm DSP (5 1/8″ x 2″)
- Layer #3: Very Vanilla CS (4 1/2″ x 3″)
- Layer #4: Very Vanilla CS (4 3/4 x 2 3/4)
- Inside of Card: Very Vanilla CS (5 1/2″ x 4 1/4″)
- Strip: Floral Charm DSP (5 1/2″ x 1/2″)
- Envelope Flap: Floral Charm DSP (6″ x 2 1/4″)
I started by creating my card base using Blackberry Bliss cardstock cut to 11″ x 4¼”, then folded it in half to make a standard 4.25″ x 5.5″ card. For the main layer, I cut Very Vanilla cardstock to 4″ x 5.25″ and adhered it to the card front to create a nice clean background.
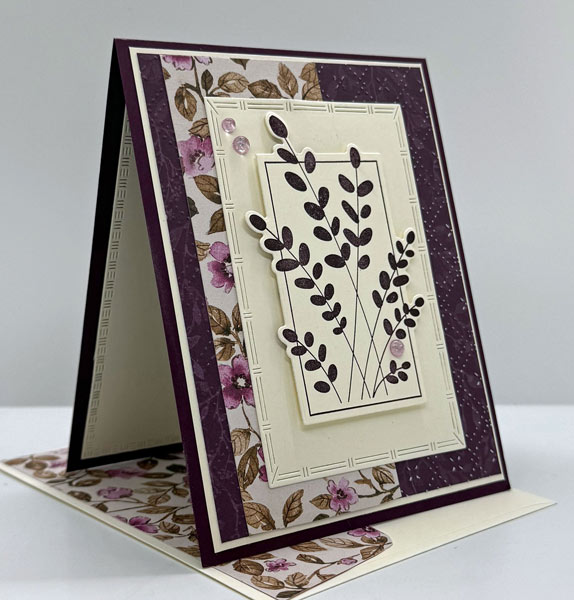
Next, I added my first DSP panel by cutting the gorgeous Floral Charm Designer Series Paper to 5⅛” x 3⅞”. I ran this piece through my Big Shot with the Beautiful Pattern Embossing Folder to add some lovely texture, then attached it to the base card.
I wanted to add more of that beautiful DSP, so I cut another piece of Floral Charm to 5⅛” x 2″ and placed it on the left side of the card front, leaving about a ¼” border on the left edge for a nice balanced look.
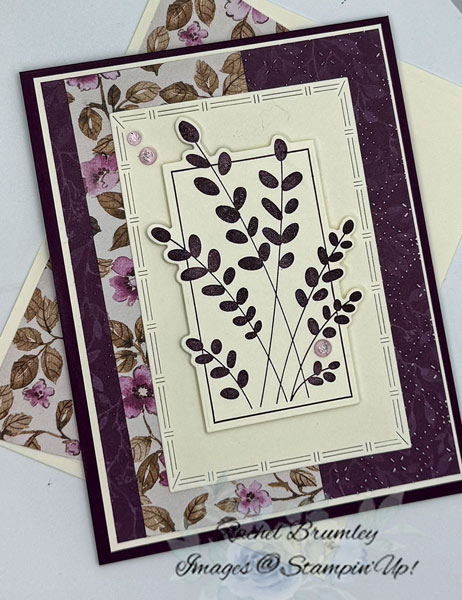
For my focal point, I created a framed panel using Very Vanilla cardstock and the largest frame from the Textured Notes Dies. This gave me that beautiful embossed decorative border that really makes the design pop.

Now for the fun part – stamping! I used Blackberry Bliss ink to stamp the lovely sprigs image from the Friendly Foliage Bundle right onto that inner rectangle panel.
After die-cutting the main image, I attached it to the card front using Stampin’ Dimensionals to give it some wonderful depth and dimension.
To add just the right amount of sparkle, I placed purple rhinestones from the Tinsel Gems Three Pack strategically around the design for that perfect finishing touch.
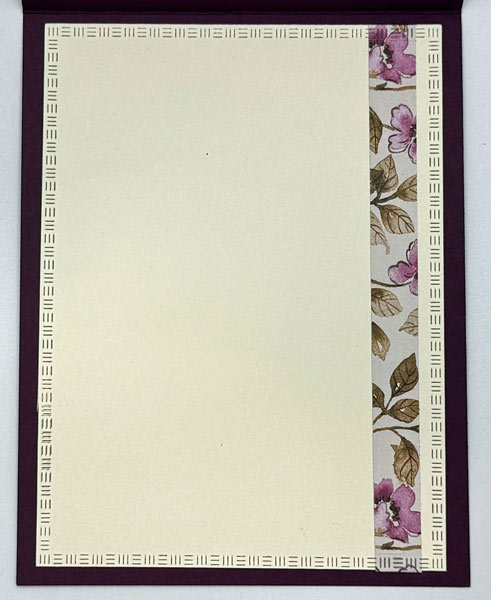

For the inside of my card, I cut Very Vanilla cardstock to 5½” x 4¼” and die-cut it with the largest die from the Textured Notes Dies. Then I added a strip of the Floral Charm DSP to the right side to tie everything together beautifully.
Finally, I finished off the envelope by cutting a piece of that same gorgeous Floral Charm DSP and adhering it to the envelope flap so everything coordinates perfectly!
Thank you for visiting my blog! I hope today’s card design inspires your own Stampin’ Up! projects. Don’t forget to check out my Card Gallery for more ideas using your favorite Stampin’ Up! products. Your support means the world to me. If you need supplies or have any questions, I’m here to help as your Stampin’ Up! demonstrator—just give me a call or send me an email.
Happy stamping, and let’s keep crafting together!

Supplies
