


Hello my Stampin’ Friends
The detailed floral pieces and kind sentiments in the Memorable Blooms Stamp Set are perfect for Thank You, springtime, and all-occasion cards, scrapbooks, and paper crafts. Turn the florals or your favorite sentiment into a stamped card background. Or make the Thanks So Much or You Are Awesome sentiments into the card focal point. With flowers and floral details that can be easily watercolored, this is a great set to have on hand for when you want to show thanks, appreciation, and gratitude.
Please Note: This gorgeous stamp set is on the Last Chance List, and the dies are already sold out. If you would like the stamp set, please get it before it goes out of stock. The Thoughtful Journey Designer Series Paper 6″ x 6″ is not on the Last Chance List so that means it is carrying over! YAY!
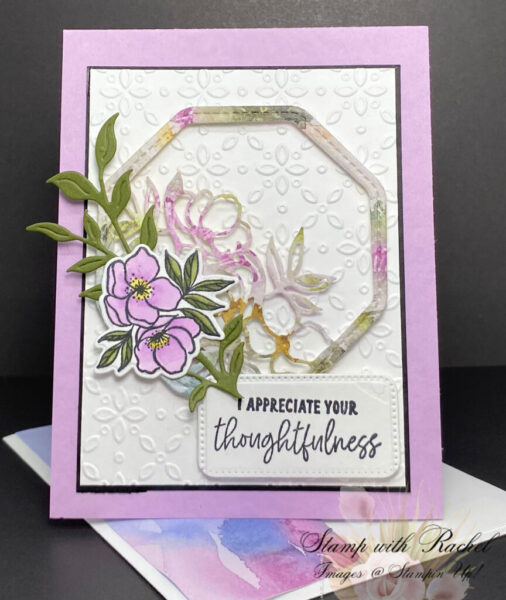
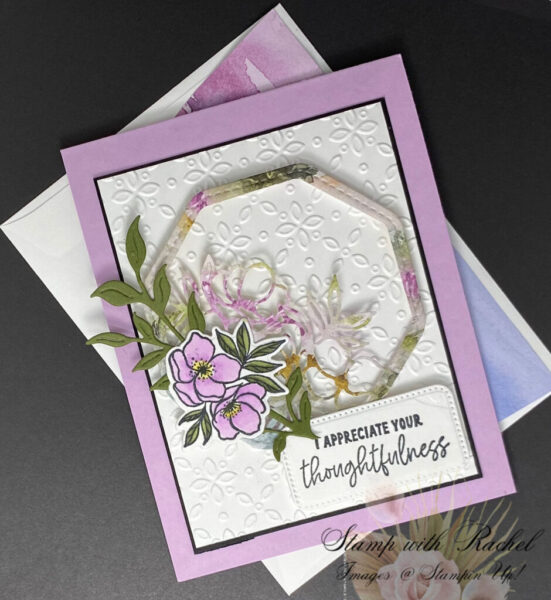
I stamped the main image with Tuxedo Black Ink onto Basic White Cardstock and colored it using Fresh Freesia for the flowers, Mossy Meadow for the leaves, and Daffodil Delight Stampin’ Blends for the flower centers. I cut the background leaves from Mossy Meadow Cardstock using the coordinating Memorable Blooms Dies.
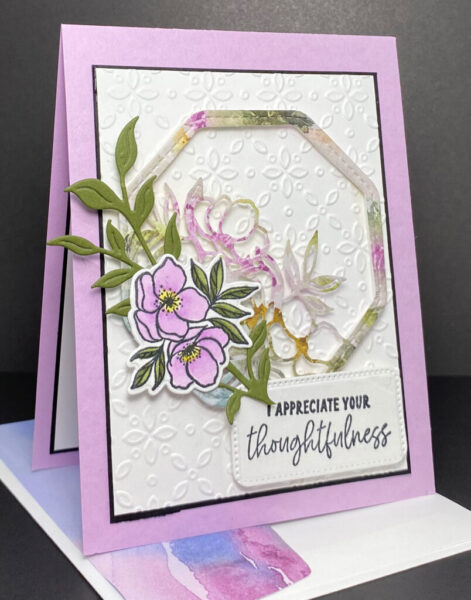
I made my base card from Fresh Freesia Cardstock. For Layer #1, I used Basic Black Cardstock, and for Layer #2, I used Basic White Cardstock embossed with the Eyelet 3D Embossing Folder. I cut the octagon shape using the coordinating die and Thoughtful Journey 6″ x 6″ Designer Series Paper (DSP). I attached it to the front of the card using Adhesive Strips.
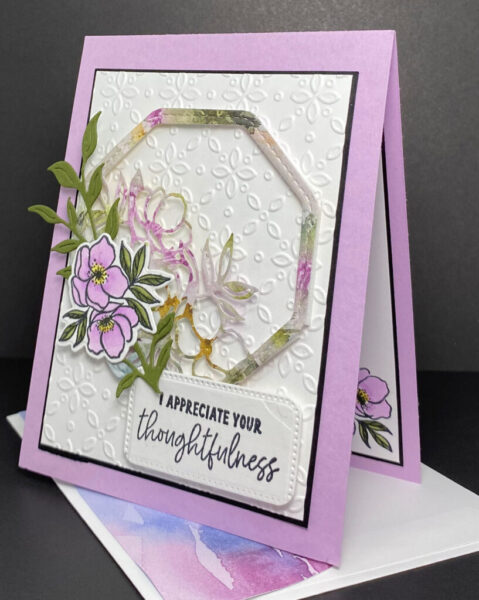
I stamped the sentiment from the Memorable Blooms Stamp Set with Tuxedo Black Ink and cut it using the Nested Essentials Dies. For added dimension, I popped it up with Adhesive Strips.
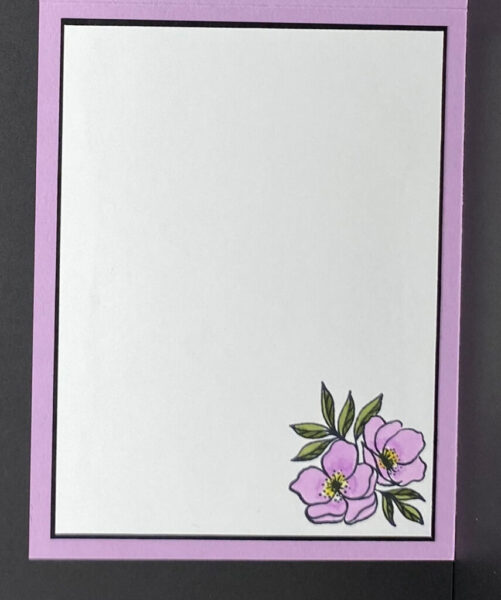
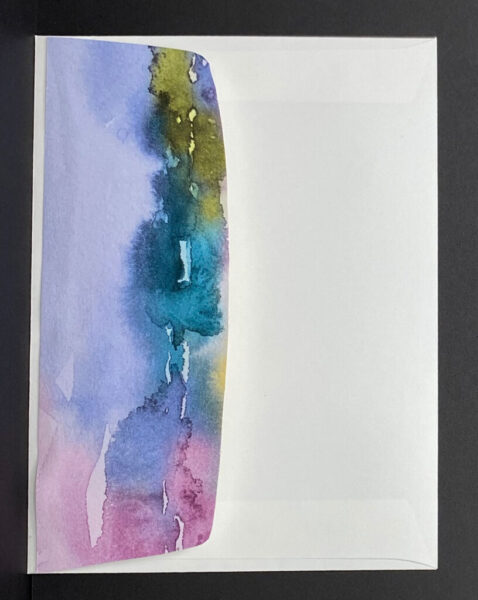
I stamped a floral image with Tuxedo Black Ink on the lower right-hand inside of the card. I colored it using Fresh Freesia for the flowers, Mossy Meadow for the leaves, and Daffodil Delight Stampin’ Blends for the centers. To create a more finished look, I added the same DSP used on the front of the card to the envelope flap.
Thank you for visiting my blog! I hope today’s card design inspires your own Stampin’ Up! projects. And, don’t forget to check out my Card Gallery for ideas using your favorite Stampin’ Up! products. Your support means the world to me. If you need any supplies or have questions, I’m here as your Stampin’ Up! demonstrator – just email me or call me.
Happy stamping, and let’s keep crafting together!

As of April 15, host codes will no longer be available, but I am still offering a free gift for a purchase from me.
Note: Make sure that you can see my name on the final checkout page listed as your Demonstrator when you order so that you know that you’re ordering with me.

Supplies Used
