


Hi Crafty Friends!
I can’t believe I’m just now sharing this card — it’s actually one of the last ones I made! I truly enjoy creating cards like this, but I’ll admit I sometimes struggle with them. I tend to overanalyze my work, staring at it way too long and becoming my own worst critic. Does that ever happen to you? More often than not, when I step away and come back with fresh eyes, I end up loving it!
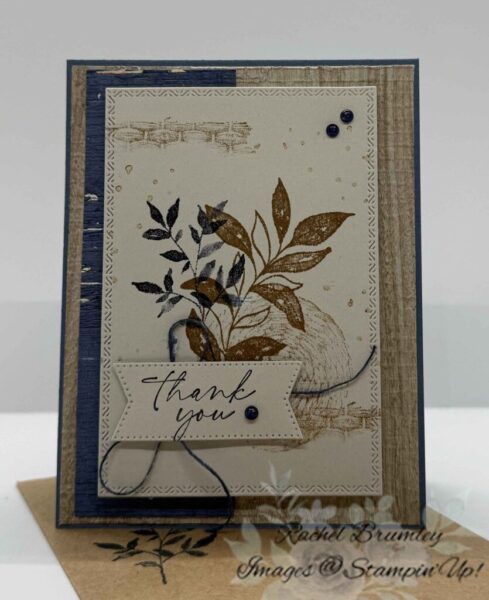
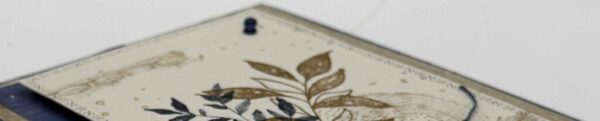
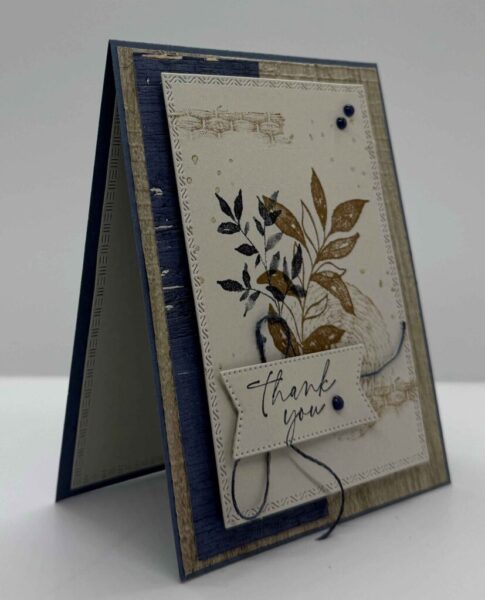
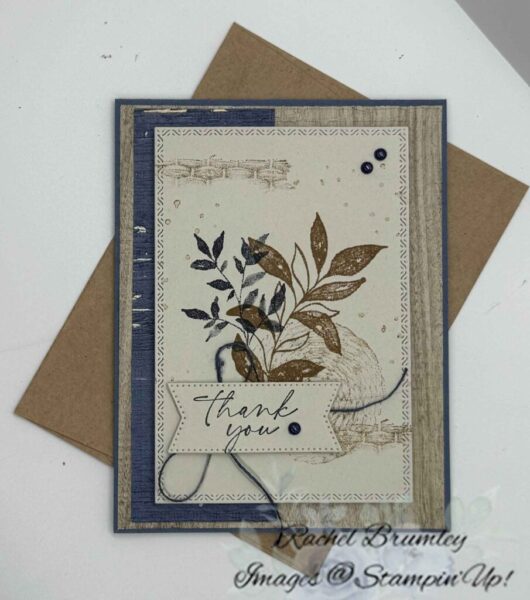
I just love how this Textured Notes thank you card came together! The warm brown botanicals paired with rich Misty Moonlight and that gorgeous wood grain Country Woods Designer Series Paper (DSP) give it such a rustic, elegant feel. It’s one of those cards that looks like it took forever but comes together so quickly — perfect for anyone on your thank you list!
Card Measurements:
- Base Card: Misty Moonlight Cardstock (11″ x 4 1/4″)
- Layer #1: Country Woods DSP (5 1/2″ x 4 1/4″) before die cutting
- Layer #2: Country Woods DSP ((5 1/2″ x 1 3/4″) before die cutting
- Top Panel: Basic Beige Cardstock (5″ x 3 1/2″) before die cutting
- Greeting: Basic Beige Cardstock (2 1/2″ x 1 1/4″ before die cutting
- Inside: Basic Beige Cardstock (5 1/2″ 4 1/4″) before die cutting
Card Instructions:
Start by folding your base card in half, using a Bone Folder for a sharp, clean crease. Emboss Layer #1 with the Exposed Brick 3D Embossong Folder and then cut with largest die from the Textured Notes Dies, then adhere it to the base card. Repeat with Layer #2 using the same die and adhere it to the front of the card (see photo for placement).
Next, stamp the round wood image in Pecan Pie ink, stamping off first, then stamping onto the lower right side of the top panel. Stamp the large leaf image in Pecan Pie Ink slightly over the wood image (see photo for placement), then stamp the small leaf in Misty Moonlight Ink to the left of the large leaf.
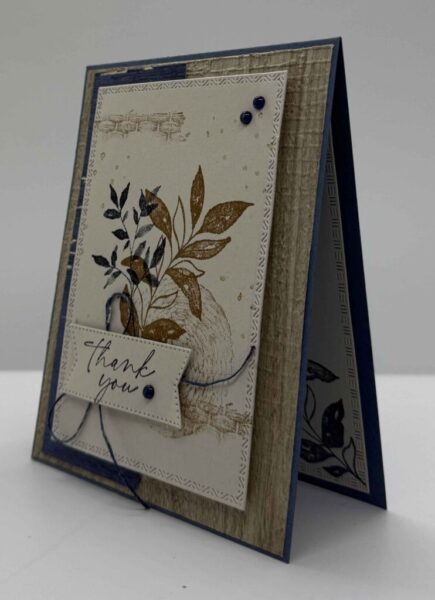
Stamp the greeting in Misty Moonlight Ink and cut it out using the coordinating die from the Stylish Shapes Dies. Lightly stain a length of White Baker’s Twine with Misty Moonlight Stampin’ Blends, tie it into a large bow, and attach it to the front panel with a Mini Glue Dot. Add Stampin’ Dimensionals to the die-cut greeting and layer it right on top of the ribbon. Finish the front with three small Opal Rounds for a touch of interest, then attach the top panel to the base card with Stampin’ Dimensionals.
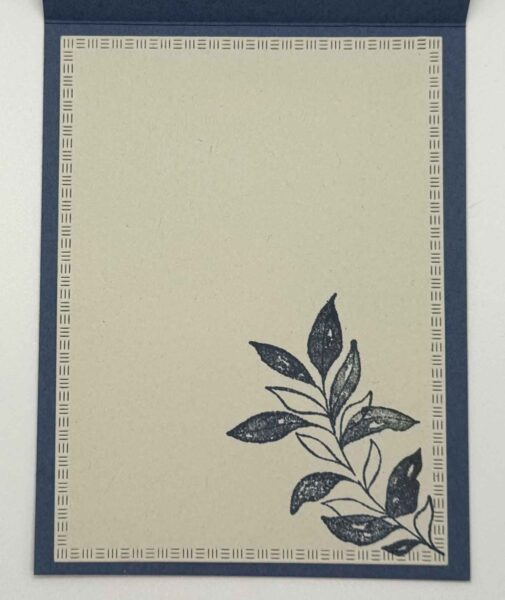
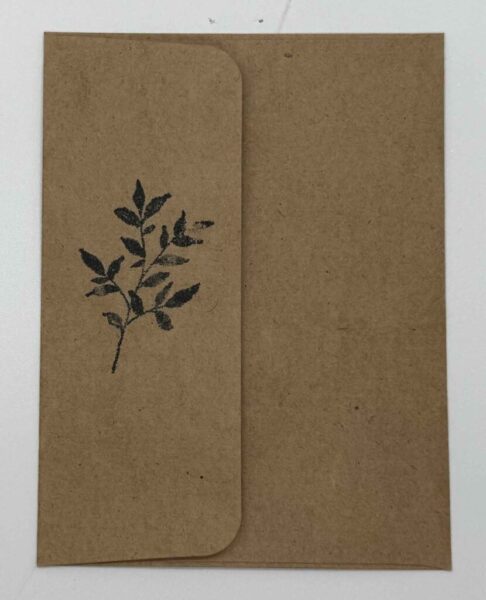
For the inside, cut a piece of Basic Beige Cardstock with the largest die from the same set, stamp a leaf image in the lower right corner with Misty Moonlight Ink, and adhere it inside the base card. For the envelope, stamp the small leaf image on the flap with Misty Moonlight Ink for a finishing touch.
Thanks so much for stopping by today! I hope this card sparked some inspiration for your next crafting session. Be sure to browse through my Card Gallery for even more ideas—there’s always something new to try with your Stampin’ Up! supplies!
I truly appreciate you being part of my crafting community. Whether you need to stock up on supplies or just want to chat about your next project, I’m always here to help. Feel free to reach out anytime by phone or email—I love connecting with fellow crafters!
Happy stamping, and I’ll see you in the craft room soon!


Supplies
