


Hi Crafty Friends!
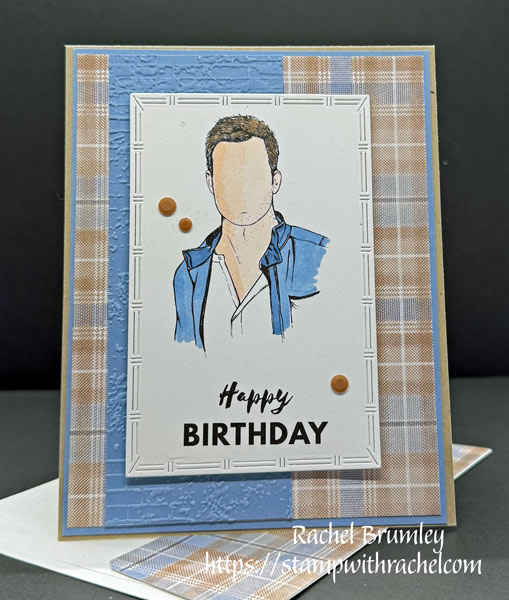
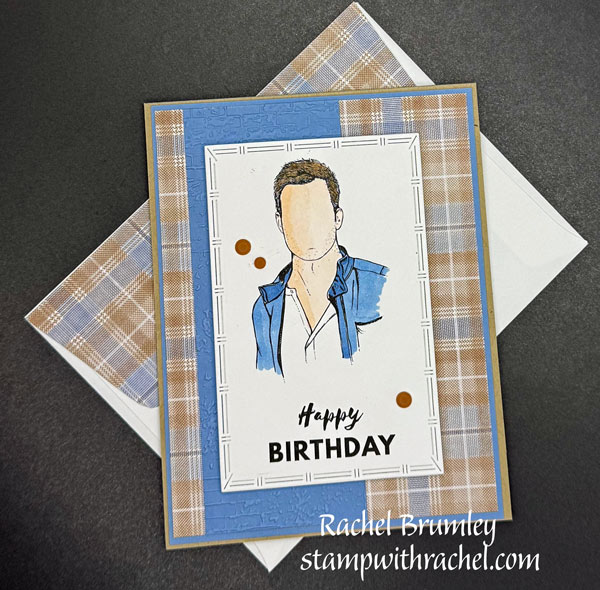
I had so much fun creating this masculine birthday card! The Timless Plaid Designer Series Paper paired with the dapper digital figure gives it such a stylish, put-together look. It’s the perfect card for the special guys in your life!
Card Measurements:
- Base Card: Crumb Cake Cardstock 11″ x 4 1/4″
- Layer #1: Boho Blue Cardstock 5 3/8″ x 4 1/8″
- Layer #2: Timeless Plaid Designer Series Paper (DSP) 5 1/4″ x 4″
- Layer #3: Strip of Boho Blue Cardstock 5 1/4″ x 4
- Layer #4: Basic White Cardstock 4 1/2″ x 3″ before die cut
- Inside of card: Basic White Cardstock 5 1/4″ x 4″
- Stripe of Boho Blue Cardstock 4″ x 3/4″
- Stripe of Timeless Plaid DSP 4″ x 1/2″
- Envelope Flap: Timeless Plaid DSP 6″ x 2 1/2″
Card Instructions:
Before I share the instructions, I just have to mention that this is one of my all-time favorite DSPs — and sadly, it’s retired! I’m really hoping Stampin’ Up! introduces something similar, because it was simply perfect for masculine cards.
One more thing — the Textured Notes Dies are on the Last Chance list! If you’ve been wanting a set of these beauties, I’d grab them soon before they sell out!
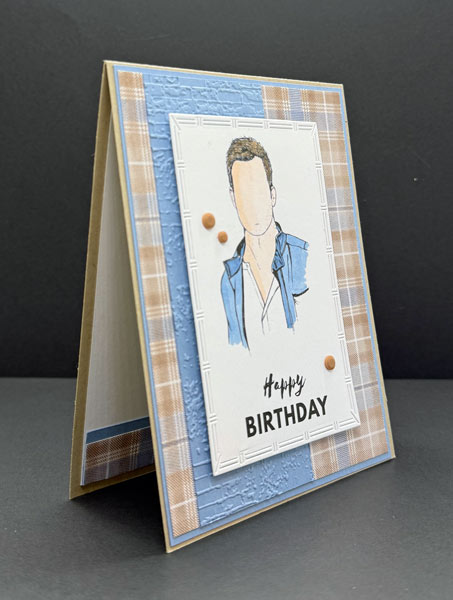
Start by folding your base card in half, using a Bone Folder to get a nice sharp crease. Attach Layers #1 and #2 to the base card. Then, run Layer #3 through the Exposed Brick 3D Embossing Folder and adhere it to the front of the card about 1/2″ from the left edge.
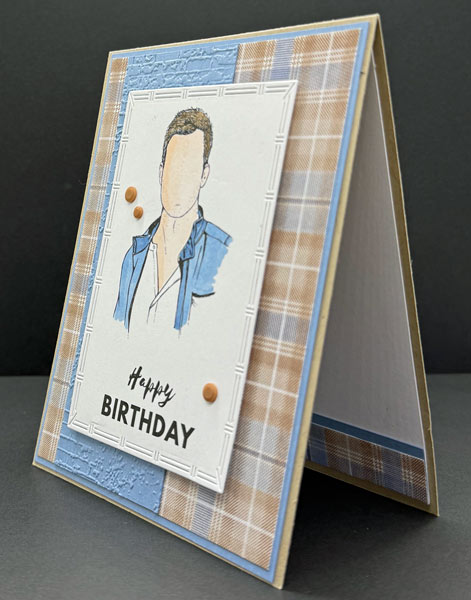
Print your digital image onto Basic White Cardstock and cut it using the 3rd die from the largest in the set. Color it in with Pecan Pie for the hair, Petal Pink for the face and neck, and Boho Blue Stampin’ Blends for the jacket. Pop it onto the card with Stampin’ Dimensionals and add a few Pecan Pie Dots from the Neutral Matte Dots Embellishments to complete the look.
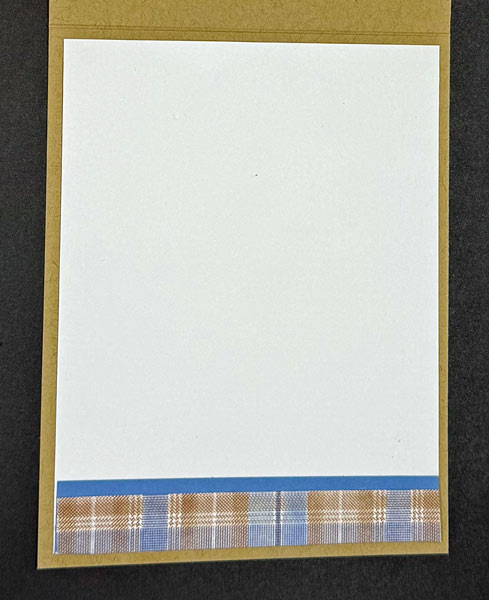
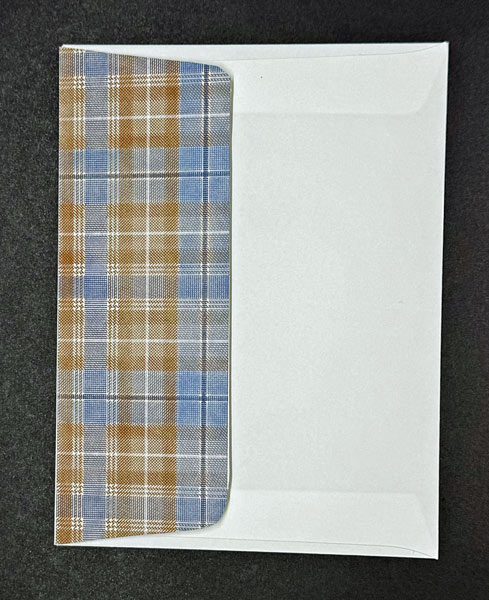
For the card’s interior, layer Basic White Cardstock with the Boho Blue Cardstock and a strip of Timeless Plaid DSP along the bottom. For an extra-special finishing touch, add a piece of the same DSP to the envelope flap and trim it to size!
Thanks so much for stopping by today! I hope this card sparked some inspiration for your next crafting session. Be sure to browse through my Card Gallery for even more ideas—there’s always something new to try with your Stampin’ Up! supplies!
I truly appreciate you being part of my crafting community. Whether you need to stock up on supplies or just want to chat about your next project, I’m always here to help. Feel free to reach out anytime by phone or email—I love connecting with fellow crafters!
Happy stamping, and I’ll see you in the craft room soon!


Supplies
