


Hello Crafty Friends!
I can’t believe Christmas is almost here! There’s so much to do—cooking, shopping, and wrapping presents. When I was young, it seemed like Christmas would never arrive, but now time flies by so much faster!
I love bringing the spirit of Christmas to my holiday cards with the A Child Is Born Stamp Set. This beautiful religious-themed set features a stylized nativity scene and scripture references that celebrate our Savior’s birth. I can add my personal touch by coloring the line-art images with my favorite coloring tools, or I prefer to stamp the images in a single color for a classic and clean style.
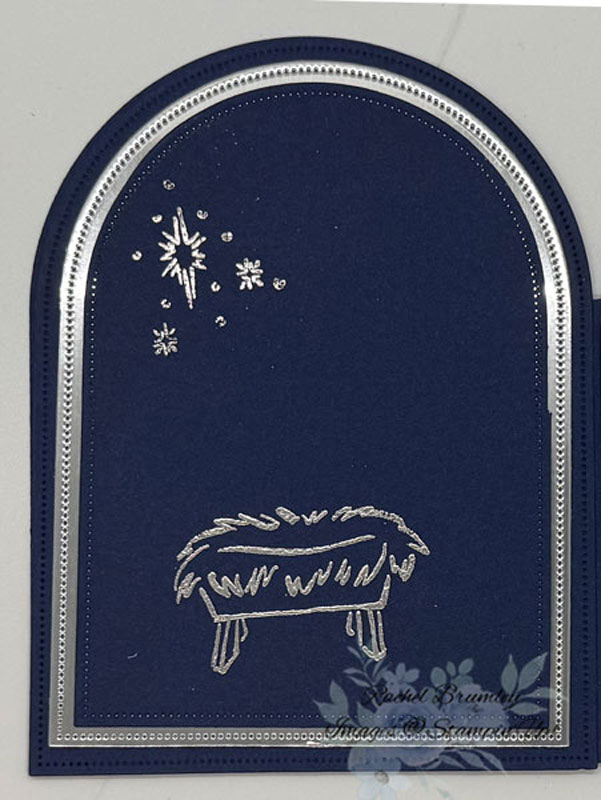
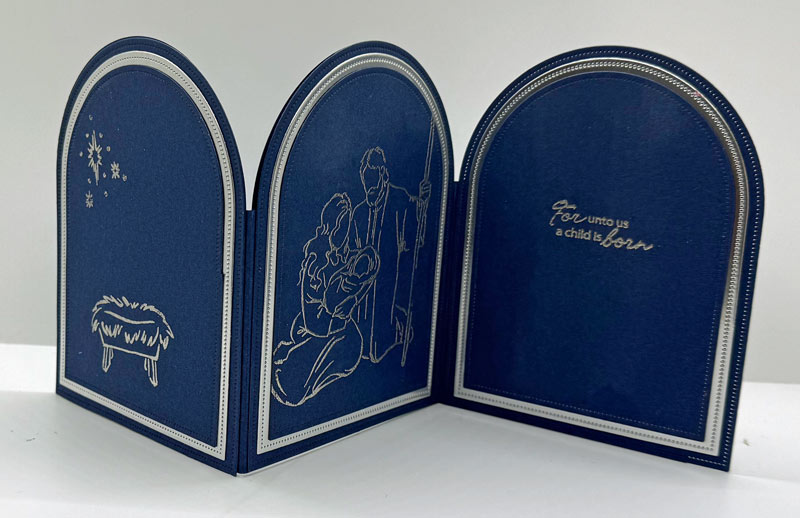
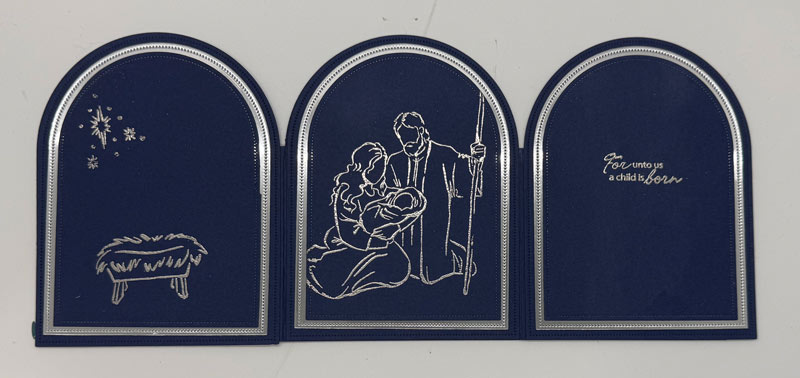
This card features four panels connected with a strip of Night of Navy Cardstock. This is for the first panel. I die-cut the first layer of Night of Navy using the largest die from the Everyday Arches Dies. The second layer of Silver Foil Sheet was cut using the second largest die. The third layer of Night of Navy was die-cut using the third largest die. I then stamped the cradle and star with Versamark Ink, added Silver Embossing Powder, and heat-set it with the Heat Tool. I attached all three layers with Multi-Purpose Liquid Glue.
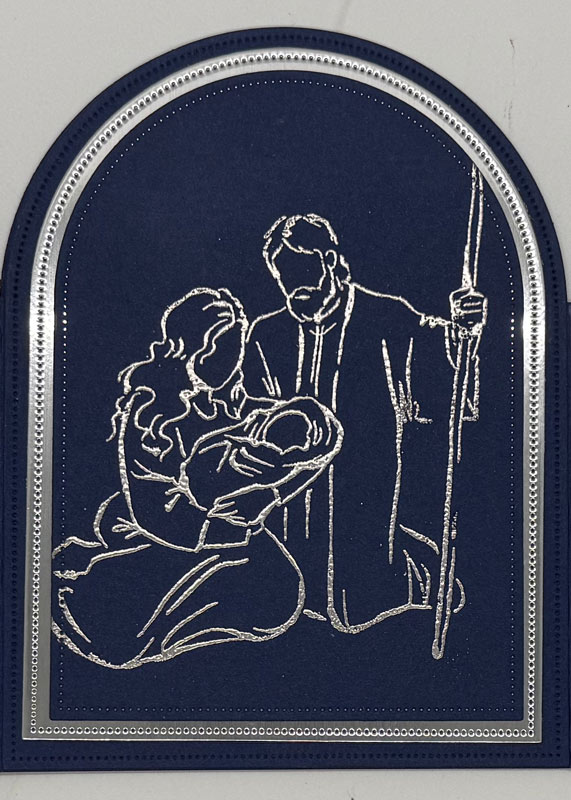
This is for the second panel. I die-cut the first layer of Night of Navy using the largest die from the Everyday Arches Dies. The second layer of Silver Foil Sheet was cut using the second largest die. The third layer of Night of Navy was die-cut using the third largest die. I then stamped the main image with Versamark Ink, added Silver Embossing Powder, and heat-set it with the Heat Tool. I attached all three layers with Multi-Purpose Liquid Glue.
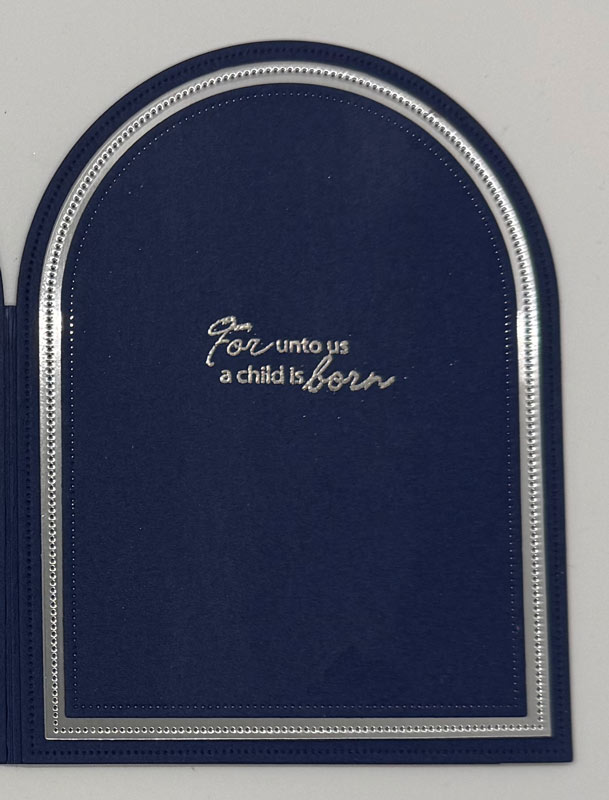
This is for the third panel. I die-cut the first layer of Night of Navy using the largest die from the Everyday Arches Dies. The second layer of Silver Foil Sheet was cut using the second largest die. The third layer of Night of Navy was die-cut using the third largest die. I then stamped the sentiment with Versamark Ink, added Silver Embossing Powder, and heat-set it with the Heat Tool. I attached all three layers with Multi-Purpose Liquid Glue.
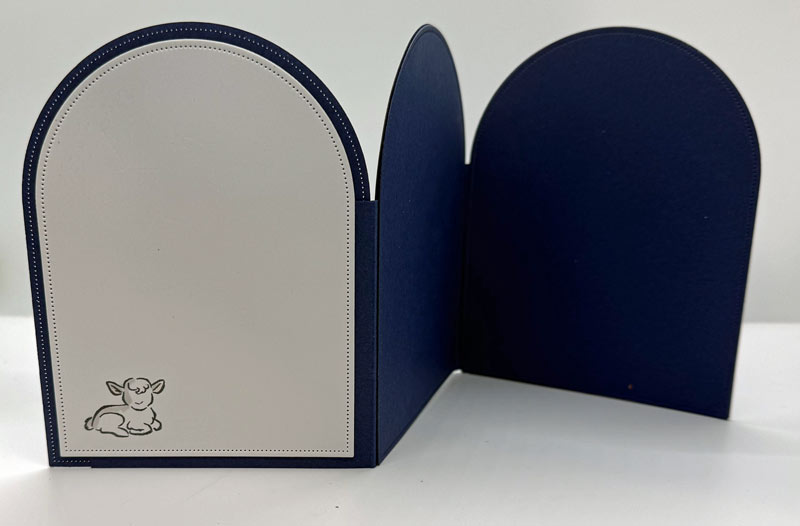
I attached the 3 panels together with a strip of Night of Navy Cardstock and finished the back of the panels with Night of Navy Cardstock for the first two panels and Basic White Cardstock for the last panel. I stamped the lamb image with Tuxedo Black Ink and lightly colored it with the Smoky Slate Stampin’ Blend Marker.
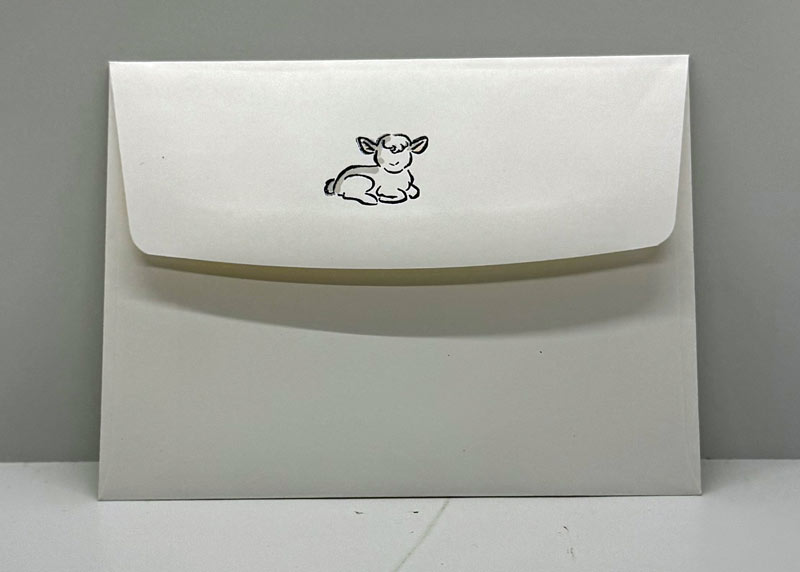
I stamped the same image on the envelope flap and colored the same as the inside of the 3rd panel.
Thank you for visiting my blog! I hope today’s card design inspires your own Stampin’ Up! projects. Don’t forget to check out my Card Gallery for more ideas using your favorite Stampin’ Up! products. Your support means the world to me. If you need supplies or have any questions, I’m here to help as your Stampin’ Up! demonstrator—just give me a call or send me an email.
Happy stamping, and let’s keep crafting together!

Card Measurements:
- Night of Navy Cardstock
- Five Pieces (5 1/2″ x 4 1/2″)
- Three Pieces (4 1/2″ x 3 1/2″)
- Silver Foil Sheet
- Three Pieces ((5″ x 4″)
- Basic White Cardstock
- One Piece (5″ x 4″)

Supplies
