The New Host Code for April 2017 is TDSH7362. The free gift is a combination of the Stampin’ Pierce Mat and the Paper Piercing Tool!
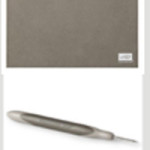 Stampin’ Pierce Mat: Protect work surface with the Stampin’ Pierce Mat as you paper pierce. Also get even pressure and ink coverage with photopolymer, detailed or background stamps.
Paper Piercing Tool: Pierce tiny holes in paper or cardstock. You can also use it to remove small or stuck pieces from Big Shot dies. Sleek design.
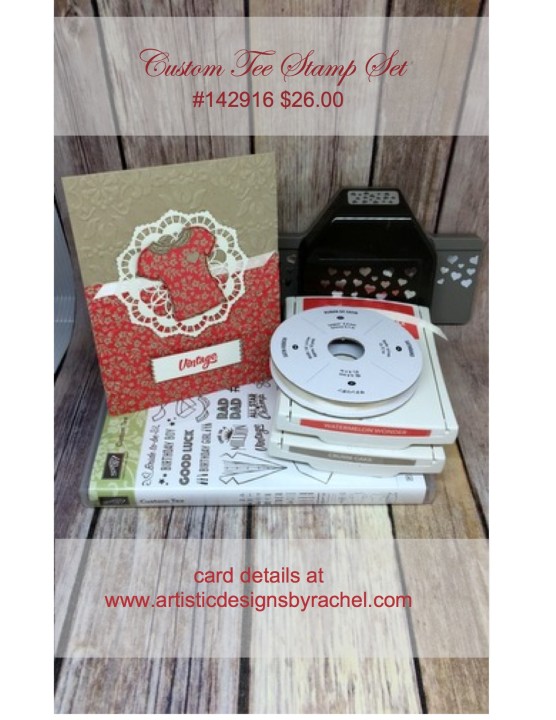
There’s nothing better than a classic white t-shirt. Except maybe for a classic tee stamp that can be dressed up or dressed down however you see fit.
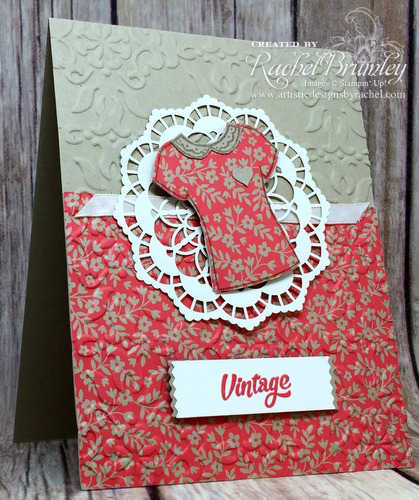
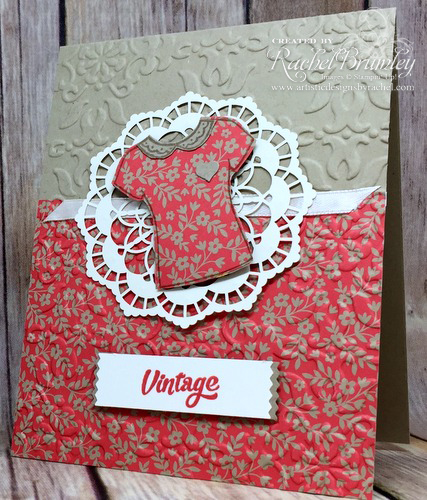
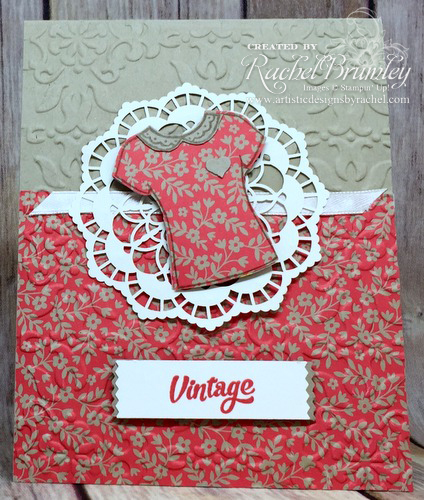
The Custom Tee Stamp Set is so cute and has so many possibilities. For today’s post, I decided to turn it into a vintage t-shirt.
I paired it with the Affectionately Yours Specialty Designer Series Paper. It was also embossed using the Vintage Wallpaper Embossing Folder.
- Crumb Cake Card Stock (4 1/4″ x 11″) (base card)
- Affectionately Yours DSP (3 1/4″ x 4 1/4″)
- Crumb Cake Card Stock (2″ x 2″) for t-shirt
- Very Vanilla Card Stock (scrap) for greeting
- Crumb Cake Card Stock (scrap) for greeting
- Crumb Cake Card Stock (scrap) for lace collar and small heart
- Very Vanilla 1/4″ Satin Ribbon (4″ long)
What I did:
- Take Crumb Cake Card Stock (base card), score at 5 1/2″ with the Stampin’ Trimmer and fold in half using a Bone Folder for a sharp crease.
- Glue Affectionately Yours Specialty DSP to the bottom half of the front of the card using Liquid Multipurpose Glue
- Emboss using the Vintage Wallpaper Embossing Folder (retired).
- Stamp t-shirt image on Affectionately Yours DSP. Stamp lace collar on Crumb Cake Card Stock (scrap). Run both through Big Shot using the dies from the T-Shirt Builder Framelits Dies.
- Adhere lace collar to t-shirt with Liquid Multi-purpose Glue
- Punch out one small heart using Crumb Cake Card Stock (scrap) using the Confetti Hearts Border Punch.
- Adhere to front of t-shirt using Liquid Multi-purpose Glue
- Stamp greeting on Very Vanilla Card Stock with Watermelon Wonder Classic Ink Pad and punch out using the retired Washi Label Punch. Also punch out the Crumb Cake Card Stock (scrap) with the same punch. This will layer with the greeting (see picture).
- Add Very Vanilla Satin Ribbon to front of card using Tear & Tape Adhesive (see picture for placement).
- Adhere Lace Doily to front of card with Liquid Multipurpose Glue.
- Add t-shirt image to front of card using Stampin’ Dimensionals
- Add greeting to front of card using Stampin’ Dimensionals
SHOP ONLINE: If you need any supplies, please click on the graphic in the sidebar (Shop Online) and it will take you right to my online store. And don’t forget to use the hostess code for a special gift from me (see sidebar).
QUESTIONS: If you have any questions, please leave me a comment or send me an e-mail.
NEED A CATALOG? I’d like to send you one if you don’t already have a demonstrator. Leave me a comment or send me an e-mail and request a catalog.
- Shop Online Anytime and Earn FREE STAMPS
- Sign Up for my Customer Newsletter (side bar – upper right)
- SHOP: Clearance Rack – Promotions – Paper Pumpkin
Product List
|
|
|
||
|
|
|
|
|
|
|
|
||
|
|
|
|
|

