Hi Stampers
Hope you had a wonderful weekend! My daughter Deena and I were visiting downtown Ventura today and I passed by Franky's which used to be a favorite when my husband and I were dating. I can't believe it's still there!

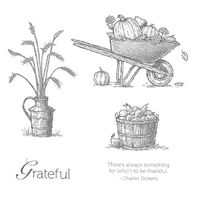
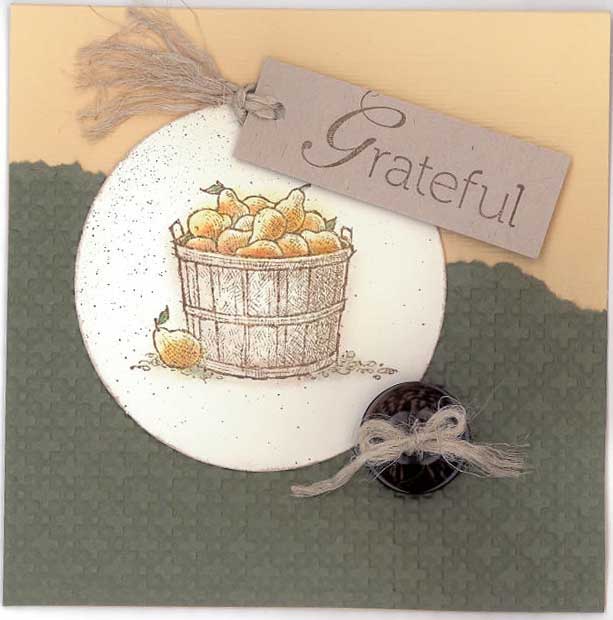
 Today's card features the Always Thankful Stamp Set. from the Holiday Mini Catalog. Brimming with harvest images and grateful sentiments, this five-piece autumn-themed stamp set is ideal for all of your thanksgiving cards and projects. And don't forget you can buy an extra set to give away as a special Thanksgiving gift! Just give me a call or visit my Stampin' Store

I have a special gift for you today – I've included card directions at the bottom of the post.
Thanks for stopping by today
Supplies:
- Stamps Set: Always Thankful (W 123787) (C123789)
- Paper: Very Vanilla Card Stock (101650),So Saffron Card Stock (105118), Always Artichoke Card Stock (105119)
- Ink Versamark pad (102283), Soft Suede Classic Stampin’ Pad (115657)
- Accessories: Twine Hemp Natural (100982), Color Spritzer Tool, Crop-A-Dile (108362), Stampin’ Emboss Powder Clear (109130), Buttons Designer Neutrals (119743), Big Shot Embossing Folder Textured Impressions Square Lattice (119976), Big Shot Die Cut Machine (113439), Punch Circle 2-1/2" (120906), Stampin’ Pastels (120962)
Instructions
1. Fold So Saffron Textured Card Stock in half to create card.
2. Emboss Always Artichoke Card Stock using Big Shot and Square Lattice Textured Impressions Embossing Folder. Tear edges of embossed card stock and adhere to card.
3. Stamp basket image in Soft Suede ink on Very Vanilla Card Stock. Colour image using Stampin’ Pastels and a Blender Pen.
4. Punch basket image from stamped Very Vanilla Card Stock using 1-1/2" Circle Punch. Spritz punched image using Soft Suede Stampin’ Write Marker and Color Spritzer Tool. Adhere image to card.
5. Thread Linen Thread through Early Espresso Neutrals Designer Button, then tie in bow. Adhere button to card using Mini Glue Dot.
6. Stamp “Grateful” sentiment in Soft Suede ink on Crumb Cake Card Stock. Cut out sentiment using Paper Cutter to create tag.
7. Punch hole in tag using Crop-A-Dile. Loop Linen Thread through hole, then pull ends of thread through loop. Fray edges of Linen Thread.
8. Adhere tag to card using Stampin’ Dimensionals.


