Most Wonderful Time of the Year with Whispering Woods – a Fun Fold Masculine Card
Hi My Crafty Friends!
Looks like winter has finally arrived! It’s been in the low 30s the last couple of days, but my plants are hanging in there. How’s the weather treating you? Any snow yet? Snow is one thing I’m not looking forward to. I’m from Southern California, so the cold just isn’t my thing. The funny part is that we used to ski at Lake Tahoe and in Colorado, sometimes in 10-degree weather, and it never bothered me much!
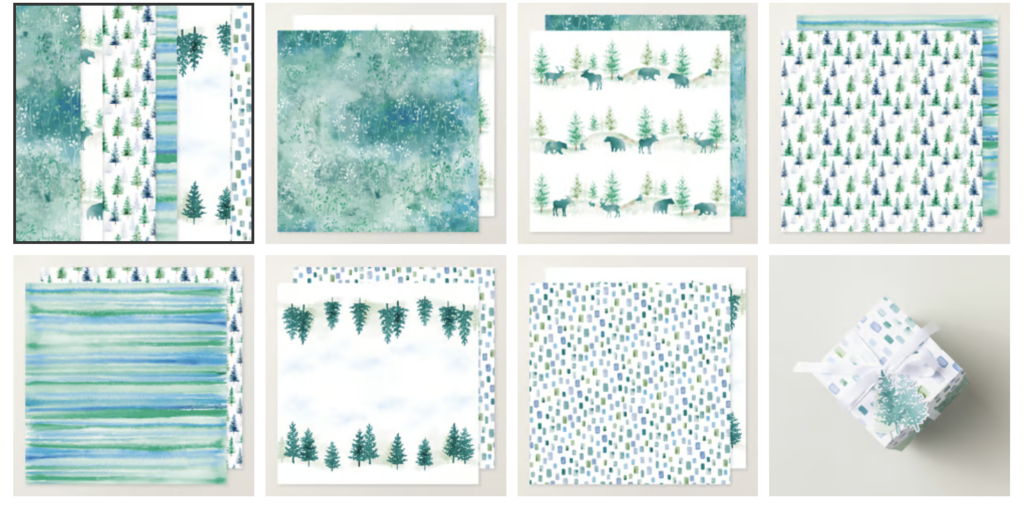
#138638 $$13.00
Did you know that every time you buy the Whispering Woods 12″ x 12″ Designer Series Paper, Stampin’ Up! donates $3 to organizations around the world to help spread a little holiday cheer? I love that! It makes this pretty paper even more special. You get gorgeous watercolor trees for your winter cards, and you’re also helping make the season brighter for someone else. Giving back is a big part of what the holidays are about for me. If you’ve been thinking about picking up this paper, now’s a great time. Your cards will look beautiful, and you’ll know your purchase is doing some good too!
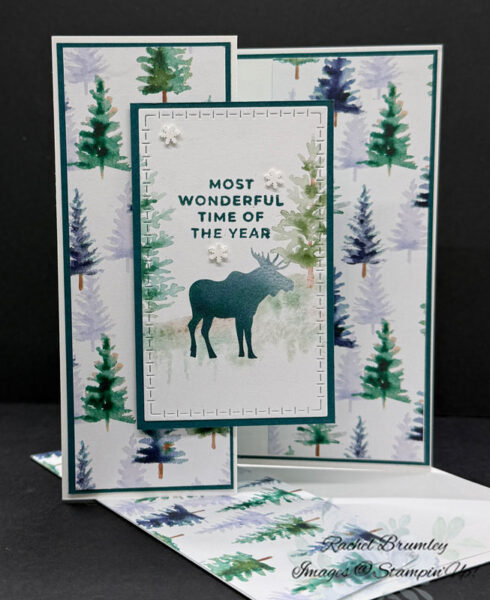
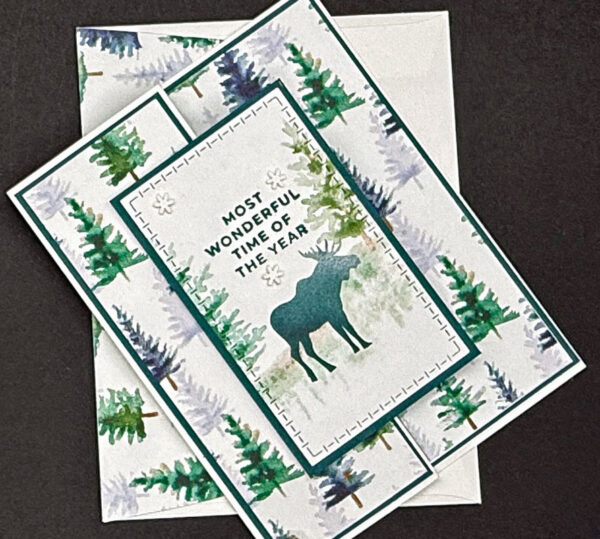
I started with a piece of Basic White Thick Cardstock cut to 8 1/2″ x 4 1/4″. I scored it on the long side at 2 1/8″ and 4 1/4″, then ran my Bone Folder over the folds for a nice sharp crease. Next, I cut my other pieces. From Basic White, I cut one piece at 5 1/4″ x 2″. From Pretty Peacock, I cut one piece at 5 3/8″ x 4 1/8″, two pieces at 2″ x 5 1/4″, and one at 3 7/8″ x 2 3/8″. From the Whispering Woods DSP, I cut two panels at 5 1/4″ x 1 7/8″, one piece at 5 1/4″ x 2″ for the inside, and one at 6″ x 2 1/4″ for the envelope flap.
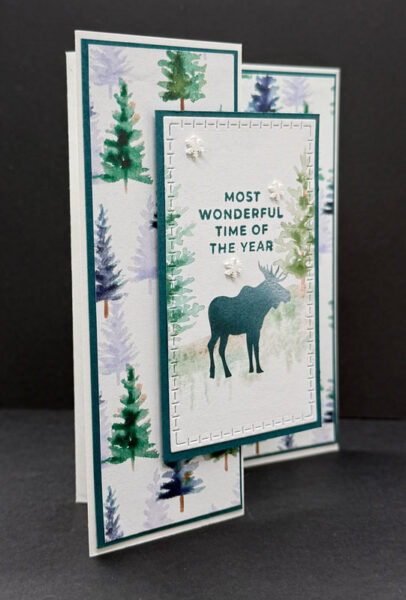
Once everything was cut, I attached the Pretty Peacock pieces to the back of the base card and to the side panels. Then I added the DSP on top of the Pretty Peacock in those same spots.
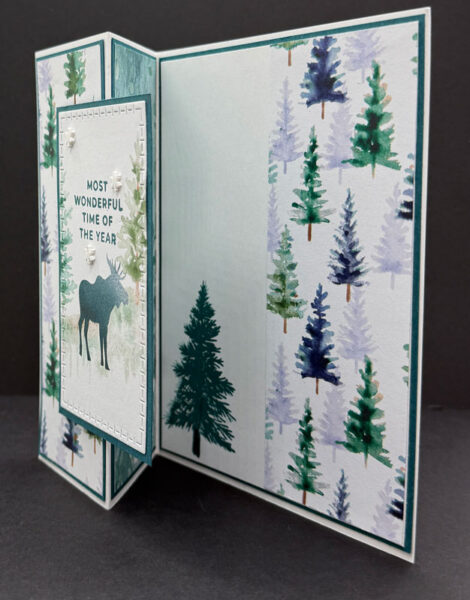
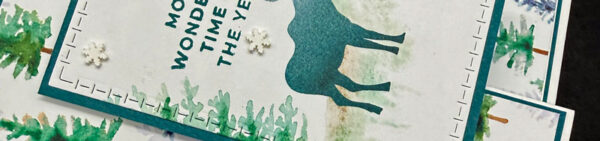
For the focal panel, I used the Textured Notes Dies to cut a moose image from the DSP. I stamped “Most Wonderful Time of the Year” from the Pretty Poinsettia Stamp Set in Pretty Peacock Ink, then adhered the panel to the 3 7/8″ x 2 3/8″ piece of Pretty Peacock cardstock. I put Stampin’ Dimensionals on the left side of the panel only and attached it to the front of the card (see the photo for placement). To finish the front, I added three snowflakes from the White Loose Snowflakes embellishments.
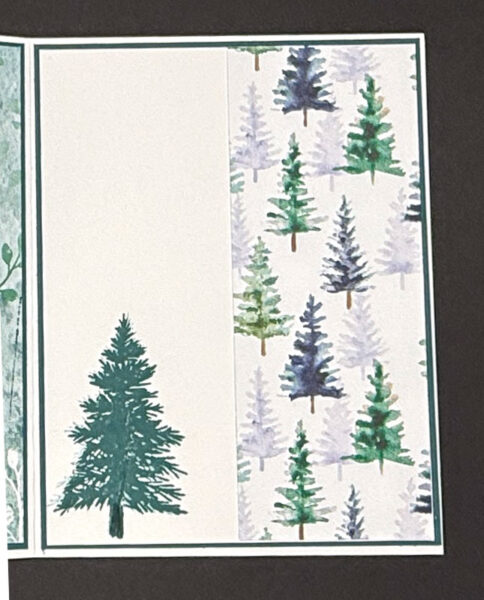
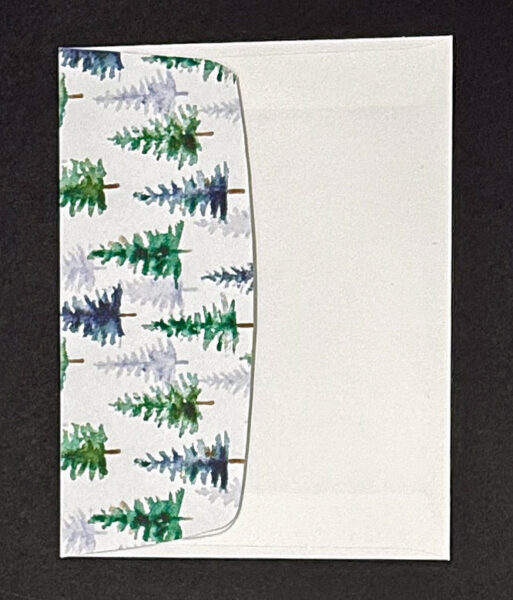
For the inside, I stamped the large tree from the Welcome Noel Stamp Set in Pretty Peacock Ink (see the photo for placement). Last, I glued the DSP strip to the envelope flap and trimmed it to size.
Thanks so much for stopping by today! I hope this card gave you a little spark of inspiration for your next crafting session. Be sure to browse through my Card Gallery for even more ideas — there’s always something new to try with your Stampin’ Up! supplies!
I truly appreciate you being part of my crafting community. Whether you’re stocking up on supplies or just want to chat about your next project, I’m always here to help. Feel free to reach out anytime by phone or email — I love connecting with fellow crafters!
Happy stamping, and I’ll see you in the craft room soon!

Supplies