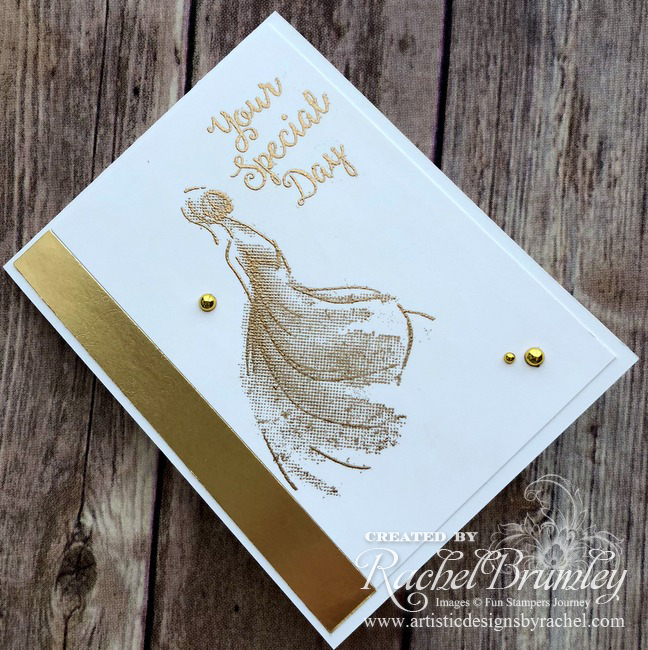
Creating Custom Ribbon and Hostess Benefits Winner
Congratulations to Amber R. I picked your name to win the Hostess Benefits for our September 1-15, 2013 Online Workshop orders.
I love doing these each month and I hope you do too. Thanks so much to everyone that placed an online order, I really appreciate you picking me as your Stampin’ Up! Demonstrator.
The Hostess code for 16 – 30 September is BQQKRXWY
For instructions on how to place an online order and enter the hostess code, please click here
Creating Custom Ribbon

Our 7/8″ Cotton Ribbon is so versatile. You can use it straight out of the package, dye it by spritzing it with Classic Stampin’ Ink Refill (US/CAN) and a Stampin’ Spritzer, or customize it with our Stampin’ Write Markers (US/CAN)—which is what I am going to show you today.

Since Stampin’ Write Markers come in our exclusive colors, you can customize your ribbon with whatever color you need to coordinate with your project. (The colors featured here are Midnight Muse, Crushed Curry, Calypso Coral, and Bermuda Bay.)

Here are some fun and easy patterns that I came up with for my custom ribbon. I used the brush tip for all three designs. As you can see, the ribbon picked up the ink color really well. (If you look closely, you’ll see that my free-hand lines and polka dots aren’t perfect. And that’s okay—the imperfections give projects a handmade look and feel!)So pull out your cotton ribbon and markers today and start designing your own custom ribbon!Robyn P. Sr. Concept Artist
Since Stampin’ Write Markers come in our exclusive colors, you can customize your ribbon with whatever color you need to coordinate with your project. (The colors featured here are Midnight Muse, Crushed Curry, Calypso Coral, and Bermuda Bay.)
Here are some fun and easy patterns that I came up with for my custom ribbon. I used the brush tip for all three designs. As you can see, the ribbon picked up the ink color really well. (If you look closely, you’ll see that my free-hand lines and polka dots aren’t perfect. And that’s okay—the imperfections give projects a handmade look and feel!)So pull out your cotton ribbon and markers today and start designing your own custom ribbon!Robyn P. Sr. Concept Artist