Blooming with Joy: A Sweet Congratulations Card for the Mom-to-Be

Hi Craft Friends
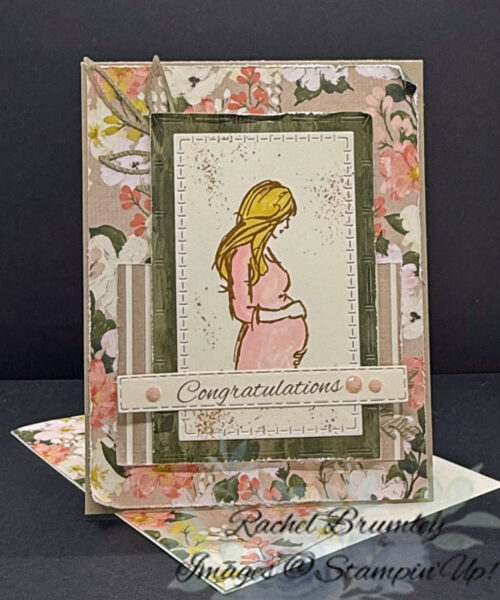
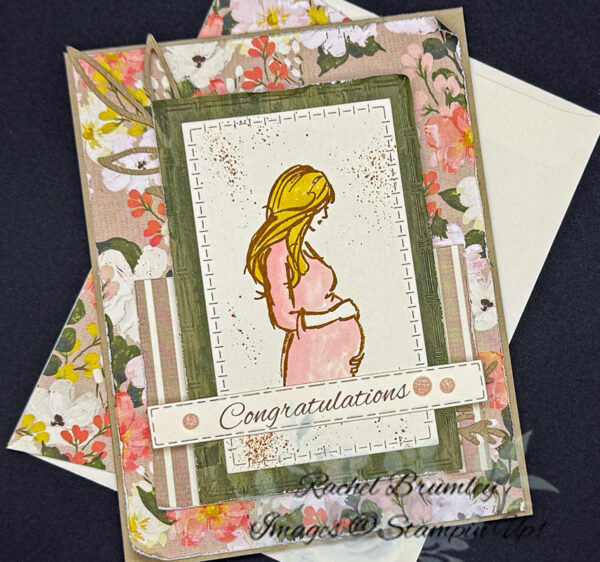
This card is extra close to my heart because it’s for my granddaughter, Sydney, who is expecting her very first baby! We are all so excited, and I can hardly believe I’m going to be a great-grandma! That tender image of the expectant mama cradling her bump felt just right, so she became the star of this card, colored in Calypso Carol and framed on a Mossy Meadow layer. A garden-fresh floral paper, softly distressed edges, and a few pink embellishments finish it off with cozy handmade charm. Congratulations, Sydney!
Card Measurements:
- Crumb Cake Cardstock:
- Front Panel: 11″ x 4 1/4″,
- scraps for leaves
- Very Vanilla Cardstock:
- 3 3/4″ x 2 1/4″,
- Sentiment: 3 1/2″ x 3/8″,
- Inside: 5 1/4″ x 3 7/8″
- Brush with Beauty Designer Series Paper:
- Floral pattern:
- Layer #1 5 3/8″ x 4 1/8″
- Strip for inside 3 1/2″ x 1/2″
- Envelope Flap: 6″ x 2 1/4″
- Striped Pattern: 3 1/2″ x 2 1/2″
- Mossy Meadow: 4 1/4″ x 3 3/4″
- Floral pattern:
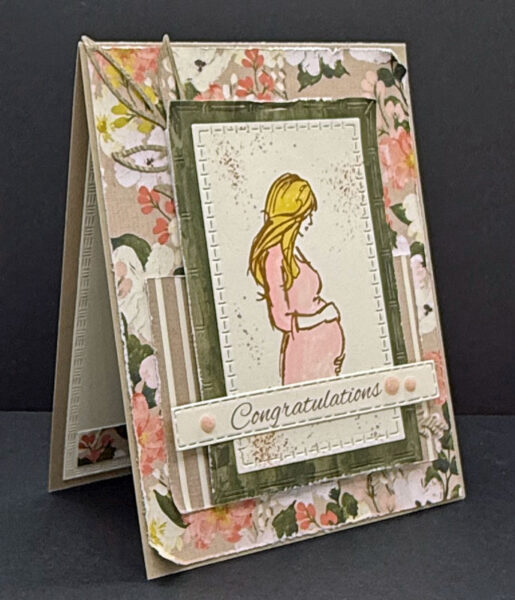
Please Note: All layers were distressed with a retired Stampin’ Up! stressing tool for that Shabby Chic look.
To start, I folded a piece of Crumb Cake in half, using the Bone Folder for a nice sharp crease. Layer #1 (the floral DSP) went onto the base card next, followed by the striped pattern DSP along the lower part of the card front (see pics for placement). Next, I glued the leaves to the top layer, tucking them into the upper left and lower right sides. The Mossy Meadow DSP was die cut with the Textured Notes Dies and attached to the front of the card.
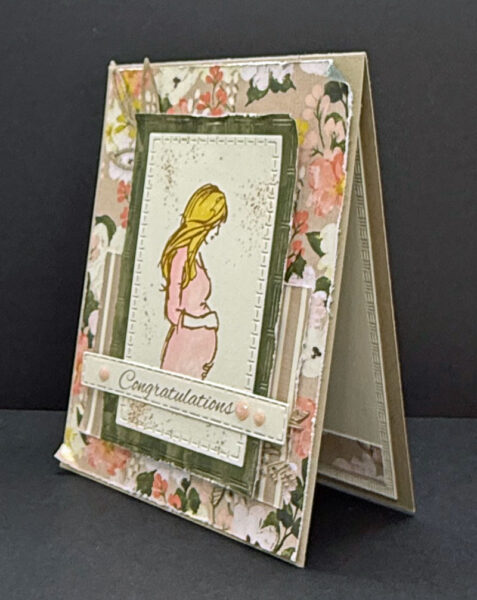
For the focal image, I stamped the expectant mama in Pecan Pie Ink, then colored her hair with Darling Duck and her dress with Calypso Carol. After die cutting the panel with the coordinating die from the Textured Notes Dies, I popped it onto the card front with Foam Adhesive Sheets for a little dimension. The sentiment was printed on Very Vanilla Cardstock and die cut with another coordinating die from the Textured Notes Dies. Three small dots from the Charming Shimmer Faceted Dots added just the right touch of sparkle before I adhered it to the front of the panel.
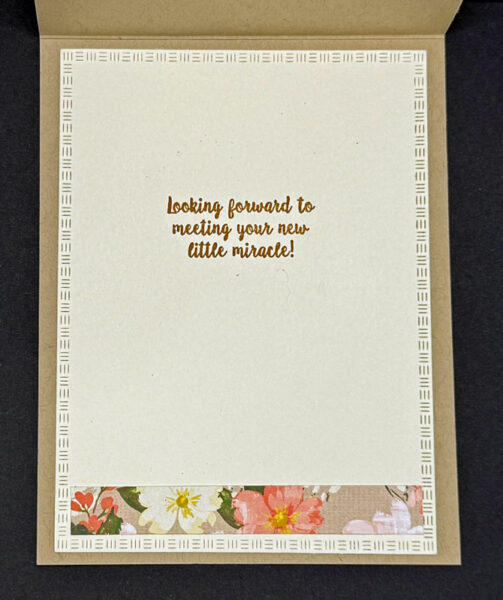
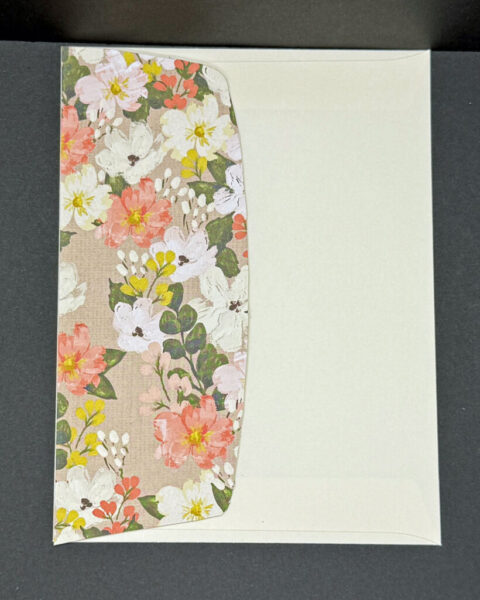
For the inside, I die cut Very Vanilla Cardstock with the largest die from the Textured Notes Dies, attached a floral strip along the bottom, and adhered it inside the card. As a finishing touch, I glued the floral pattern DSP to the envelope flap for a cohesive, polished look! ✨
Thanks so much for stopping by today! I hope this card gave you a little spark of inspiration for your next crafting session. Be sure to browse through my Card Gallery for even more ideas — there’s always something new to try with your Stampin’ Up! supplies!
I truly appreciate you being part of my crafting community. Whether you’re stocking up on supplies or just want to chat about your next project, I’m always here to help. Feel free to reach out anytime by phone or email — I love connecting with fellow crafters!
Happy stamping, and I’ll see you in the craft room soon!