A Pumpkin Patch Thank You with Painted Pumpkins Dies

Hi Crafty Friends
Fall is FINALLY here! 🍂 Lows in the 60s and highs in the 80s, and after all those 100-degree days, I’ll take it! Time to dig out the sweaters and comfy sweats, make some hot cocoa, and soak up everything fall. ☕🧡
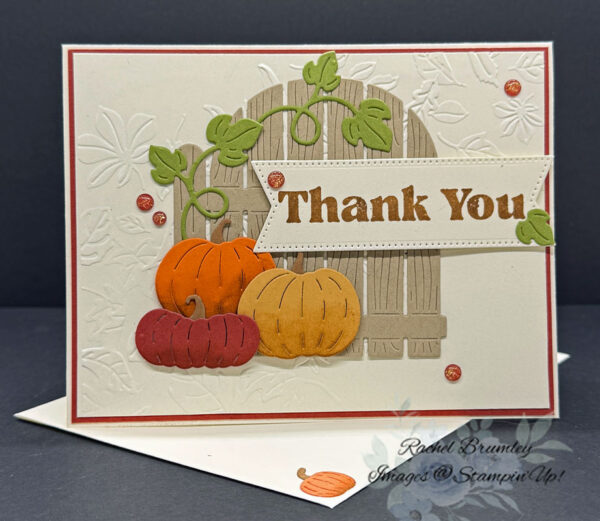
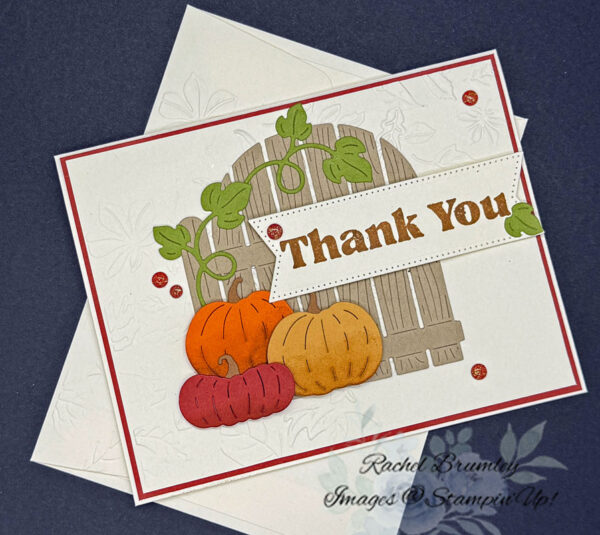
I’m totally in love with the Painted Pumpkins Dies! 🎃 You get pumpkins, leafy vines, and the sweetest little fence, and I’ve been having so much fun layering them into scenes that feel like a crisp fall day.
Card Measurements:
- Very Vanilla Thick Cardstock 11″ x 4 1/4″ and a small piece for the sentiment.
- Very Vanilla Cardstock (2 pieces) 5 1/4″ x 4″
- Cajun Craze Cardstock (2 pieces) 5 3/8″ x 4 1/8″
- Crumb Cake Cardstock 3 1/2″ x 3 1/2″
- Scraps of Pumpkin Pie, Golden Glow, Cajun Craze and Timid Tiger Cardstock for the pumpkins
- Scrap of Old Olive Cardstock for the leaves
- Scrap of Pecan Pie Cardstock for the pumpkin stems
Here’s how I put this one together!
First, I folded my base card in half and ran my Bone Folder over it for a nice, crisp crease. Then I attached a layer of Cajun Craze to the front. I ran my Very Vanilla through the Leaf Fall 3D Embossing Folder (love that texture!) and adhered it right on top.
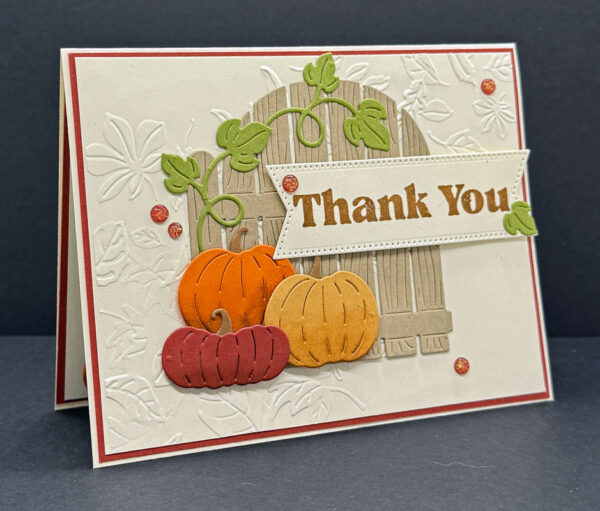
Next, I pulled out the Painted Pumpkins Dies and got to cutting. I did the gate in Crumb Cake, the pumpkins in my fall colors, and the leaves in Old Olive. I stamped my sentiment on Very Vanilla in Pecan Pie and cut it out with the Stylish Shapes Dies. After attaching the stems to my pumpkins, I sponged them with a Sponge Dabber and Pecan Pie Classic Ink to give them that painted look.
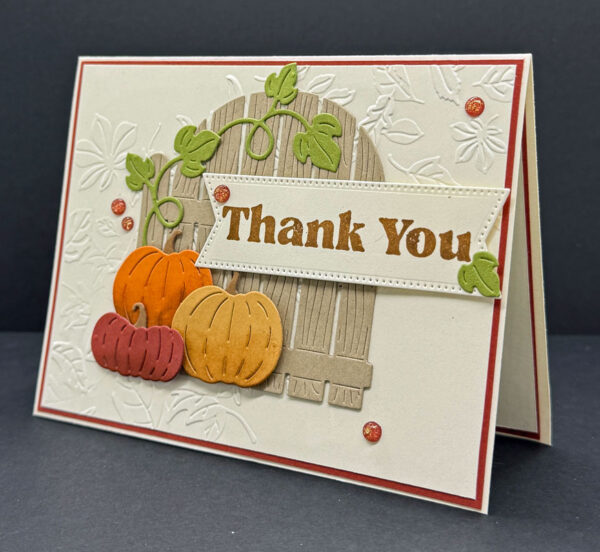
Now for the fun part, putting it all together (check out the pic for placement!). I glued the gate down with Multipurpose Liquid Glue and tucked the leaves onto it. I popped the pumpkins up with Stampin’ Dimensionals and added the sentiment with Dimensionals too, plus a little leaf on the right side. To finish off the front, I sprinkled some of the Cajun Craze & Gold Dots around the gate.
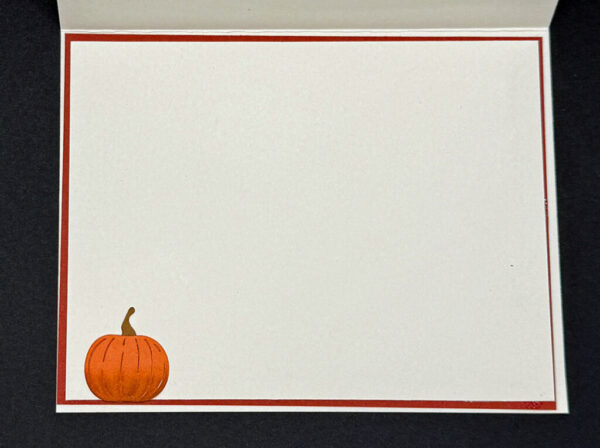
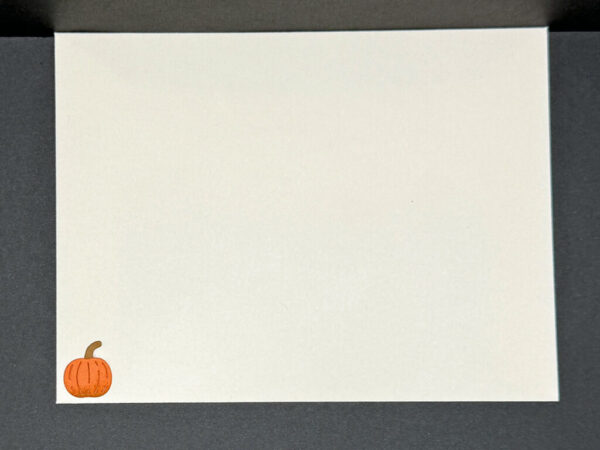
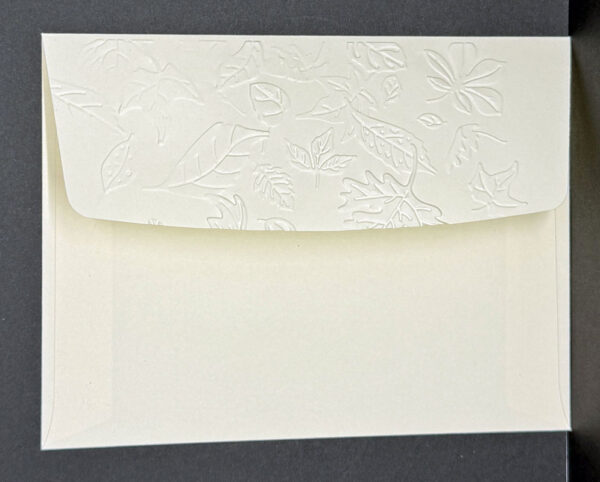
For the inside, I layered Cajun Craze and Very Vanilla and added a little pumpkin to the lower left corner. Then I embossed the envelope flap with the same Leaf Fall folder so it matches the front, and finished it off with a small pumpkin on the lower left of the envelope. 🎃
Thanks so much for stopping by today! I hope this card gave you a little spark of inspiration for your next crafting session. Be sure to browse through my Card Gallery for even more ideas — there’s always something new to try with your Stampin’ Up! supplies!
I truly appreciate you being part of my crafting community. Whether you’re stocking up on supplies or just want to chat about your next project, I’m always here to help. Feel free to reach out anytime by phone or email — I love connecting with fellow crafters!
Happy stamping, and I’ll see you in the craft room soon!

Supplies