A Sweet Birthday Wish for Ollie with Sweet Old Friends
Hi Crafty Friends
Hi friends! 🧸 What a terrific weekend we just had! Friday, my granddaughter Cissy and great-granddaughter Xoey came to visit. Then Saturday, my granddaughter Rachel stopped by, and on Sunday my grandson David came too. It’s not very often that we get visits from all of them in one single weekend, so it truly felt extra special and I’m still smiling about it!
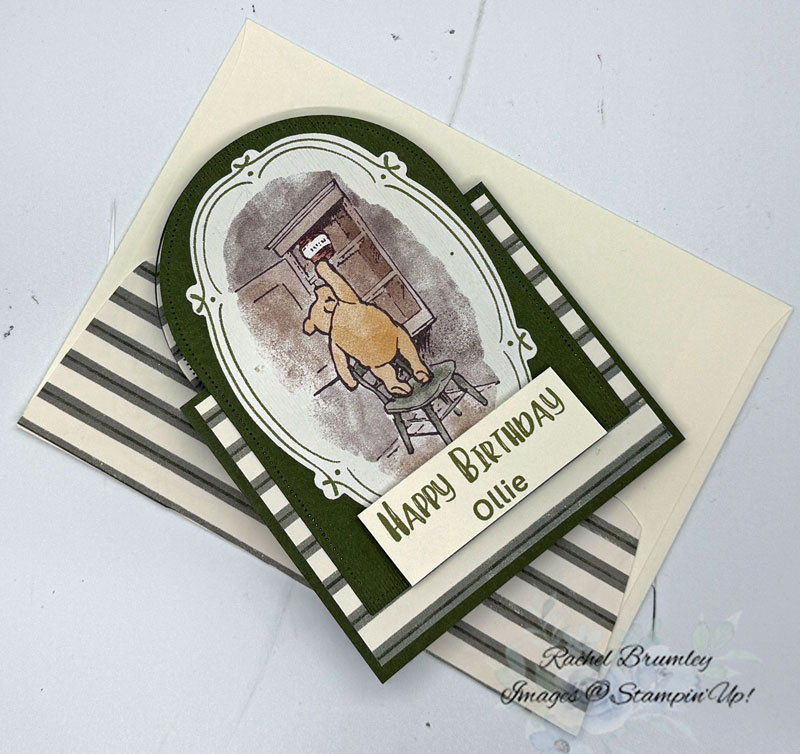
With family so much on my mind, it felt like the perfect time to share this sweet birthday card I made for my Ollie, using the Sweet Old Friends collection. There’s just something so heartwarming about this Pooh-inspired image — it melts my heart every single time! This fun fold design gives the card such a fun dimensional pop, and I paired the sweet vintage-style image with a coordinating green and cream striped paper for a look that feels both nostalgic and fresh. The “Happy Birthday” sentiment was the perfect finishing touch, and adding Ollie’s name made it feel extra special and one-of-a-kind.
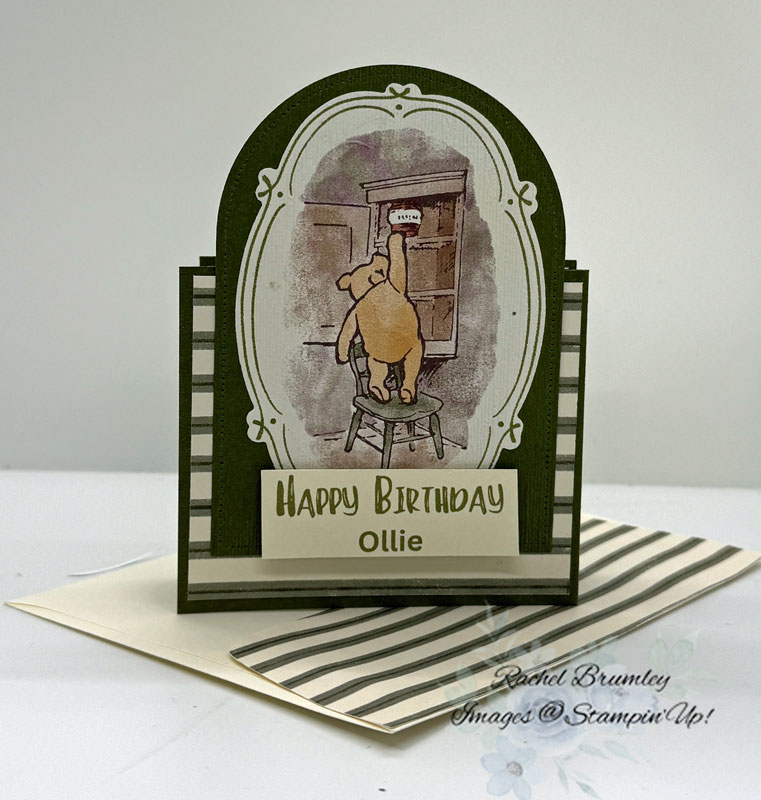
If you have a little one (or a not-so-little one!) in your life who loves Winnie the Pooh, this card is such a sweet way to celebrate their birthday. I’ll walk you through how I put this fun fold card together below!
Instructions:
- Start by cutting your fun fold base from Mossy Meadow cardstock (10 1/2″ x 3″), scoring to create the step-up panels for this design. Add Silly Old Bear DSP panels (3 3/8″ x 2 5/8″) between the scored cardstock sections.
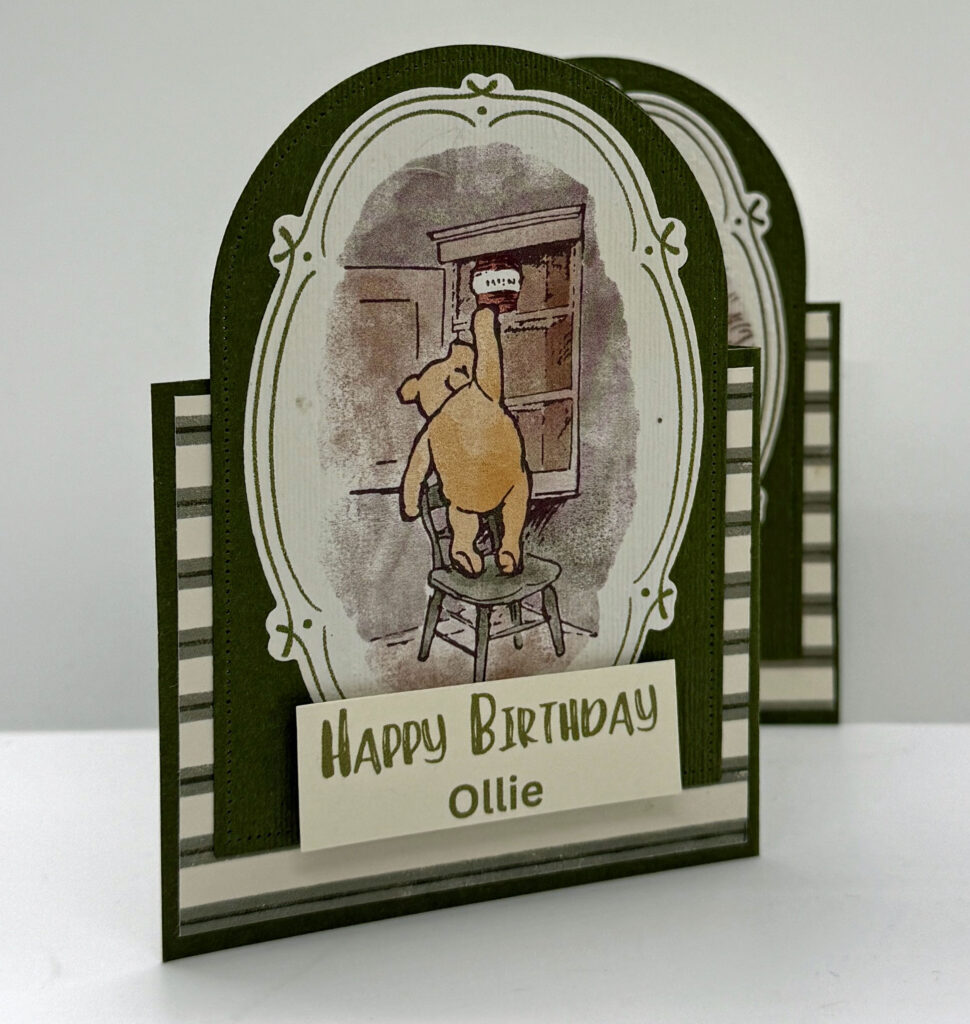
- Using the Arch Dies, cut three panels from Mossy Meadow cardstock and attach them as shown in the picture. Then, using the Sweet Words and Labels Dies, die cut three coordinating panels and attach those to the arched panels.
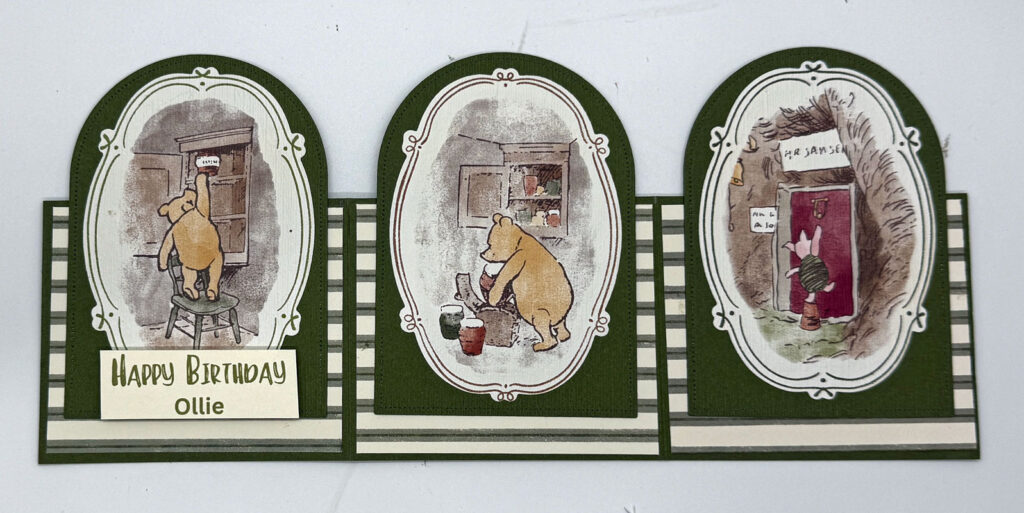
- For the sentiment, computer generate “Happy Birthday Ollie” in Mossy Meadow and fussy cut it out. Adhere it to the front panel with Stampin’ Dimensionals for a little extra dimension.
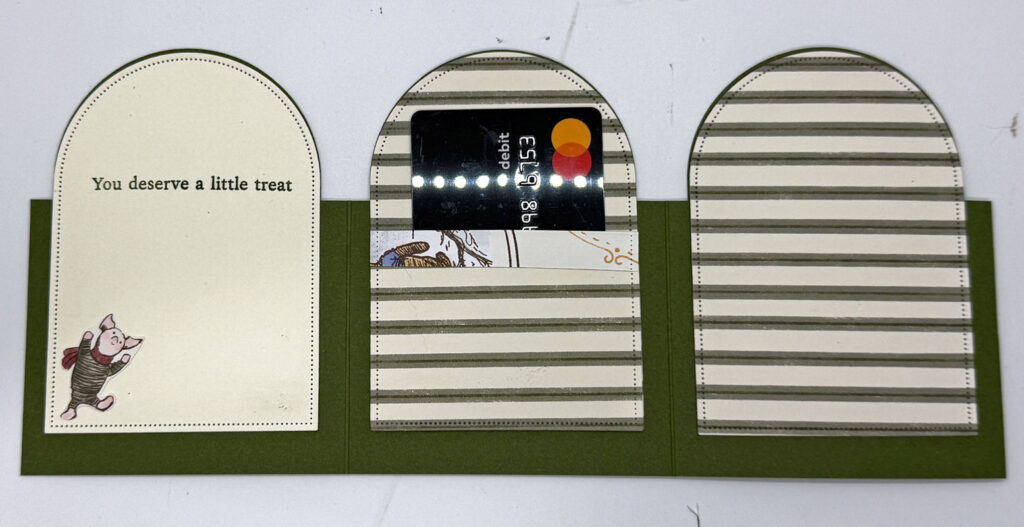
- Now let’s work on the inside! For the first back panel, run the Arch Die through your Stampin’ & Embossing Die Cut Machine with Very Vanilla cardstock. Stamp the sentiment, then fussy cut the sweet little Piglet image from the Silly Old Bear DSP and attach him to the lower right corner of the first panel.
- For the center panel, adhere a full piece of Silly Old Bear DSP, then create a simple pocket by adding a smaller piece of DSP along the bottom of the panel, leaving the top open. This gives you a handy spot to tuck in a gift card.
- For the right panel, simply adhere a full piece of Silly Old Bear DSP to finish out the fun fold design with a consistent look throughout.
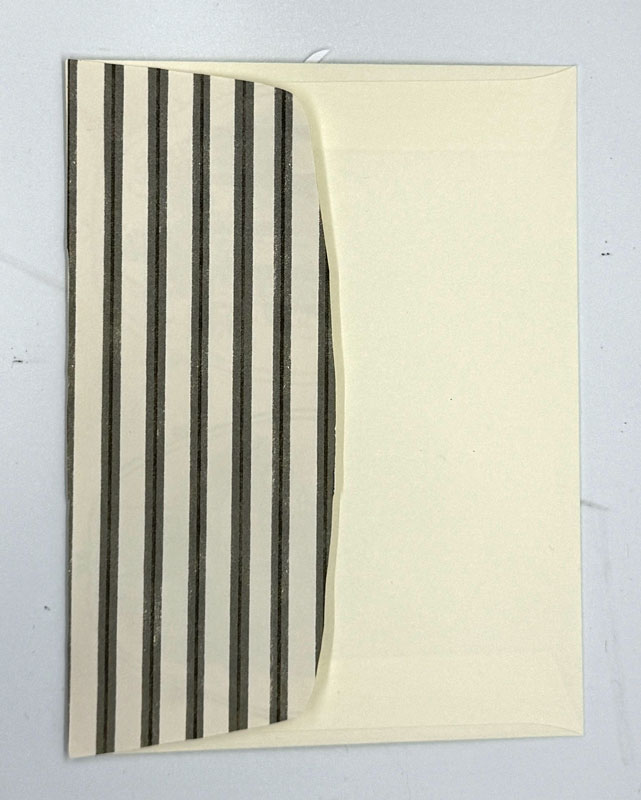
And there you have it — a sweet, sentimental birthday card for Ollie that’s full of Winnie the Pooh charm! I just love how the pocket adds a little functional surprise for a gift card too. 🧸
If you’d like to get your hands on any of the products I used today, just click the links in the shop below. And if you’re not already a part of my Stampin’ Addicts Facebook community, come join us! We share cards, tips, and so much inspiration every single week. I’d love to see you there!
Thanks so much for stopping by today! I hope this card sparked some inspiration for your next crafting session. Be sure to browse through my Card Gallery for even more ideas—there’s always something new to try with your Stampin’ Up! supplies!
I truly appreciate you being part of my crafting community. Whether you need to stock up on supplies or just want to chat about your next project, I’m always here to help. Feel free to reach out anytime by phone or email—I love connecting with fellow crafters!
Happy stamping, and I’ll see you in the craft room soon!