Woof-Worthy Stamping — A Personalized Card for a Very Good Boy Tutorial

Hi Crafty Friends!
Say hello to the Cutest Crew — one of my favorite new stamp sets! It’s filled with playful pups, curious kitties, and chirpy little birds, all ready to bring the sweetest charm to your handmade cards and paper crafts. The adorable sentiments and whimsical line art make it perfect for so many occasions, whether you’re sending birthday wishes or a just-because note. And I love how open the designs are — they’re so easy to color, which means you can customize every sweet little critter to your heart’s content!
Card Measurements:
- Base Card: Blueberry Bushel Cardstock 8 1/2 x 5 1/2
- Layer #1: Full of Life 6″ x 6″ Designer Series Paper (DSP) 5 3/8″ x 4 1/8″
- Layer #2: Basic White Cardstock 4 3/4″ x 3 5/8″
- Layer #3: Blueberry Bushel Cardstock 4 5/8″ x 3 1/2″
- Layer #4: Basic White Cardstock 4 3/8″ x 2 3/4″
- Layer #5: Basic White Cardstock 4 1/4″ x 1/2″
- Blueberry Bushel Cardstock for letters 2 1/2″ x 1″
- Inside of Card:
- Basic White Cardstock 5 3/8″ x 4 1/8″
- Strip of Full of Life DSP 4 1/8″ x 5/8″
- Envelope Flap
- Full of Life DSP 6″ x 2 1/4″
Card Instructions:
To begin, I scored and folded the base card in half using my Bone Folder for a nice sharp crease. I then attached the Full of Life DSP to the base card, followed by Layer #2 to the front. Layer #3 was adhered to the base card using Multipurpose Liquid Glue.
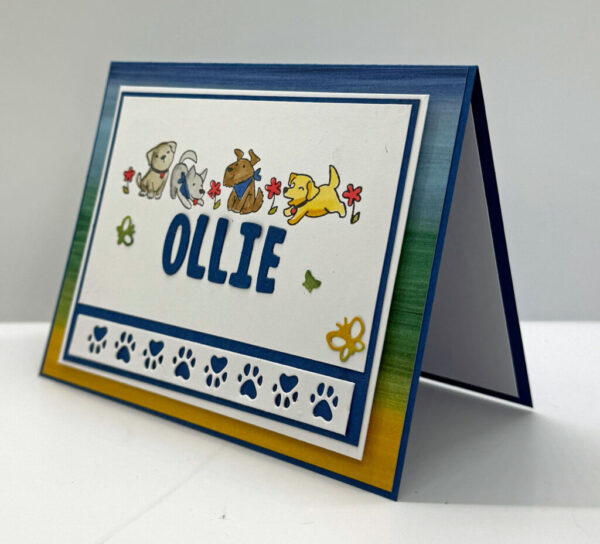
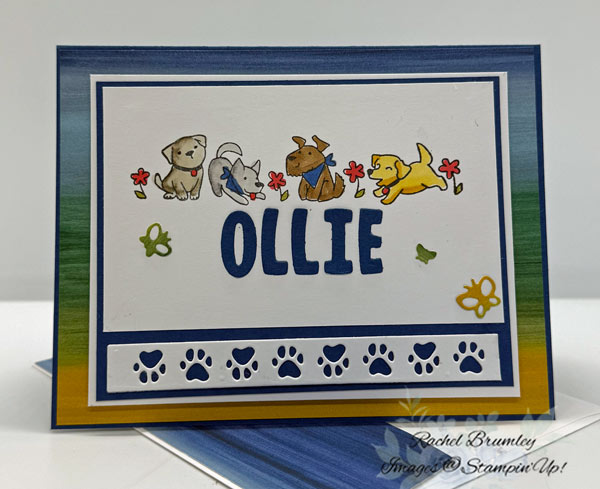
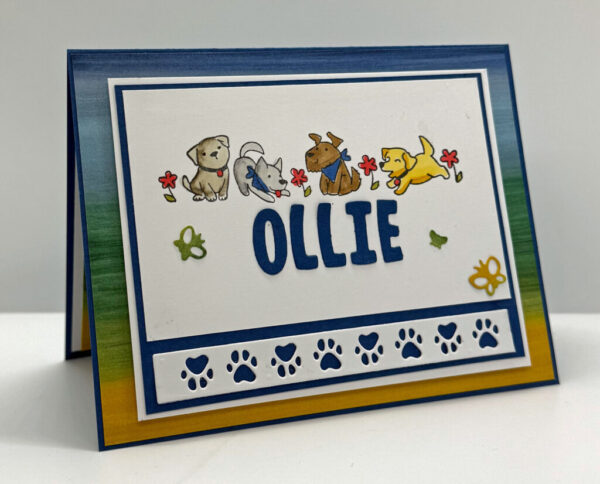
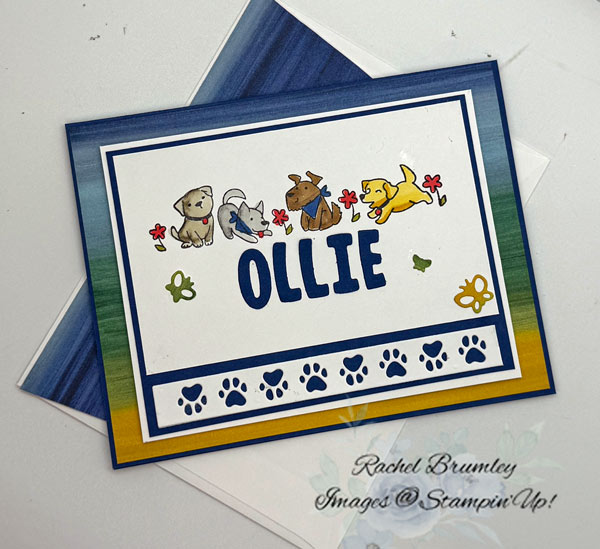
Next, I stamped the puppy image with Tuxedo Black Ink onto Basic White Cardstock and had so much fun coloring them in! I used Crumb Cake, Smoky Slate, Pecan Pie, and Daffodil Delight Stampin’ Blends for the pups, Poppy Parade for the flowers, and Old Olive for the leaves. I then added the small die-cut butterflies to the lower section of the top panel — see the card photo for placement. Layer #5 was cut using the coordinating die from the Cutest Crew Dies and attached below Layer #4, again referring to the card photo for placement.
I cut the letters using Blueberry Bushel Cardstock from the Mini Alphabet Dies and added them with Multipurpose Liquid Glue. Refer to card photo for placement.
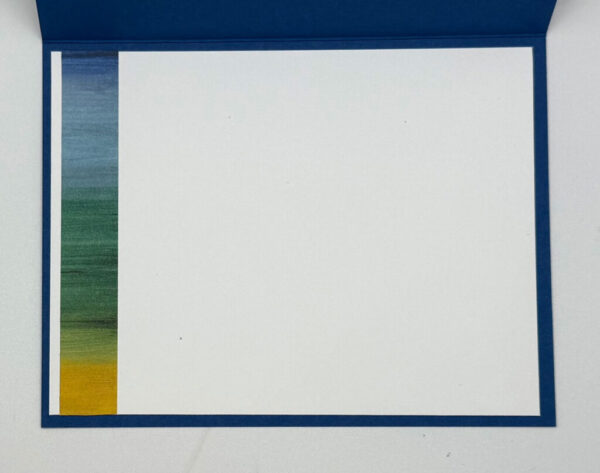
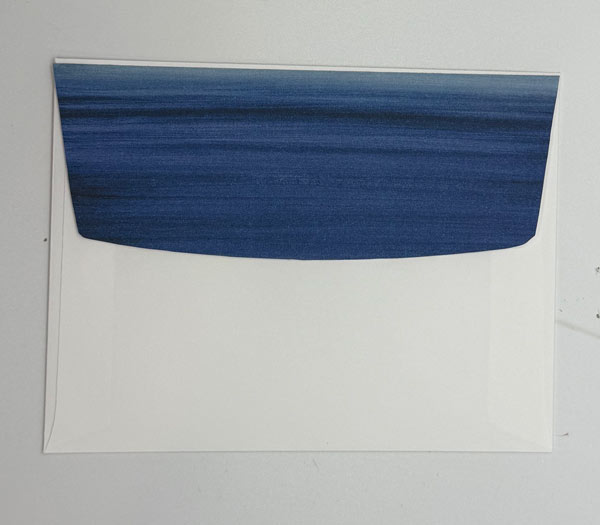
To finish the inside of the card, I adhered a piece of Basic White Cardstock and added a strip of the Full of Life DSP. As a final touch, I used the same Full of Life DSP on the envelope flap to tie the whole project together beautifully!
Thanks so much for stopping by today! I hope this card sparked some inspiration for your next crafting session. Be sure to browse through my Card Gallery for even more ideas—there’s always something new to try with your Stampin’ Up! supplies!
I truly appreciate you being part of my crafting community. Whether you need to stock up on supplies or just want to chat about your next project, I’m always here to help. Feel free to reach out anytime by phone or email—I love connecting with fellow crafters!
Happy stamping, and I’ll see you in the craft room soon!

Coordinating Colors

Supplies