Why “Just Because” Fun Fold Cards Are the Perfect Way to Brighten Someone’s Day


- Black Friday Sale (ongoing)
- Cyber Monday Paper Pumpkin (starts Dec 1)
- Product of the Month (starts Dec 1)
Just because” cards are perfect for brightening someone’s day because they carry the most precious gift of all – unexpected love and thoughtfulness. Unlike birthday or holiday cards that people anticipate, a “just because” card arrives like a surprise hug in the mailbox.
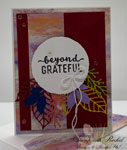
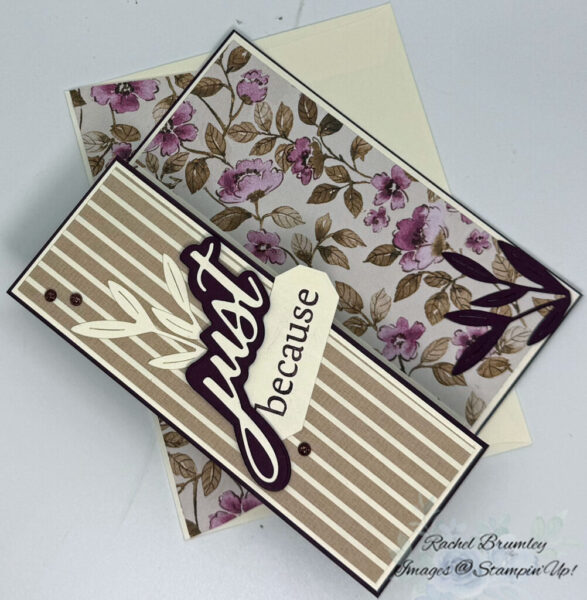
I absolutely love how this “just because” card turned out – it is from the Words of Beauty Bundle! The combination of that elegant striped designer paper in soft browns and creams creates such a sophisticated backdrop for the beautiful script sentiment. I layered the “just because” die-cut over a cream banner to make it really pop against that rich burgundy shadow layer.
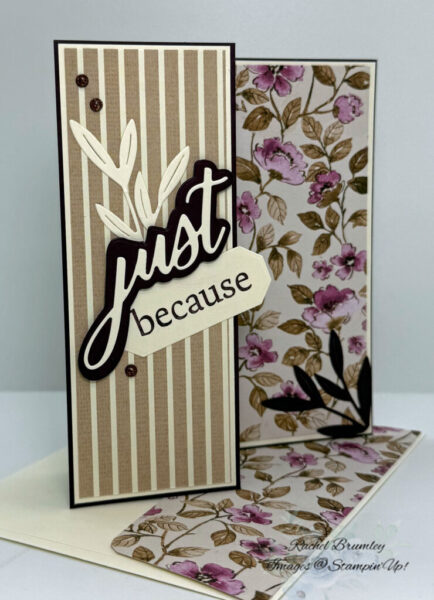
To create this card, I started with Blackberry Bliss cardstock as my base, scoring at 4 1/4″ and 2 1/8″ along the long side. I folded the 4 1/4″ score line to create a mountain fold and the 2 1/8″ score to form a valley fold. Next, I layered Very Vanilla cardstock onto the front panel, then added the beautiful Brushed with Beauty Designer Series Paper on top.
For the focal sentiment, I die-cut the word “just” from the Words of Beauty Dies using Very Vanilla cardstock. I also created a shadow layer by die-cutting the same word in Blackberry Bliss cardstock. After adhering these pieces together, I attached them to the front panel at a slight angle for visual interest.
I stamped “because” using Blackberry Bliss ink, then die-cut it with the coordinating die from the Words of Beauty Dies set. This smaller sentiment was positioned just below the word “just” to complete the phrase.
To add a delicate botanical touch, I die-cut a stem and leaves from the Pretty Flora Dies using Very Vanilla cardstock and placed them above the word “just,” creating a lovely layered effect that brings the whole design together. I finished the design by adding a few Regal Foiled Adhesive-Back Dots for just the right touch of sparkle.
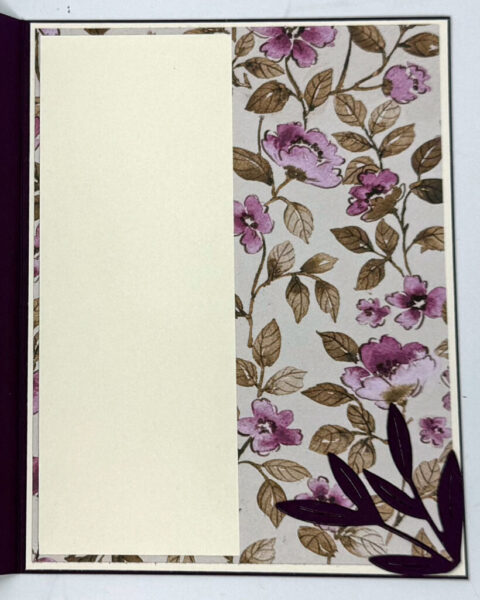
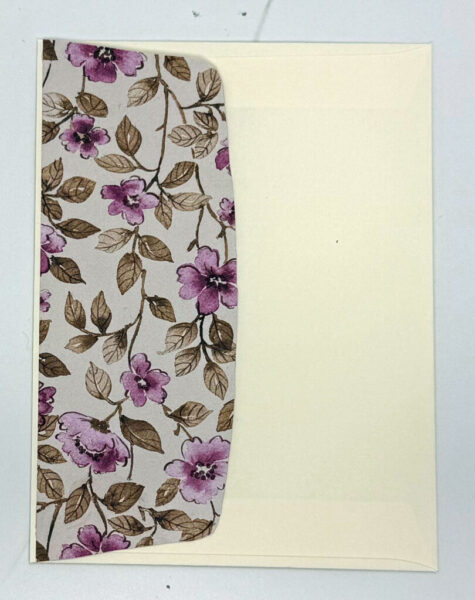
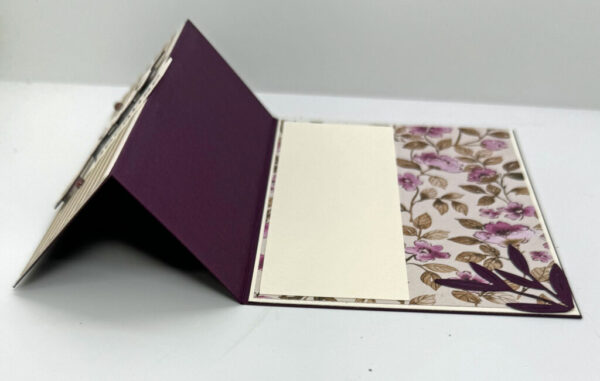
For the inside of the card, I layered Very Vanilla cardstock with the beautiful Floral Charm Designer Series Paper. On the left panel, I added another layer of Very Vanilla cardstock to create a clean writing space. As a finishing touch, I die-cut a stem and leaves from the Pretty Flora Dies using Blackberry Bliss cardstock to echo the front design. I also lined the envelope flap with the same patterned paper to create a cohesive, polished presentation.
Thank you for visiting my blog! I hope today’s card design inspires your own Stampin’ Up! projects. Don’t forget to check out my Card Gallery for more ideas using your favorite Stampin’ Up! products. Your support means the world to me. If you need supplies or have any questions, I’m here to help as your Stampin’ Up! demonstrator—just give me a call or send me an email.
Happy stamping, and let’s keep crafting together!
Card Measurements:
- Base Card: Blackberry Bliss Cardstock (8 1/2″ x 5 1/2″). Score at 4 1/4″ and 2 1/8″ and fold using a Bone Folder for a sharper crease.
- Layer #1: Very Vanilla Cardstock (5 3/8″ x 2″)
- Layer #2: Brushed with Beauty DSP (5 1/4″ x 1 7/8″)
- Die Cut Word: Scrap of Blackberry Bliss and Very Vanilla Cardstock
- Sentiment: Scrap of Very Vanilla Cardstock
- Stem & Leaves: Scrap of Very Vanilla Cardstock
- Inside of card: Layer #1 Very Vanilla Cardstock (4 1/8″ x 5 3/8″)
- Layer #2: Floral Charm DSP (4″ x 5 1/4″)
- Layer #3: Very Vanilla Cardstock (5 1/8″ x 1 7/8″)
- Stem & Leaves: Scrap of Blackberry Bliss Cardstock.
- Envelope Flap: Floral Charm DSP (6″ x 2 1/2″)

Supplies