Creating Personalized Birthday Cards: Masculine Design with Blue Watercolor Accents

Hello Crafty Friends!
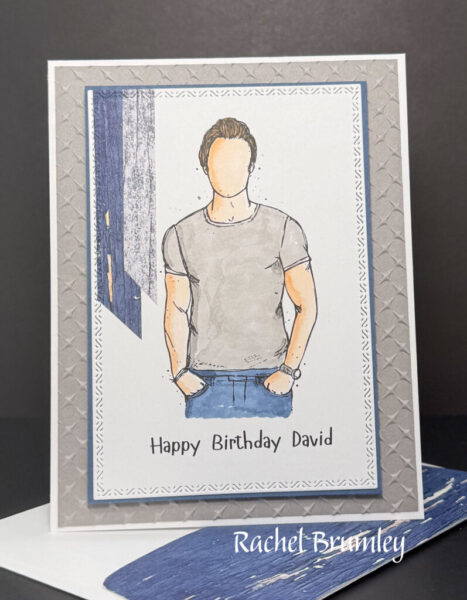
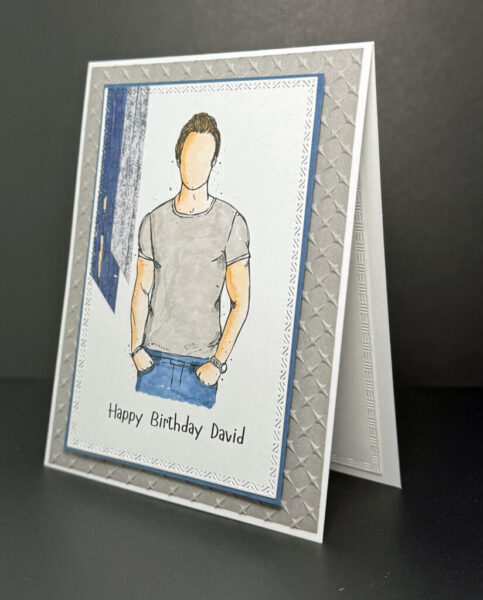
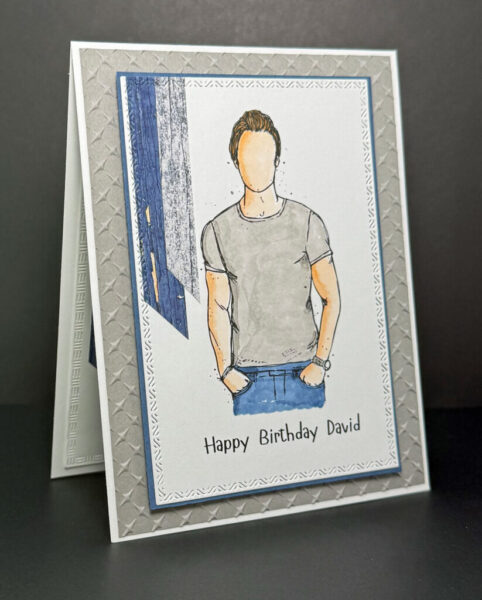
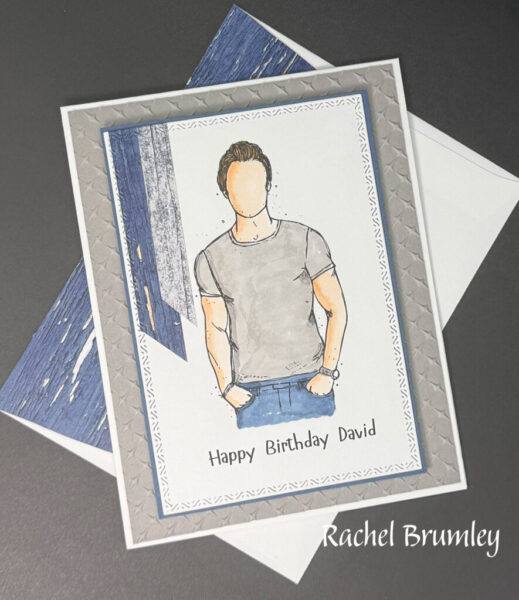
I absolutely love how this masculine birthday card turned out! I used a digital image to create this casual guy in a gray t-shirt and jeans – perfect for those harder-to-design-for men in our lives. The blue and gray strips on the left side adds just the right pop of color, and I paired it with that gorgeous embossed background using one of my favorite textured folders. The simple “Happy Birthday David” greeting keeps it clean and masculine, while the blue matting ties everything together beautifully. This design is so versatile – you could easily change up the colors or personalize the name for any special guy’s birthday!
Card Instructions:
- Start by folding your base card in half, using a bone folder to create a sharp, crisp crease. Next, emboss Layer #1 with the Metal Plate 3D Embossing Folder and attach it to your base card.
- Print your image on Basic White Cardstock, then color it in using Petal Pink for the face, Gray Granite for the t-shirt, and Misty Moonlight Stampin’ Blends for the jeans.
- Cut two strips from the Country Woods Designer Series Paper and add them to your design. Layer #3 goes on the front panel, then adhere everything to your base card.
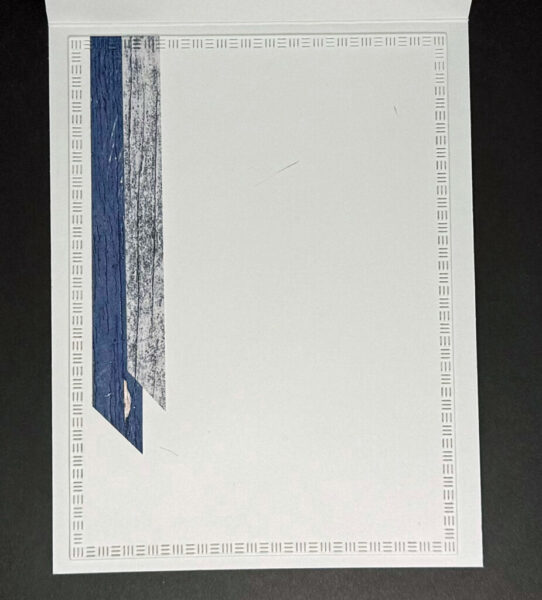
- For the inside of your card, add the same type of DSP strips to basic white cardstock and attach it inside.
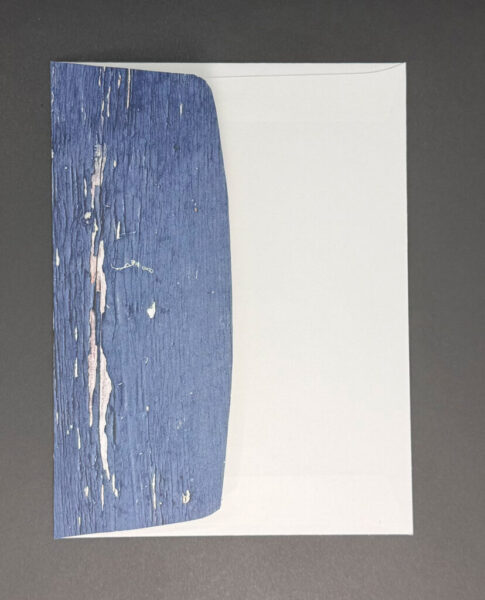
- To finish, glue a piece of Designer Series Paper to your envelope flap and trim it to size for a coordinated look.
Card Measurements:
- Basecard: Basic White Cardstock (11″ x 4 1/4″)
- Layer #1: Gray Granite Cardstock (5 3/8″ x 4 1/8″)
- Layer #2: Misty Moonlight Cardstock (4 7/8″ x 3 3/8″)
- Layer #3: Basic White Cardstock (4 1/4″ x 3 1/4″)
- Strip: Country Woods Designer Series Paper (dark) (3″ x 1/2″)
- Strip: Country Woods DSP (light) (2 1/2″ x 3/8″)
- Inside Card: Basic White Cardstock (5 1/4″ x 3 7/8″)
- Strip: Country Woods DSP (dark) (4 1/4″ x 1/2″)
- Strip: Country Woods DSP (light) (3 7/8″ x 3/8″)
- Envelope Flap: Country Woods DSP (6″ x 2 1/2″)
Thank you for visiting my blog! I hope today’s card design inspires your own Stampin’ Up! projects. Don’t forget to check out my Card Gallery for more ideas using your favorite Stampin’ Up! products. Your support means the world to me. If you need supplies or have any questions, I’m here to help as your Stampin’ Up! demonstrator—just give me a call or send me an email.
Happy stamping, and let’s keep crafting together!

Supplies