Harvest Charm: Layered Pumpkin Card for Fall

Don’t Forget!
- Kits up to 30 percent off – ends Wednesday
- Best Starter Kit Ever!
Hello my crafty friends!
I’m absolutely loving the Beautiful Pumpkins Stamp Set for all my fall crafting! It’s so easy to create gorgeous pumpkin designs, and I can layer in those elegant leaves and greenery to really bring everything to life. Plus, the heartfelt sentiments are perfect for expressing gratitude during the season. I’ve been using this set for cards, scrapbook pages, and just about anything else I can think of!
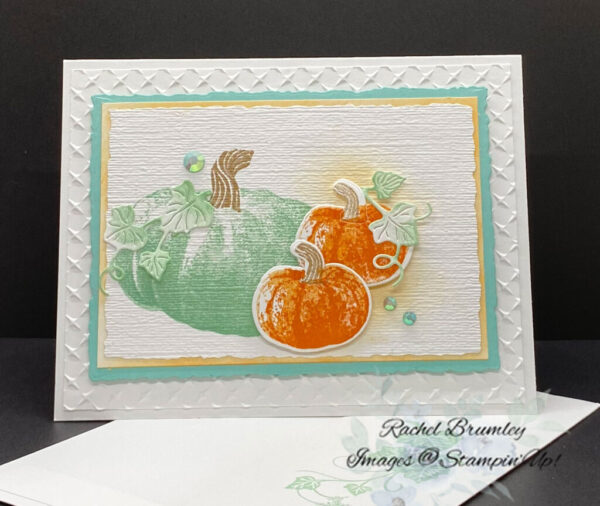
How I Made This Layered Pumpkin Card
- I started by cutting Basic White Cardstock for the base card (8 1/2″ x 4 1/4″). I then embossed layer #1 cardstock with the Metal Plate 3D Embossing Folder to add some texture and interest to the frame.
- For the main panel, I used the Subtle 3D Embossing Folder on Basic White cardstock to create that rustic background texture. Then I sponged the Pumpkin Pie ink on the right side using a Blending Brush, creating a nice gradient where they meet in the middle. Lastly I die cut the panel using the 3rd smallest die from Deckled Rectangle Dies.
- Next, I stamped the large pumpkin on the left using the Pool Party ink, keeping it soft and subtle. For the smaller pumpkins on the right, I stamped them with Pumpkin Pie ink on white cardstock, then die cut them out using matching dies from the Beautiful Pumpkin Dies. I added Stampin’ Dimensionals behind them for dimension.
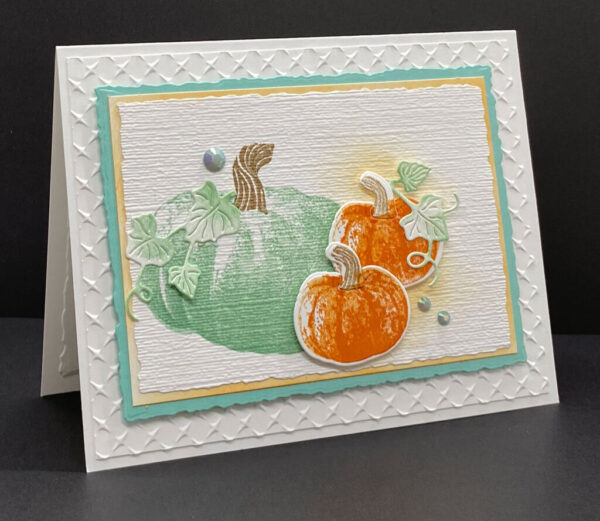
- For the leaves and vines, I die-cut them with the Basic White cardstock, sponged them with Pool Party Ink and tucked them around both pumpkins. Some I adhered flat, and others I popped up with Stampin’ Dimensionals to create layers and depth.
- To finish it off, I added a few iridescent sequins, from the Iridescent Pastel Gems, scattered around for a little sparkle.
- Then I layered everything onto my card base. First, I added the embossed lattice layer, followed by the Pool Party cardstock cut with the Deckled Rectangle Die. Next came a piece of Basic White cardstock that I’d sponged with Pumpkin Pie ink using a sponge brush. Finally, I added the top panel with all the pumpkins and leaves to complete the card.
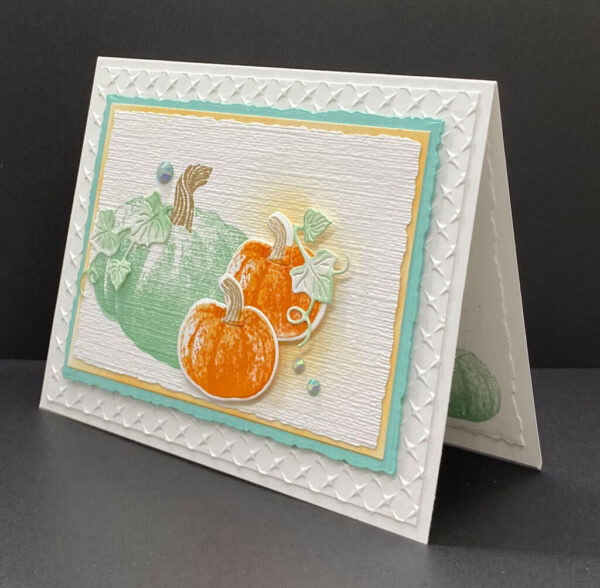
The combination of the textured background and dimensional elements really makes this card come to life!

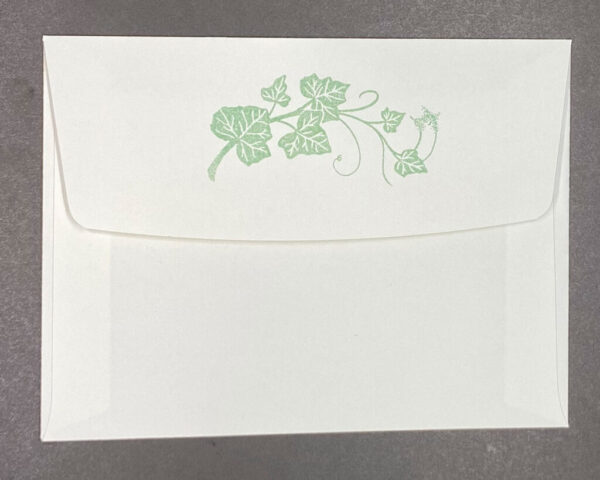
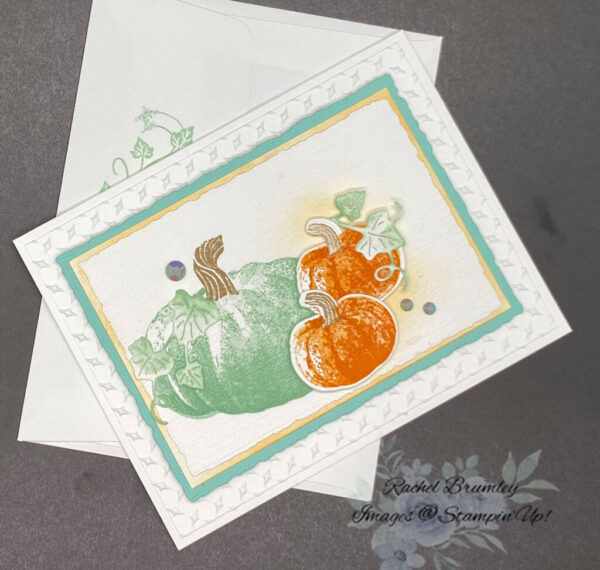
- For the inside of the card, I die-cut a piece of Basic White cardstock using the largest Deckled Rectangle Die and layered it inside. Then I stamped “Autumn Wishes” from the Amber Autumn Stamp Set. I added a small pumpkin stamped in Pool Party ink and colored the stem with Pecan Pie. To tie everything together, I stamped some leaves and stems in Pool Party ink on the envelope flap for a cohesive finishing touch.
Thank you for visiting my blog! I hope today’s card design inspires your own Stampin’ Up! projects. Don’t forget to check out my Card Gallery for more ideas using your favorite Stampin’ Up! products. Your support means the world to me. If you need supplies or have any questions, I’m here to help as your Stampin’ Up! demonstrator—just give me a call or send me an email.
Happy stamping, and let’s keep crafting together!

Card Measurements:
- Base Card: Basic White Cardstock (8 1/2″ x 5 1/2″). Fold in half using a Bone Folder for a sharper crease.
- Layer #1: Basic White Cardstock (5 1/2″ x 4 1/4″) before embossing with the Metal Plate 3D Embossing Folder.
- Layer #2: Pool Party Cardstock (5″ x 3 1/2″) before die cutting with the Deckled Rectangle Die.
- Layer #3: Basic White Cardstock (4 1/2″ x 3 1/8″). Sponge with Pumpkin Pie Ink to create a soft color.
- Layer #4: Basic White Cardstock (4 1/2″ x 3 1/4″) before die cutting with the Deckled Rectangle Die.
- Inside of Card: Basic White Cardstock ( 5 1/2″ x 4 1/4″) before die cutting with the largest Deckled Rectangle Die.

Supplies