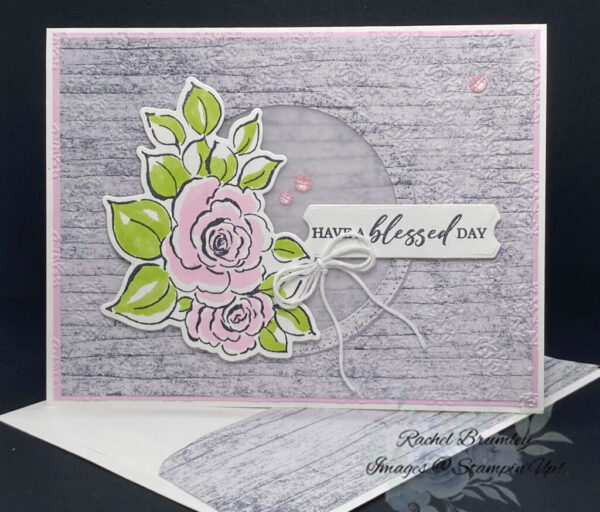
Soft Pink Roses & Textured Backgrounds: A Blessed Day Card

Hello my Stampin’ Friends!
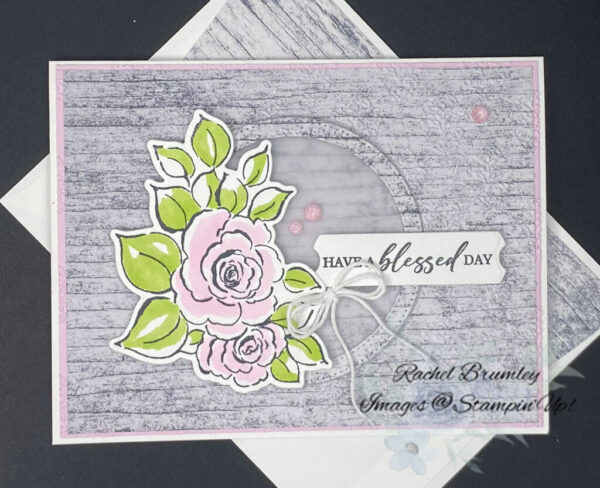
Transform your paper crafting with stunning floral arrangements perfect for both summer and fall seasons! The stamps and dies in our Charming Day Bundle showcase intricate floral and greenery designs that will beautifully adorn your projects. With versatile all-occasion sentiment stamps included, this bundle is an essential addition to any crafter’s collection!
Card Instructions:
- Base Card: Cut Basic White Cardstock to 8 1/2″ x 5 1/2″. Fold in half using a Bone Folder to create a sharp crease.
- Layer 1: Cut Bubble Bath Cardstock to 5 3/8″ x 4 1/8″ and adhere to the base card.
- Layer 2: Cut Country Woods Designer Series Paper (DSP) to 5 1/4″ x 4″. Emboss using the Damask Embossing Folder, then attach to Layer 1.
- Vellum Circle: Cut Vellum Cardstock to 3 1/2″ x 3 1/2″. Die cut using the largest circle from the Stylish Shapes Dies.
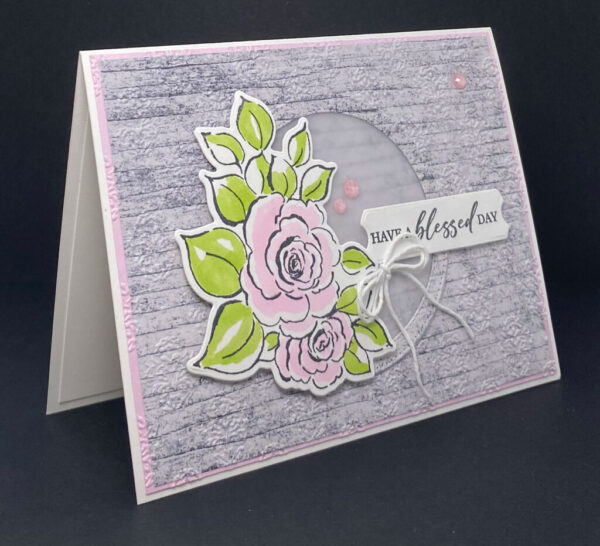
- Circle Border: Cut Country Woods DSP to 3 1/2″ x 3 1/2″. To create the border, run both the largest and second-largest circles from the Stylish Shapes Dies through your machine. Glue the border to the vellum circle, then attach to the card front (refer to card for placement).
- Floral Image: Using the Charming Day Stamp Set, stamp the large floral image in Tuxedo Black Ink. Color the petals with Bubble Bath and the leaves with Granny Apple Green Stampin’ Blends. Die cut using the coordinating die and adhere to the card front (refer to card for placement).
- Sentiment: Stamp the sentiment in Tuxedo Black using the Unbounded Love Bundle. Die cut with the coordinating die and attach to the card front (refer to card for placement).
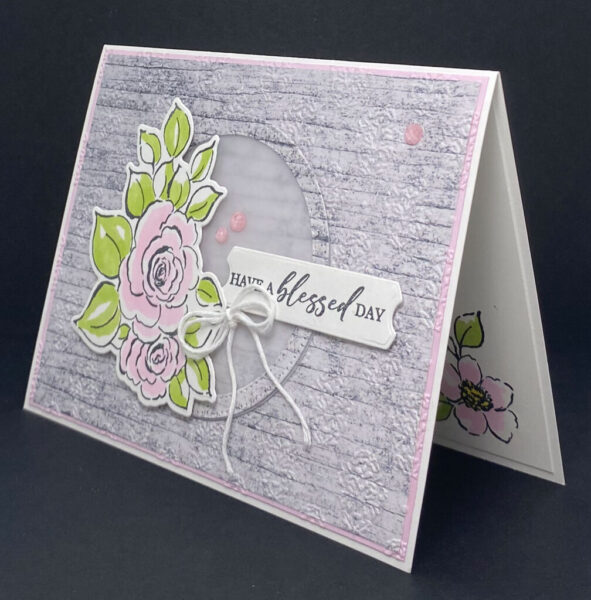
- Bow: Create a small double bow using White Baker’s Twine from the Essentials Pack. Secure to the left side of the sentiment using a Mini Glue Dot.
- Embellishments: Add small gems from the 2024-2026 In Color Shimmer Gems to complete the design.
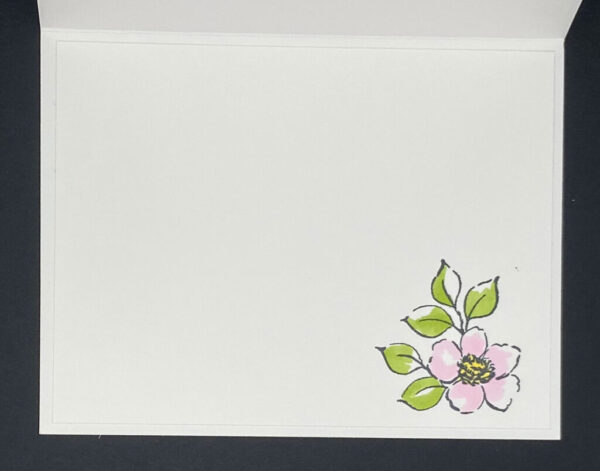
- Inside of card: Start with a Layer #1 Basic White Cardstock base measuring 5 1/4″ x 4″. Stamp the small floral image from the Charming Day Stamp Set using Tuxedo Black Ink. Color the petals with Bubble Bath and use Granny Apple Green Stampin’ Blends for the leaves.
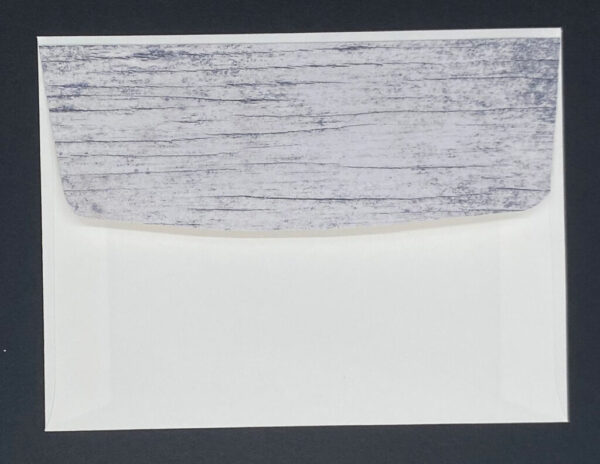
- Envelope Flap: Adhere the Country Woods DSP (6″ x 2 1/4″) to the envelope flap and trim to fit.
Thank you for visiting my blog! I hope today’s card design inspires your own Stampin’ Up! projects. And, don’t forget to check out my Card Gallery for ideas using your favorite Stampin’ Up! products. Your support means the world to me. If you need any supplies or have questions, I’m here as your Stampin’ Up! demonstrator – just email me or call me.
Happy stamping, and let’s keep crafting together!