You Are Seriously the Best: Creating Heartfelt Handmade Cards That Show You Care

Hello my Stampin’ Friends!
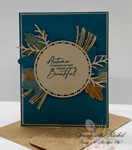
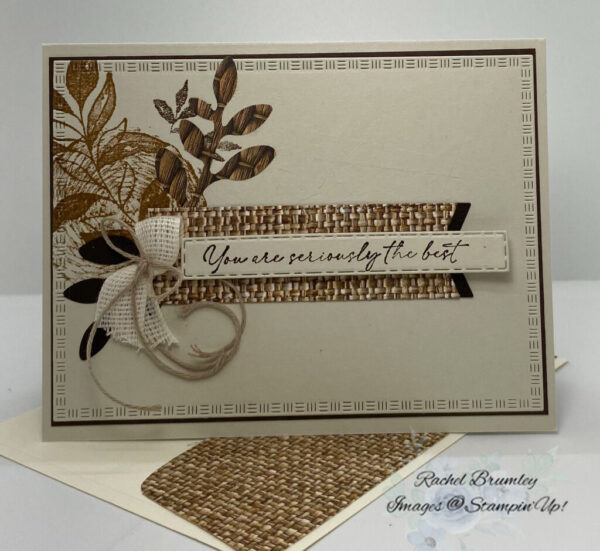
Bring the beauty of nature to your handmade cards with the Textured Notes Stamp Set. Featuring intricately detailed stamps of woven textures and botanical leaves, this collection adds an organic, earthy feel to any craft project. The delicate script sentiments included in the set complement the natural imagery perfectly, creating cohesive designs that feel both elegant and grounded in nature.
Card Instructions:
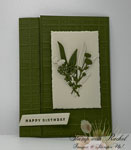
- Base Card: Start with Basic Beige cardstock (8½” × 5½”) and fold in half using a bone folder to create a sharp crease.
- Layer 1: Cut Early Espresso cardstock (5½” × 4¼”) and die cut using the largest die from the Textured Notes Dies.
- Layer 2: Cut Basic Beige cardstock (5⅜” × 4¼”) and die cut using the second-largest die from the Textured Notes Dies.
- Stamping: On Layer 2, stamp the circle image from the Textured Notes Stamp Set using Pecan Pie ink in the upper left area. Stamp the large leaf with Pecan Pie ink directly over the circle stamp. Using Early Espresso ink (stamp off once for lighter coverage), stamp the small leaf to the right of the large leaf.
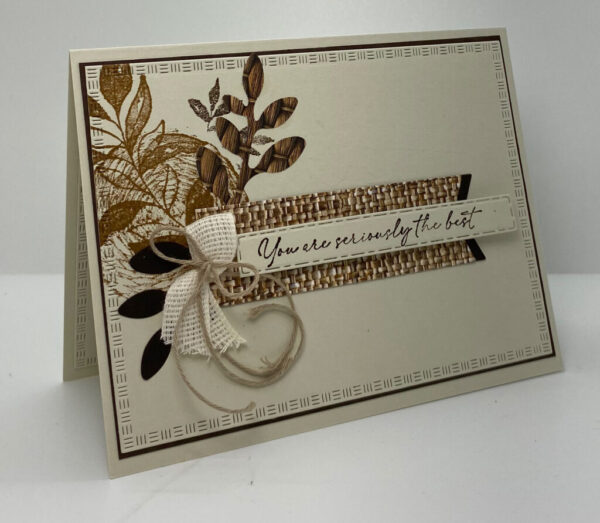
- Paper Elements: Punch a leaf shape from the Woven Textured Designer Series Paper and adhere it to the right of the small stamped leaf. Punch another leaf from Early Espresso cardstock and adhere it to the lower left area (refer to photo for exact placement).
- Banner: Die cut a banner from the Woven Textured Designer Series Paper using the Stylish Shapes Dies and attach it to the card front.
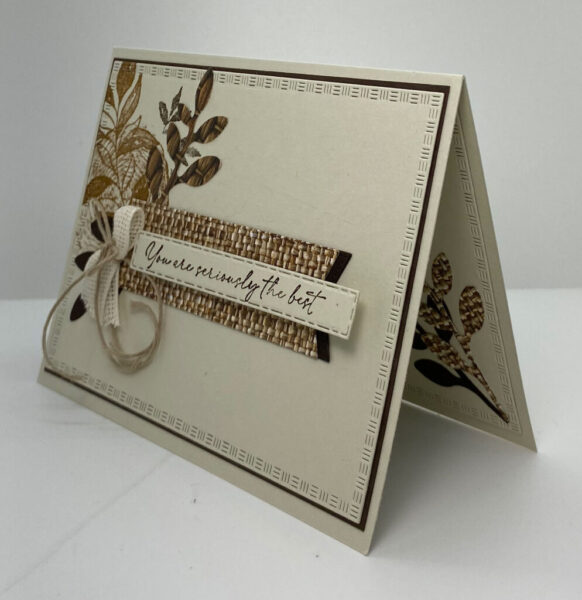
- Finishing Touches: Create a small bow from the Essentials Baker’s Twine Pack and attach it to the card front. Stamp your sentiment using Early Espresso ink, then die cut it using the small narrow die from the Textured Notes Dies.
- Assembly: Layer and adhere all elements to complete your card.
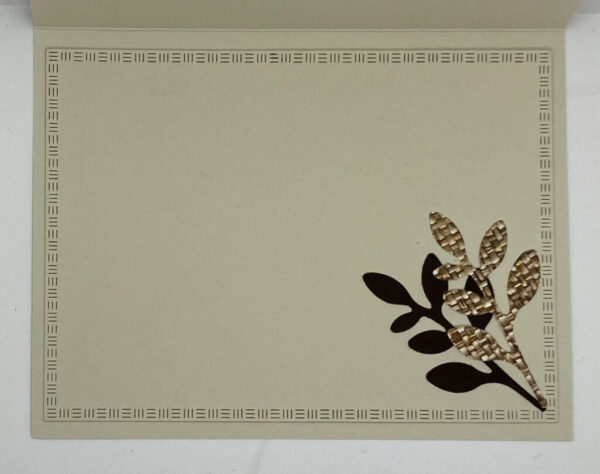
Inside Card Details: Cut Basic Beige cardstock (5½” × 4¼”) and die cut using the large die from the Textured Notes Dies. Attach this layer to the inside of the card. Punch two sets of leaves—one set from Early Espresso cardstock and one set from Woven Textured Designer Series Paper. Adhere both leaf sets to the lower right area of the inside panel.
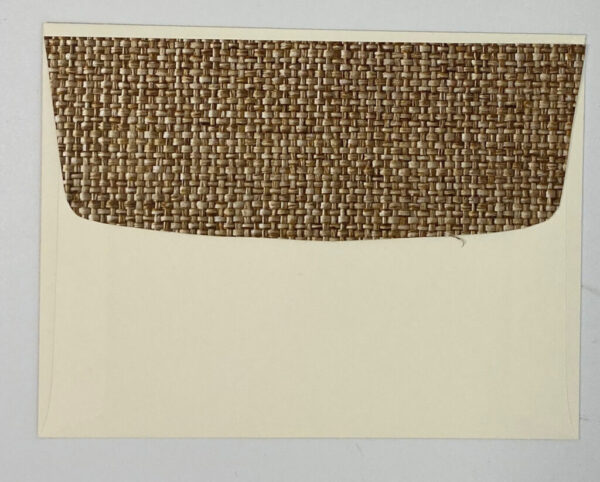
Envelope Finishing: Adhere a piece of Woven Textured Designer Series Paper (6″ × 2½”) to the envelope flap, then trim to fit the flap’s dimensions.

Thank you for visiting my blog! I hope today’s card design inspires your own Stampin’ Up! projects. And, don’t forget to check out my Card Gallery for ideas using your favorite Stampin’ Up! products. Your support means the world to me. If you need any supplies or have questions, I’m here as your Stampin’ Up! demonstrator – just email me or call me.
Happy stamping, and let’s keep crafting together!