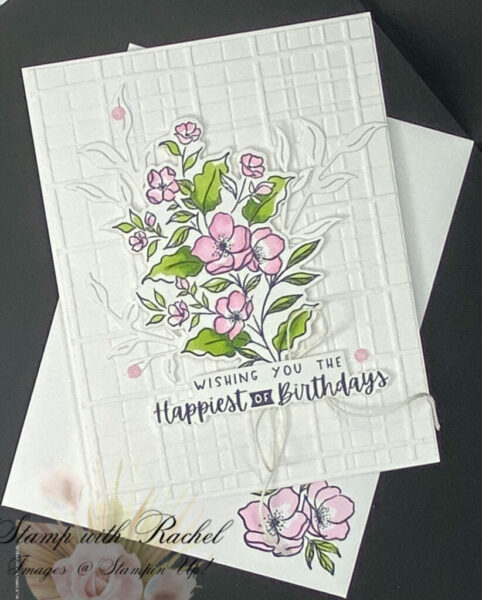
Clean & Simple Birthday Card: Showcasing Memorable Blooms with the Forever Plaid 3D Embossing Folder

Hello my Stampin’ Friends!
The Memorable Blooms Bundle features beautiful floral designs and heartfelt sentiments perfect for thank you cards, spring projects, and everyday crafting. You can use the flowers as background elements or make sentiments like “Thanks So Much” or “You Are Awesome” the main focus of your card. The floral images are ideal for watercoloring, making this versatile set perfect for expressing gratitude and appreciation on any occasion. NOTE: The dies are no longer available but the stamp set is still available and on the Last Chance List.
Step-by-Step Instructions:
- Create the card base: Cut Basic White cardstock to 11″ x 4 1/4″, fold in half to create a 4.25″ x 5.5″ card.
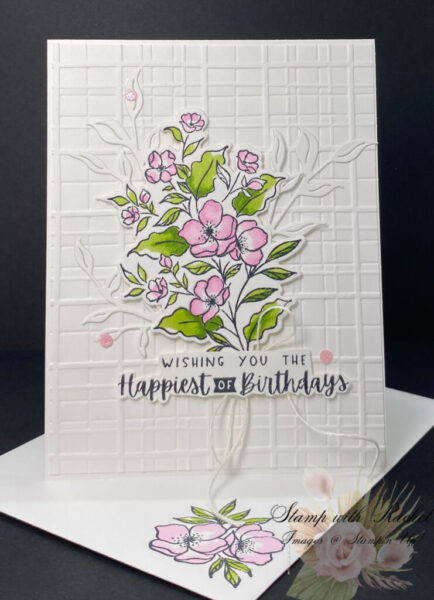
- Emboss the background: Cut white cardstock to 4″ x 5.25″. Run through your die-cutting machine with the Forever Plaid 3D Embossing Folder to create the textured background.
- Adhere the background: Mount the embossed panel to the card front using adhesive.
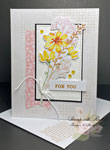
- Stamp the floral image: Using Tuxedo Black Ink, stamp the main floral bouquet from the Memorable Blooms set on Basic White Thick cardstock.
- Color the flowers: Use Bubble Bath Stampin’ Blends for the flowers and Granny Apple Green Stampin’ Blends for the leaves and foliage. Add shading for depth and dimension.
- Die Cut out the image: Die cut the stamped and colored floral bouquet using the large die in the Memorable Blooms die.
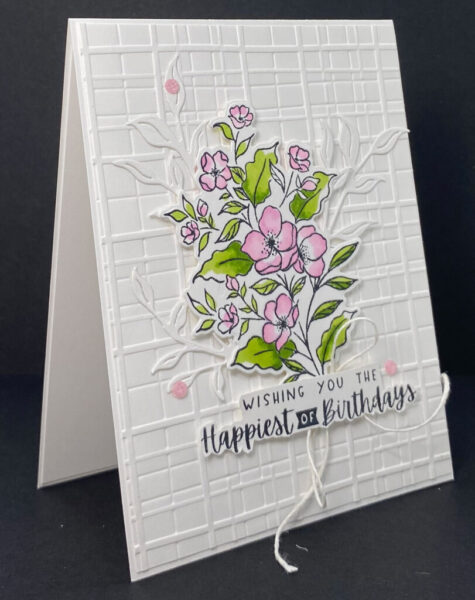
- Position the florals: Place the floral image on the upper portion of the embossed background and adhere with Stampin’ Dimensionals for depth.
- Add the sentiment: Stamp “WISHING YOU THE Happiest of Birthdays” in the lower portion of the card using Tuxedo Black Ink. Fussy cut the sentiment with the Paper Snips.
- Add ribbon accent: Thread Basic White Twine behind the floral arrangement and tie in a loose bow, allowing the tails to drape naturally.
- Finish with embellishments: Add small pink enamel dots around the design for subtle sparkle and visual interest. The gems are from the 2024-2026 In Color Shimmer Gems.
- Final touches: Ensure all elements are securely adhered and the ribbon is positioned attractively.
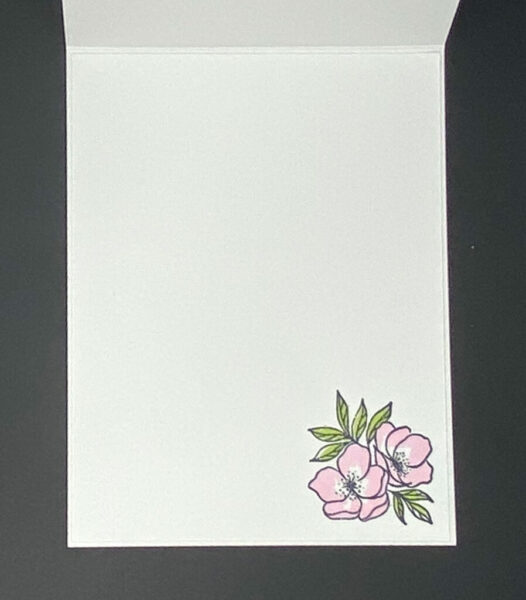
Instructions for Inside Card Panel:
- Cut the top layer: Cut a second piece of Basic White cardstock slightly smaller (approximately 5.25″ x 4 1/8″).
- Stamp the image: Using Tuxedo Black ink, stamp the small flower image from the Memorable Blooms set in the lower right corner of the smaller white panel.
- Color the image: Use stampin’ blends for the flowers and green for the leaves, keeping the coloring light and delicate.
- Layer the panels: Adhere the smaller stamped panel onto the larger base panel, creating a subtle layered border effect.
- Attach to card: Adhere the completed panel inside your card.
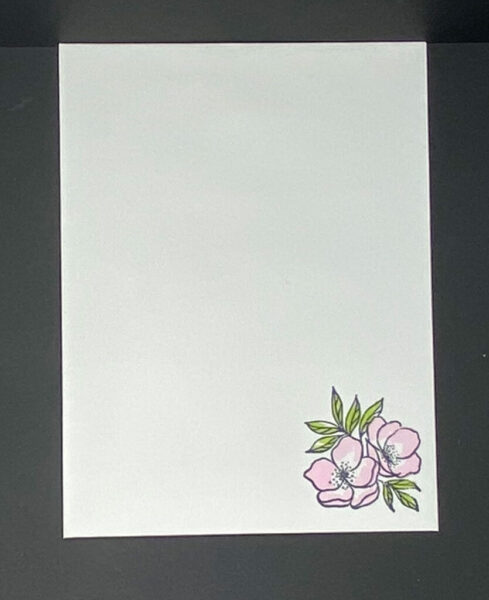
Instructions for Envelope Front:
- Position the stamp: Stamp the same small flower image in the lower left corner of the envelope front using Tuxedo Black ink.
- Color to match: Color the flower and leaves using the same pink and green stampin’ bloends used on the card interior, maintaining consistency in your color choices.
- Final touch: Ensure the coloring matches the card interior for a cohesive, professional presentation.
Thank you for visiting my blog! I hope today’s card design inspires your own Stampin’ Up! projects. And, don’t forget to check out my Card Gallery for ideas using your favorite Stampin’ Up! products. Your support means the world to me. If you need any supplies or have questions, I’m here as your Stampin’ Up! demonstrator – just email me or call me.
Happy stamping, and let’s keep crafting together!