Elegant Embossed Thinking of You Card: Layered Florals with Gold Accents and Dimensional Details

Hello my Stampin’ Friends!
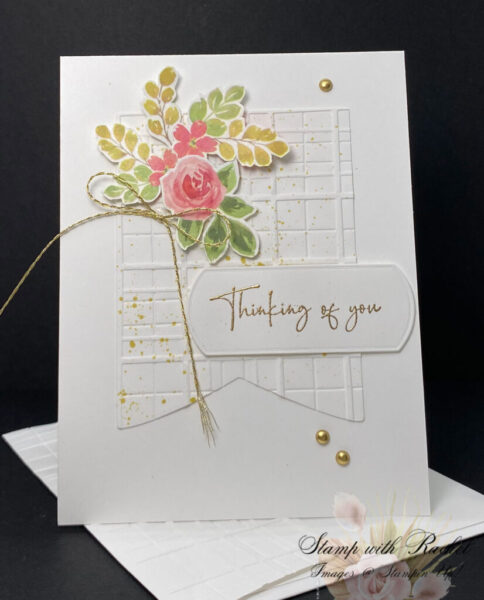
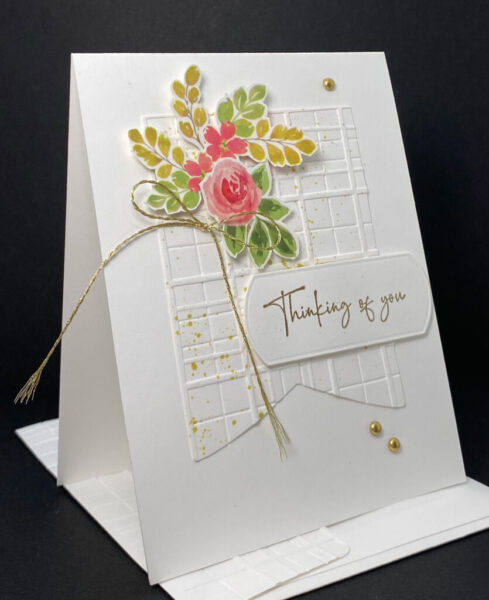
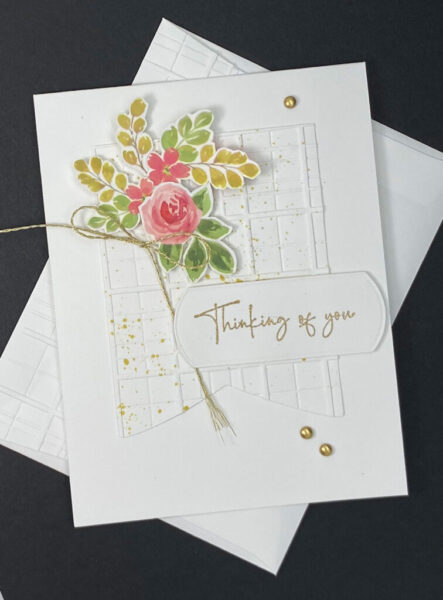
For today’s card I’m using the Extraordinary Flora Washi Tape – I had to fussy cut the flowers and leaves because I forgot to order the coordinating stamp set and die bundle but that’s been corrected and it’s on it’s way! Anyhoo, the washi tape is big, bright, and beautiful! It’s 3-1/4″ wide and features a gorgeous pattern of watercolor florals and botanical images. The design alternates from pink and purple variations of the same pattern for more versatility!
Instructions:
- Create the card base: Cut Basic White Thick cardstock to 8.5″ x 5.5″, then fold in half to create a 4.25″ x 5.5″ card base.
- Prepare the embossed panel: Cut Basic White Thick cardstock to 4″ x 3″. Cut the panel with the Party Banners Dies and then place in the Forever Plaid Embossing Folder and run through your die-cutting machine to create the textured plaid background.
- Add ink splatters: Using the Wild Wheat Stampin’ Blend, create small splatter accents across the embossed panel by flicking ink from a brush or using a splatter technique.
- Adhere the background: Mount the embossed panel to the card front using adhesive.
- Fussy Cut the florals: Carefully cut around each image
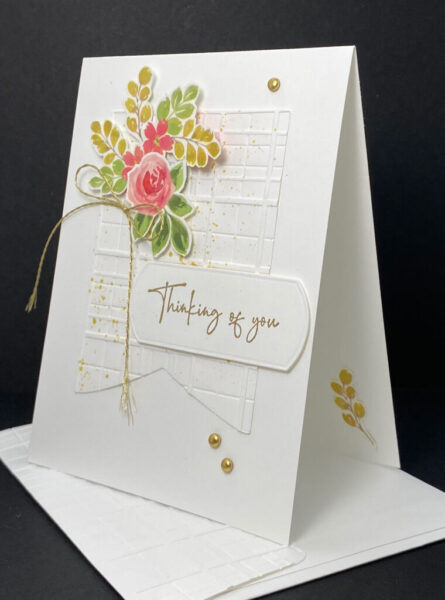
- Arrange the elements: Position the banner on the lower portion of the card. Layer the floral elements above and around the banner, creating a cascading bouquet effect.
- Add the gold thread: Cut a length of gold metallic thread. Tie into a bow and position it among the florals, allowing the tails to drape naturally.
- Secure all elements: Adhere the florals using dimensional adhesive for depth, ensuring the bow and thread are secured underneath some elements.
- Finish with accents: Add gold enamel dots in the upper right corner and lower left corner for balance and sparkle.
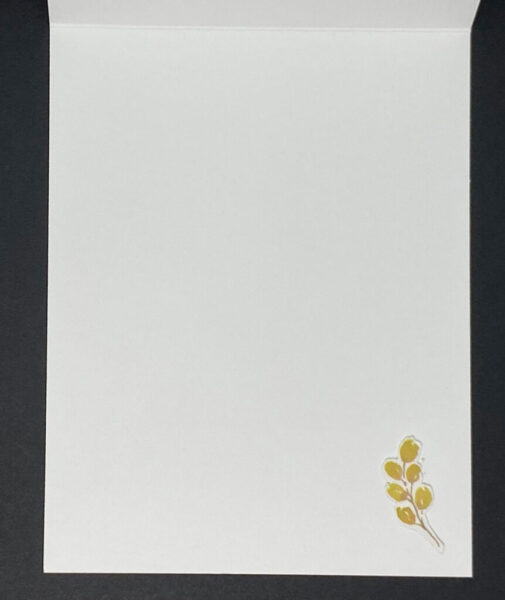
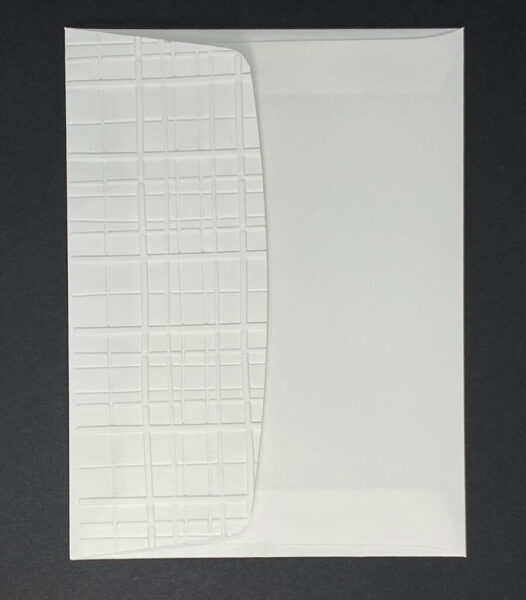
Fussy cut a small stem of leaves and attached to the lower right hand side of the inside of the card. Emboss the envelope flap with the same embossing folder as used for the front of the card.
Thank you for visiting my blog! I hope today’s card design inspires your own Stampin’ Up! projects. And, don’t forget to check out my Card Gallery for ideas using your favorite Stampin’ Up! products. Your support means the world to me. If you need any supplies or have questions, I’m here as your Stampin’ Up! demonstrator – just email me or call me.
Happy stamping, and let’s keep crafting together!