
- November Paper Pumpkin – Filled with Joy
- Two new Kits – Alphin Air and A Look Back
- Craft Kit Sale – Up to 30% off
- Starter Kit Special (1 – 31 Oct 2024)
- Scrapbooking Kits by Stampin’ Up!
- Retired Stamp Sets & Bundles (Free shipping!
Hello my Stampin’ Friends
Take a moment to send words of care to a loved one with the Love & Strength Stamp Set. This stamp set includes a variety of thoughtful sentiments to express support for someone going through hard times. The delicately simple images feature an open-line style for different coloring techniques. Or leave the images bare for your recipient to spend some meditative time to color it in themselves.
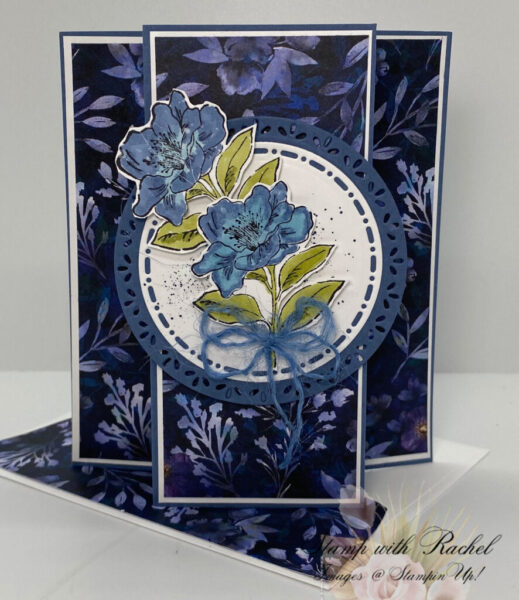
Here are step-by-step instructions to create this gorgeous floral greeting card:
- Start with a Misty Moonlight Cardstock base and create a tri-fold card structure.
- Layer the 3 front panels with Basic White Cardstock.
- Layer the 3 front panels with the Regal Winter Designer Series Paper (DSP)
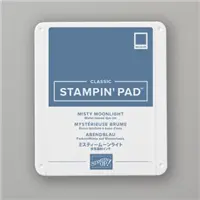
- Cut a Basic White Cardstock circle for the central panel from the Spotlight on Nature Dies. Splatter the circle with Misty Moonlight Ink using the splatter image.
- Cut a slightly larger Misty Moonlight Cardstock from the same dies.
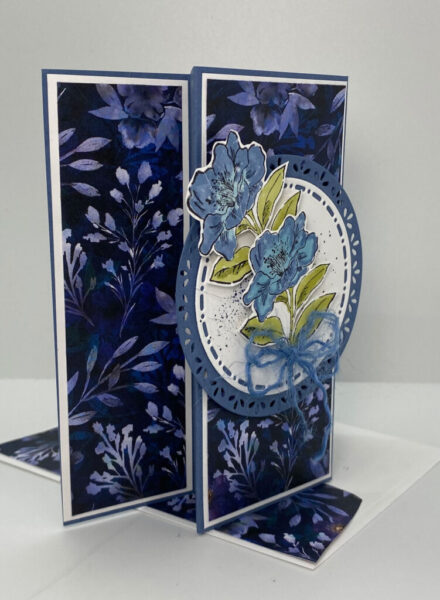
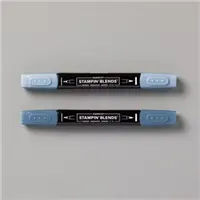
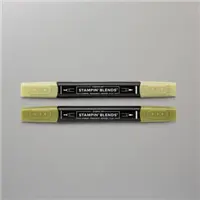
- Stamp the floral image from the Love & Strength Stamp Set twice on Thick Basic White Card and color the flowers with Balmy Blue and Misty Moonlight Stampin Blends and the leaves with the Old Olive Stampin’ Blends for depth. Fussy cut them out with our Paper Snips.
- Arrange and adhere the flowers and leaves onto the Basic White Circle with Stampin’ Dimensionals, slightly overlapping onto the blue frame.
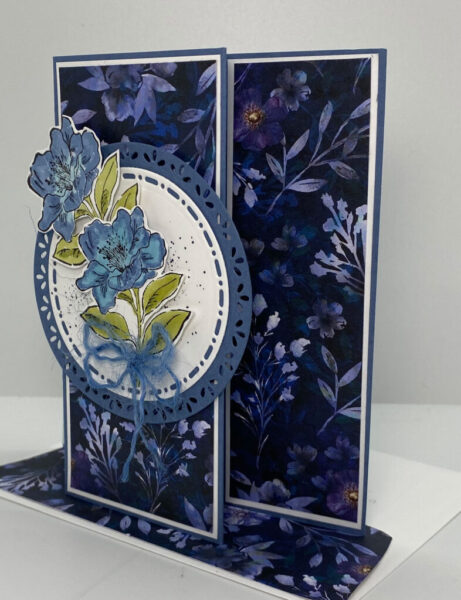
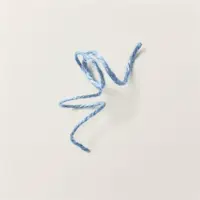
- Tie a small bow using the 2023-2025 In Color Jute Trim. I separated a couple of strands because the jute was too thick.
- Attach the bow at the base of the white background for texture
- Mount the circular design onto the center of the front panel of the card with Stampin’ Dimensionals.
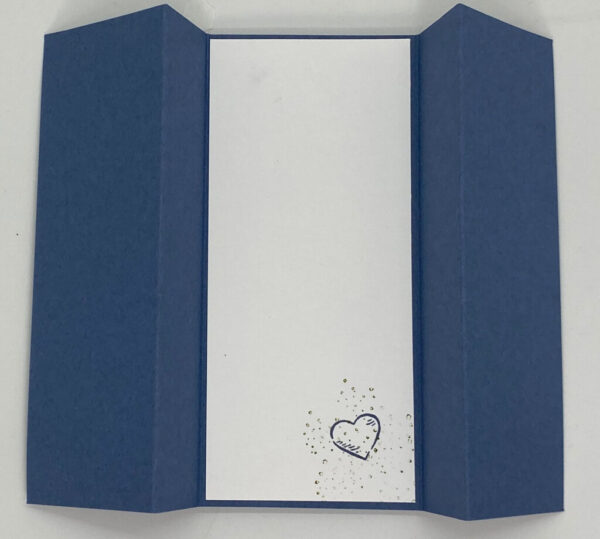
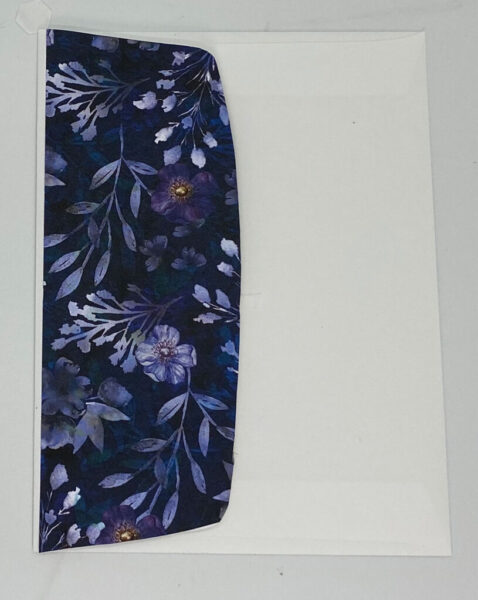
To complete the card, I added a small heart and splatter image from the same stamp set to the back, enhancing cohesion with the front design. For a coordinated appearance, I adhered matching Regal Winter Designer Series Paper (DSP) to the envelope, mirroring the pattern used on the card’s front. This attention to detail creates a unified and polished look for the entire card set.
Thank you for visiting my blog! I hope today’s card design inspires your own Stampin’ Up! projects. And, don’t forget to check out my Card Gallery for ideas using your favorite Stampin’ Up! products. Your support means the world to me. If you need any supplies or have questions, I’m here as your Stampin’ Up! demonstrator – just click the link or email me.
Happy stamping, and let’s keep crafting together!

Use this month’s host code when you order $35 or greater and receive that month’s free gift from me! If your order is over $150, please do not use this code. Not using my host code (if your order is over $150) entitles you to free Stampin’rewards and you’ll still get the monthly free gift.
Note: Make sure that you can see my name on the final checkout page listed as your Demonstrator when you order so that you know that you’re ordering with me.
Oct Host Code
Oct Free Gift
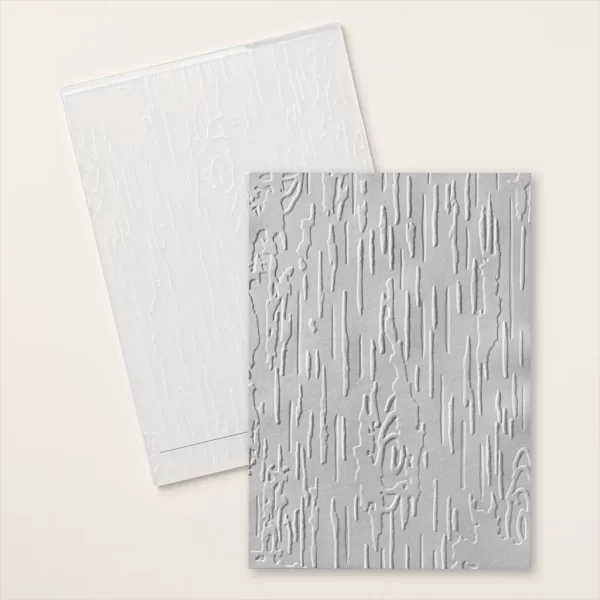
Be a swinger of birches with the Birch Wood 3D Embossing Folder! The detailed birch woodgrain design will add gorgeous texture to your paper crafts. Layer under other elements like die cuts, embellishments, and more.
Products Used

