
Hello my Stampin’ Friends
Hope you had an enjoyable Thanksgiving weekend🦃

- My Black Friday/Cyber Monday Special – click here
- December Paper Pumpkin – All the Best
- Last Chance List is live – get your list here
First of all, I want to thank all that have taken advantage of my Black Friday/Cyber Monday Special these last couple of days. Hurry, the clock is ticking! My special offer ends tonight at midnight. Don’t miss out on the chance to snag your favorites from the annual catalog and receive not one, but two sets of Stampin’ Blends Markers!
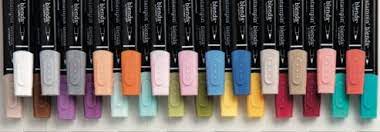
Invite Father Christmas into your holiday season with the Saint Nicholas Stamp Set. Choose from two styles of Santa and complete the scene with a pedestal letterbox, a candy cane, a bag of gifts, a gingerbread cookie, or a glass of wassail. The open line-art images are designed for coloring so you can choose your own color scheme. Use Stampin’ Write Markers, Stampin’ Blends, or Classic Stampin’ Ink with coloring tools to get the look you want. Finish your cards with a sentiment of love and joy. If you love vintage Christmas cards, you can now make your own.
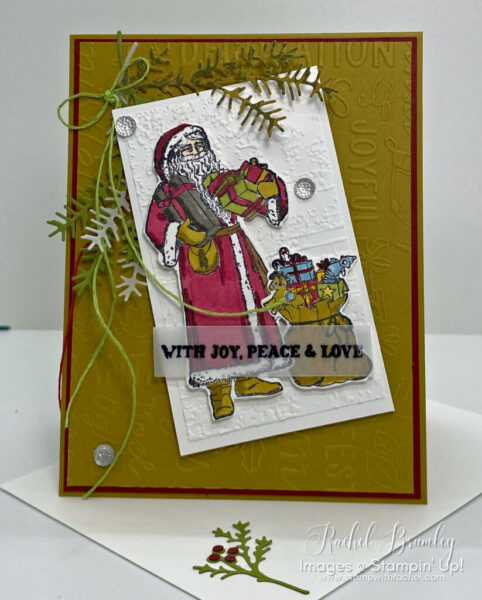
I used the following Stampin’ Blends to color in the Saint Nicholas image and sack full of toys.
- Cherry Cobber
- Old Olive
- Pebble Path
- Wild Wheat
- Petal Pink
- Balmy Blue
- Daffodil Delight
- Pebble Path
After coloring the images, I cut them using the coordinating dies from the Saint Nicholas Dies.
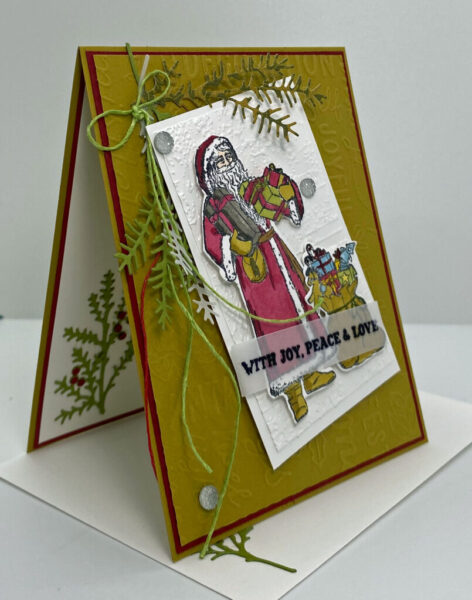
The base card is Wild Wheat Cardstock, layered with Cherry Cobbler Cardstock. I then embossed another Wild Wheat Cardstock with the Christmas Tidings 3D Embossing Folder and attached it to the front of the card.
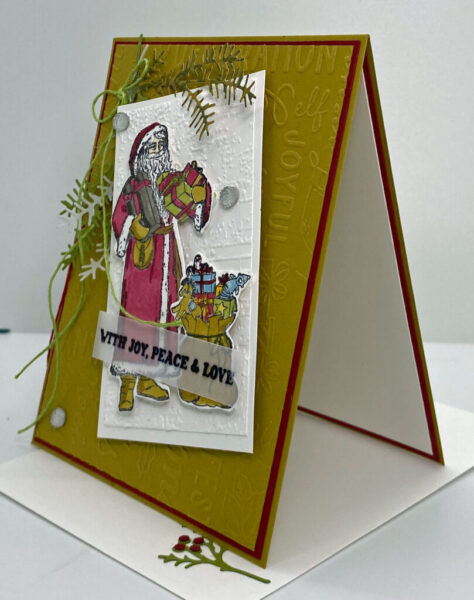
The Basic White Cardstock (front panel) was embossed with the Exposed Brick 3D Embossing Folder. Before attaching to the front, I adhered two pieces of twine (non-SU) and then I added 3 sprigs cut from the Magic Meadows Dies using Old Olive, Vellum Cardstock and pattern paper from the Traditions of St Nick Designer Series Paper. Finished off the card with a twine bow and embellishments from the Faceted Gems Trio Pack. Lastly I stamped the sentiment on Vellum Cardstock which was inked with Versmark and set with the Black Embossing Powder and a Heat Tool.
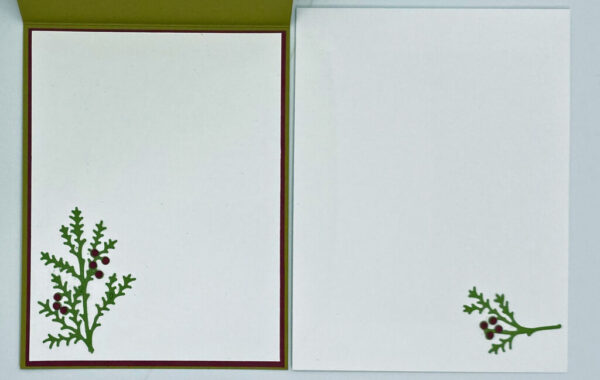
Inside of the card and front of envelope. The sprig was cut from the Magical Meadows Dies with Old Olive cardstock. I added small berries (Cherry Cobbler Cardstock) to the sprigs.

Thank you for taking the time to visit my blog today. Your support and comments mean a lot to me. I hope you found today’s project inspiring and enjoyed exploring the crafty world with me. Please be sure to visit my Card Gallery for lots of ideas and inspiration. Happy crafting and I look forward to sharing more creative ideas with you in the future!

If you need any items to make the above project and/or stampin’ supplies, I’d be very happy to be your demonstrator. Just click on this link for instant access to my store.
Or you can drop me an e-mail if you have any questions or would like for me to place the order for you.
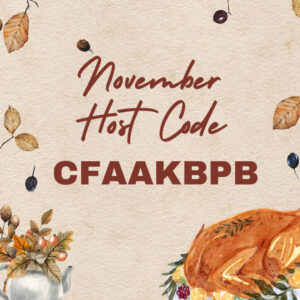
The free gift for November is anything from the catalog or online exclusive for $10 or less. Use this month’s host code when you order $35 or greater and receive that month’s free gift from me! If your order is over $150, please do not use this code. Not using my host code (if your order is over $150) entitles you to free Stampin’ rewards and you’ll still get the monthly free gift.
Note: Make sure that you can see my name on the final checkout page listed as your Demonstrator when you order so that you know that you’re ordering with me.
To see what you can get for $10 or less, click here.
Supplies Used

