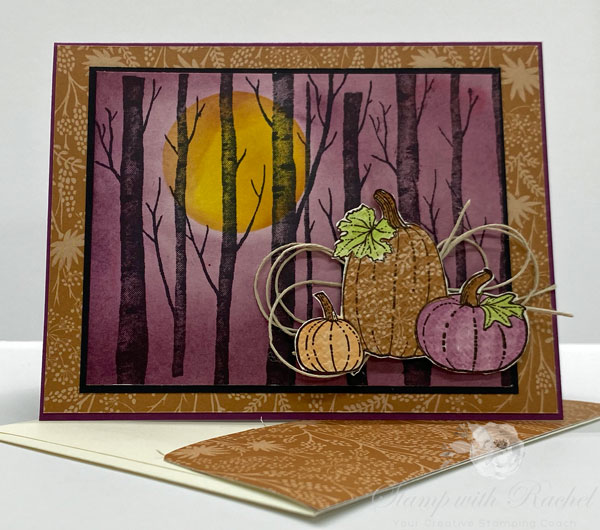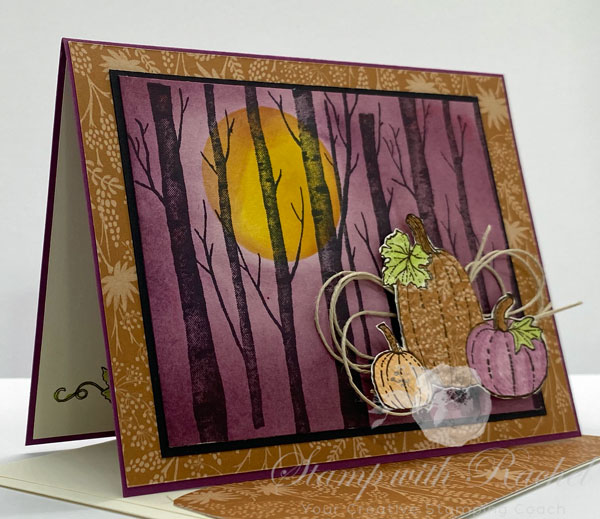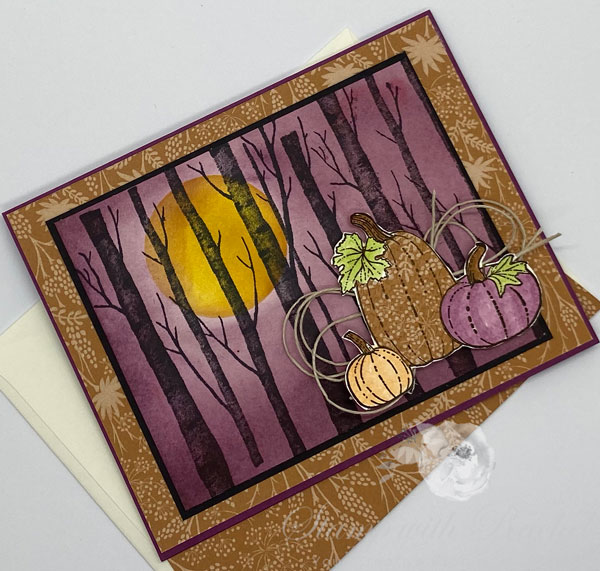
This started out as a Halloween card and a spooky one at that. Half way through this card I had to run some errands and didn’t get back to it until the next day. I started to think how cute the pumpkins from Pretty Pumpkins Stamp Set would look in front of the trees from the Welcoming Woods Stamp Set. Has that happened to you? Where you change your mind about how you want the card to turn out?

This card is for our dear friend Larry who just visited us from Whidbey Island, Washington.

Card Directions and Measurements:
- Base Card: Rich Razzleberry Card Stock (8 1/2″ x 5 1/2″). Fold in half with a Bone Folder for a sharper crease.
- Next Layer: Harvest Meadow Designer Series Paper (5 3/8″ x 4 1/8″). Adhere to base card with our Multipurpose Liquid Glue.
- Next Layer: Basic Black Card Stock (4 1/4″ x 3 1/2″). Attach to card front with liquid glue.
- Front Panel: Basic White Card Stock (4 1/8″ x 3 3/8″).
- Make a template for the moon with any circle die or punch. I used the retired Layering Circles Dies.
- Take the negative card stock and place on the left side of the front panel. Sponge with a Blending Brush and Bumblebee Ink.
- Sponge the remaining of the front panel with a Blending Brush and Rich Razzleberry Ink until you have the desired effect.
- Stamp the Welcoming Woods image onto the front panel with Tuxedo Black Ink. I used the Stamparatus Tool to stamp it a couple of times for a darker image.
- Adhere to the front of the card with our liquid glue.
- Twine: Approx 15″. Form several loops and tie in middle of loops with small length of twine from the Baker’s Twine Essentials Pack. Attach to card front with our Mini Glue Dots. (see card for placement)
- Pumpkins: Basic White Thick Card Stock (3″ x 2 1/2″).
- Stamp pumpkin image with Tuxedo Black Ink.
- Color in the smaller pumpkins in Rich Razzleberry and Pale Papaya Stampin’ Blends. Color the leaves with Granny Apple Green Stampin’ Blends. Color all the pumpkin stems with the Cinnamon Cider Stampin’ Write Marker.
- Stamp pumpkin image again on Harvest Meadow DSP with Tuxedo Black.
- Fussy cut using our Paper Snips around the large pumpkin and glue to the large uncolored pumpkin.
- Die cut with the coordinating die from the Detailed Pumpkin Dies.
- Emboss pumpkin image with the Tasteful Textile 3D Embossing Folder to give the image a little dimension.
- Add to lower right side of card stock. To attach, add the Stampin’ Dimensions to the card front, not the back of pumpkin image. Then lay the image on top of the dimensional.
- Whew! You’re done!

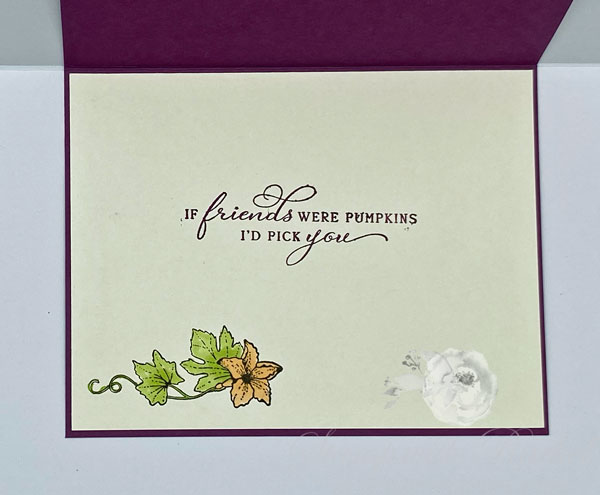
Inside of Larry’s card.

Thanks for stopping by today – have a great time in your crafting area/room!

If you need any supplies, I’d love to be your demonstrator if you live in the US. Just click on the Shop Online (upper right ahdn corner) to go directly to my online store. Or you can send me an e-mail if you would like for me to place your order. And don’t forget to use the host code if your order is under $150. For orders over $150 do not use the host code so that you can get your Stampin’ Rewards.
The host code for October 2021 is 7KF9PWMA


This card is very pretty, Rachel. Love the scene that can be either for Halloween or Thanksgiving. I need to make some cards for both. Enjoy your week!
Thanks Hilda – I need to make more Thanksgiving cards to send out to family.